Lab 0: Preconfiguration
Table of Contents
Introduction
Lab Objectives
In this section, we will go over the steps that are required to be completed for general pre-configuration of a tenant. By following each of these steps you will have prepared your tenant to begin configuring different services offered by the platform.At the end of this Lab, you should be able to:
- Login in to the Portal
- Dial the Number Assigned to you and hear welcome prompt
Pre-requisites
- You have received the access credentials with a full admin access
Quick Links
Control Hub: https://admin.webex.com
Portal: https://portal.wxcc-us1.cisco.com/portal
Agent Desktop: https://desktop.wxcc-us1.cisco.com\
Lab Section
User and License Verification
Once Webex Contact Center Org is onboarded with the admin user, you should be able to login to control hub portal, using the credentials you have created .
- Login to control Hub using the credentials given.
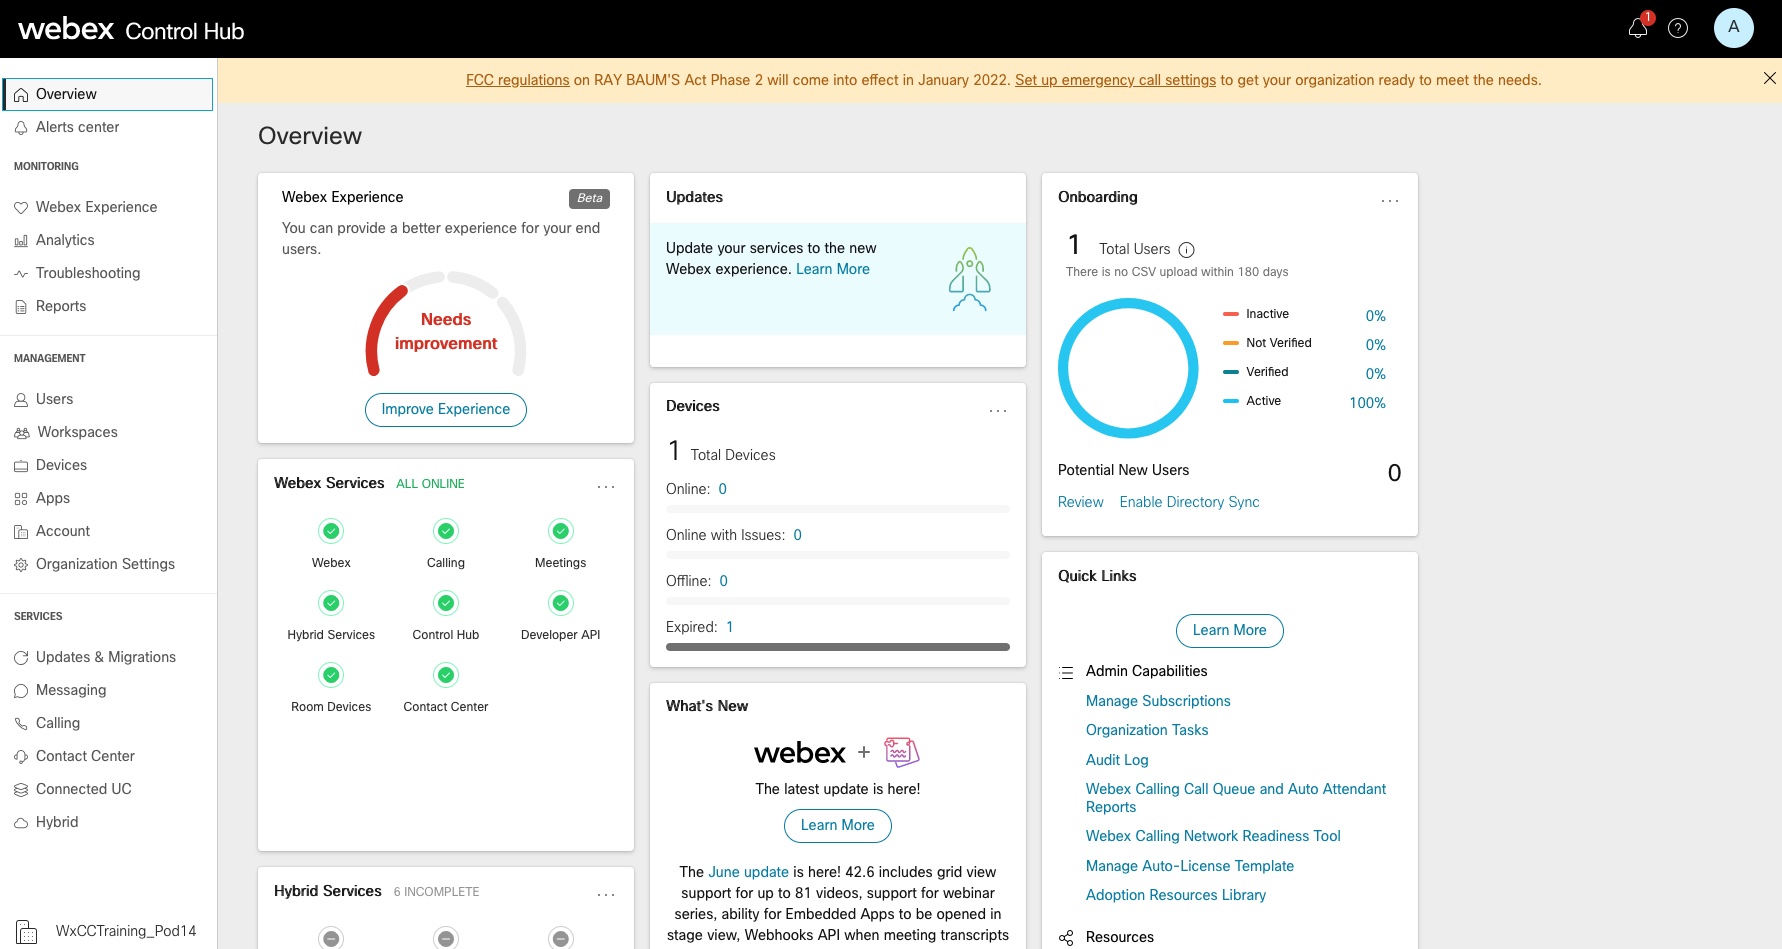
Below is control hub landing page
- In the Control hub Click Users from the left menu and make sure the user you logged in with is present here
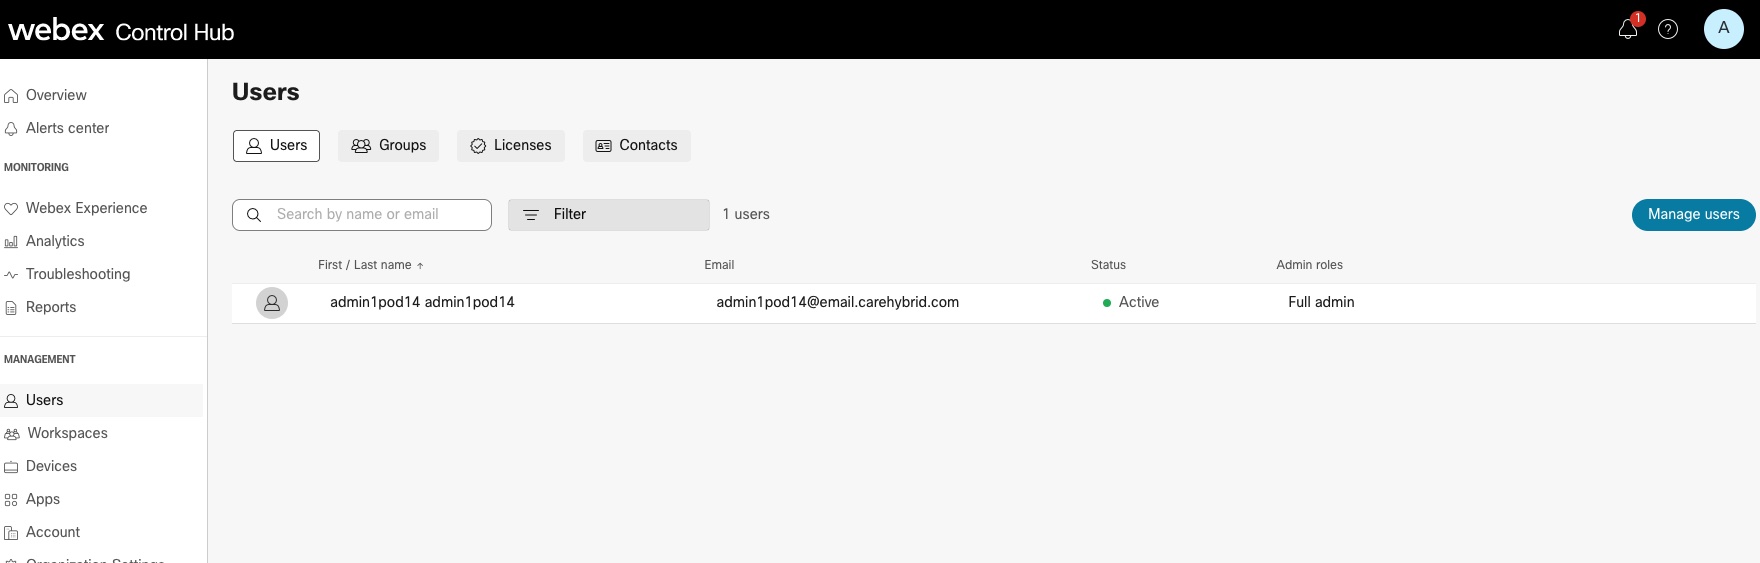
- Click on the admin Users scroll Down and click Edit Licenses and again click on Edit Licenses and click on Contact Center and make sure the user is licensed as premium Agent and Administration option is enabled
User with premium Agent license can log in as Agent as well as perform Admin tasks
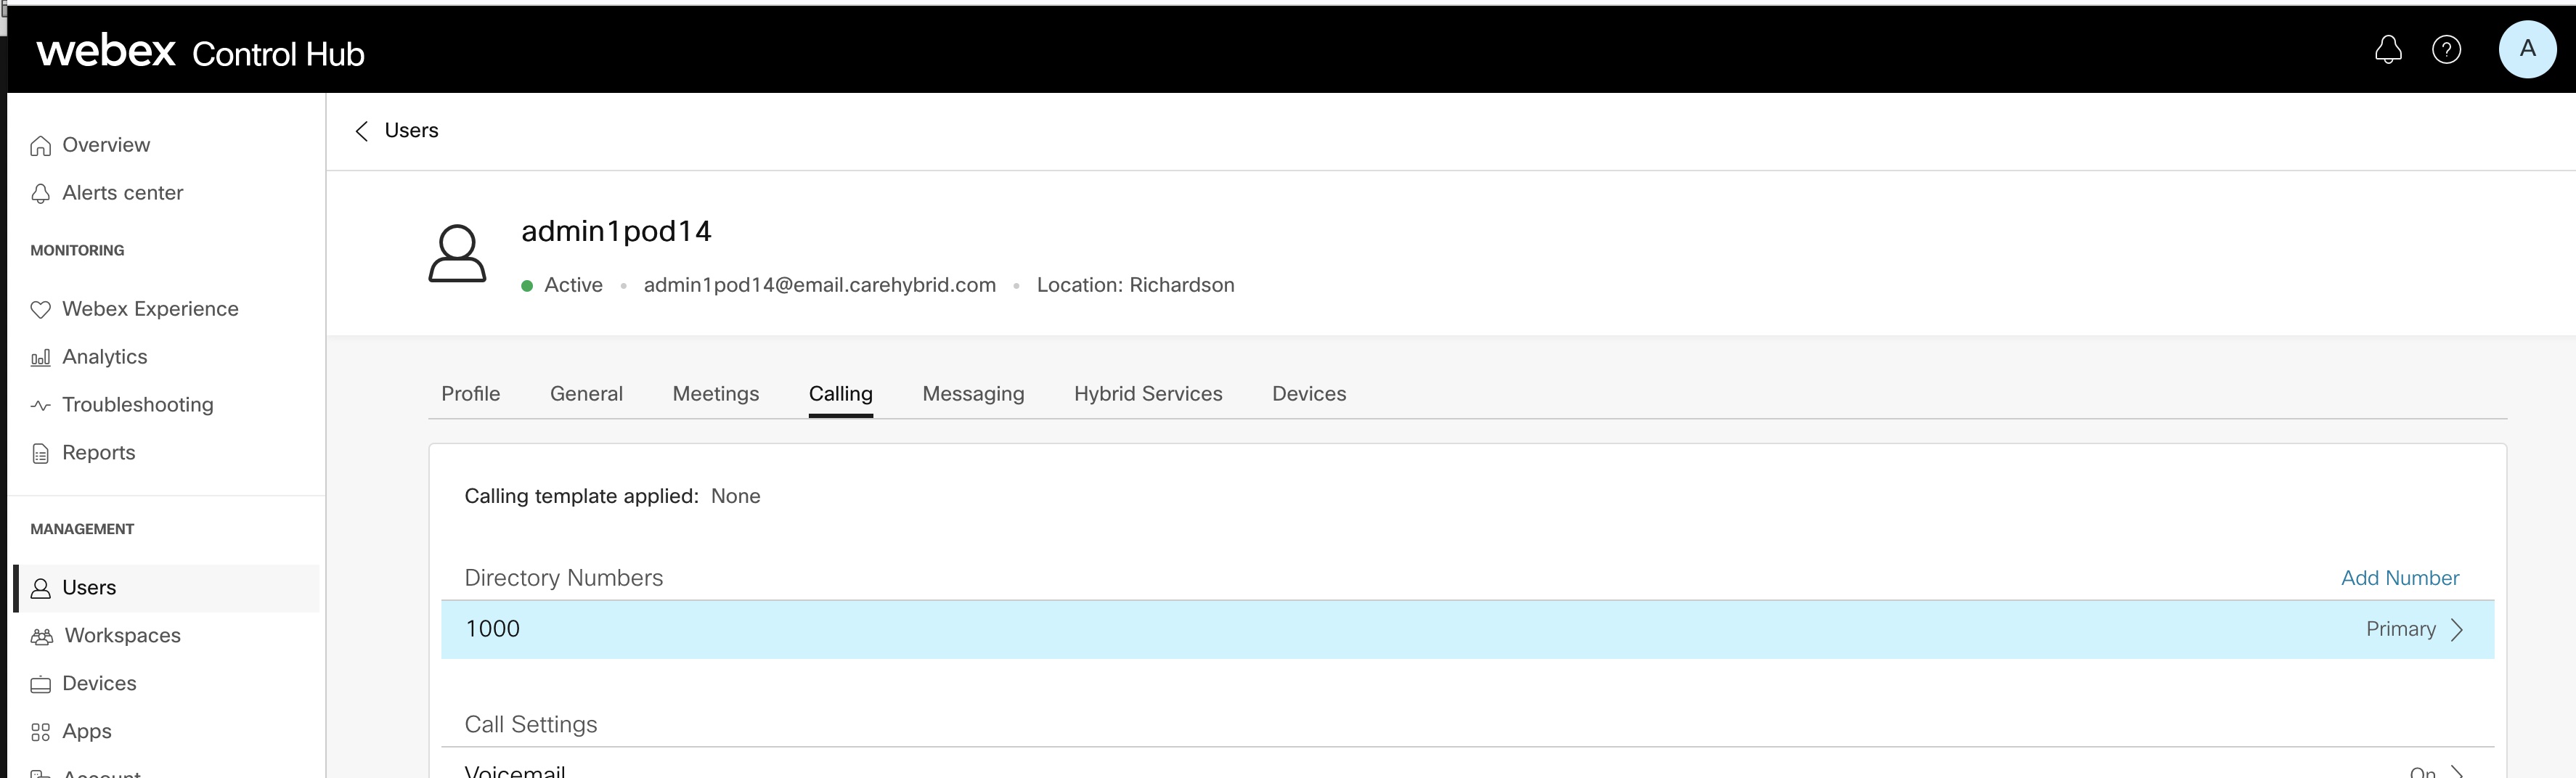
- Upon verifying the user, Click Cancel and from the mainPage click on Calling and verify Directory Number is assigned to this user, if not click on Add Number to add a Directory Number.
Webex Calling Settings
All the lab orgs are pre configured with Webex Calling & Cloud connected PSTN, validate the numbers are already available
- In the Control hub Click Calling from the left menu and make sure the user calling Numbers are added here
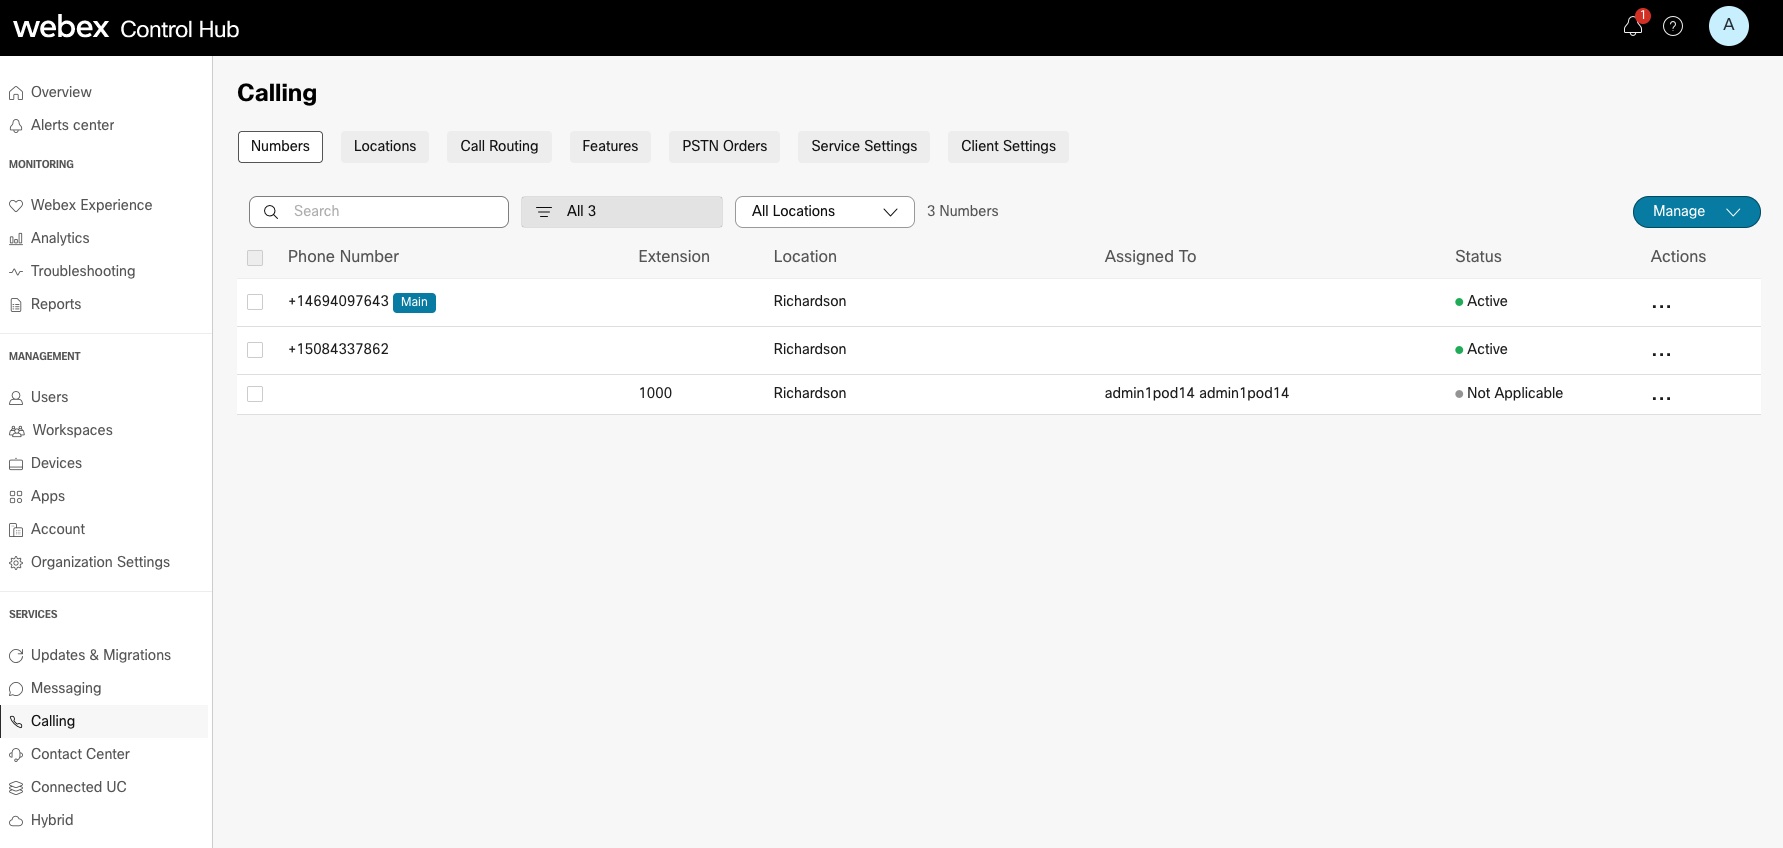
Main number is tagged to the location, the second number will be used through out this lab to call and test flows
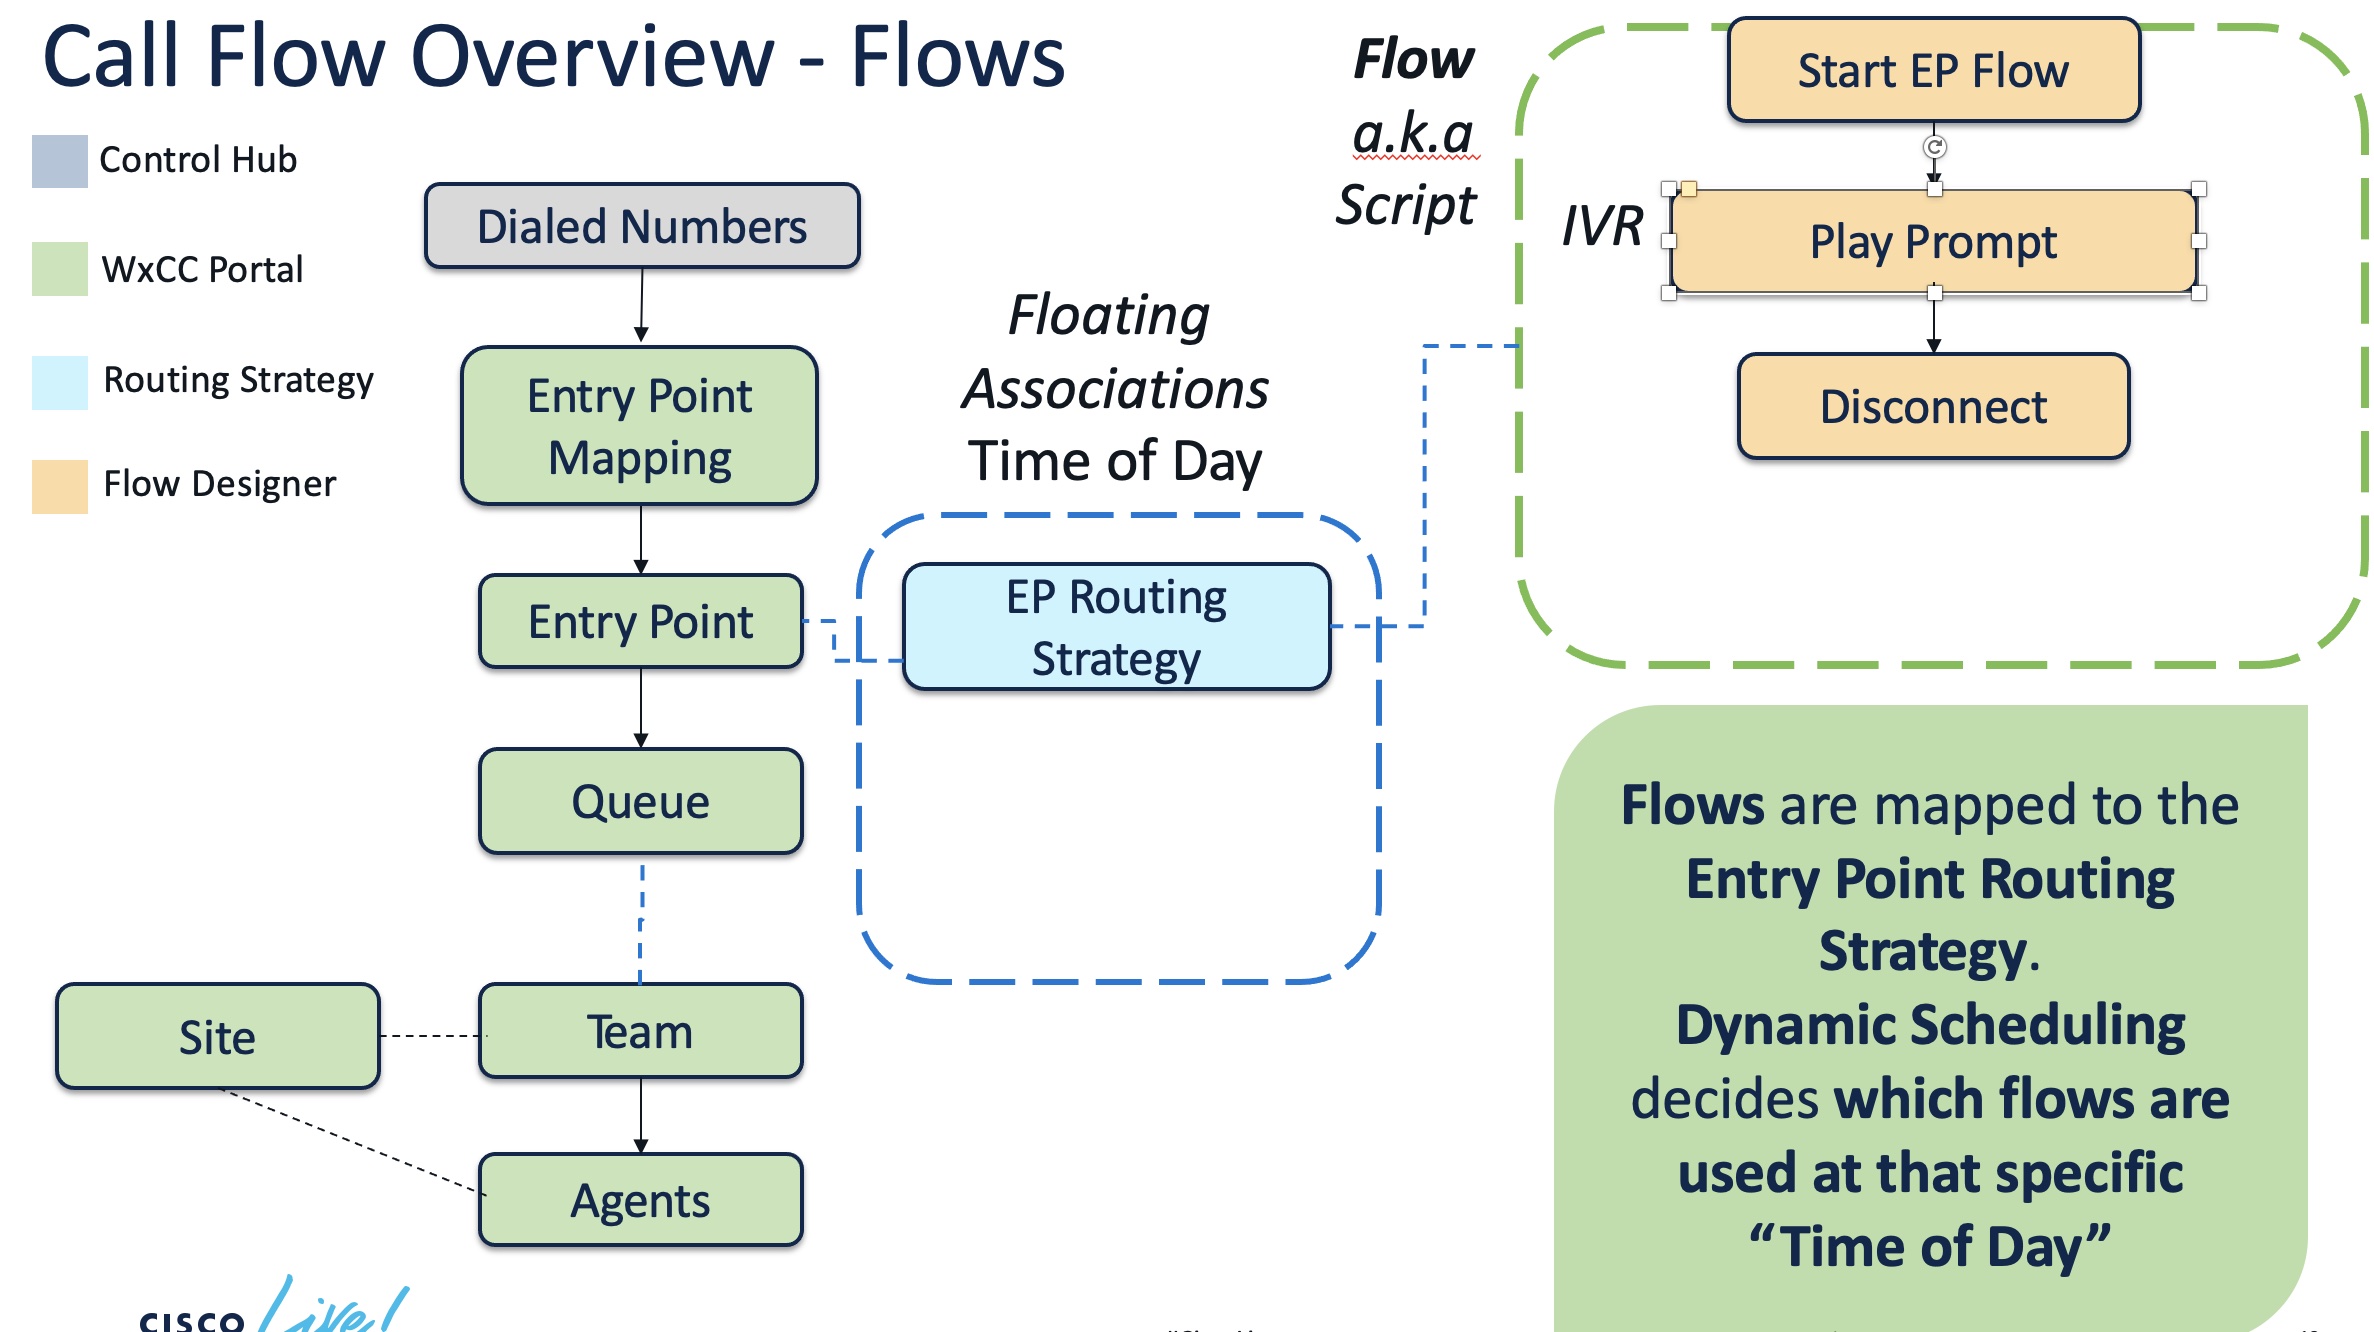
Setup Entry Point routing Strategy and Flow
Control Hub offers a holistic view of all your Webex services. Contact center is also a Services under Control Hub, to cross launch to contact Center portal.
-
In the Control hub Click contact Center under Services
-
click on Settings
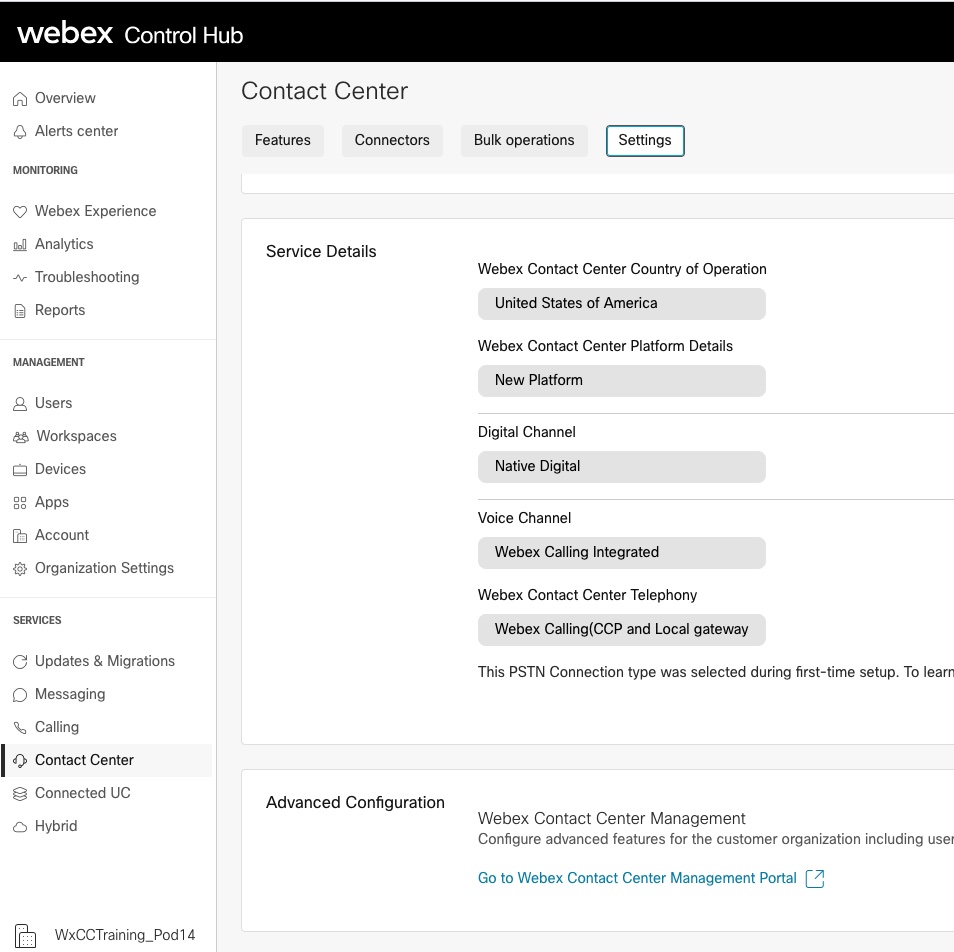
Voice Channel setting for Webex Contact Center can be validated here, in the screen shot about, this Org is programmed with Webex calling and Cloud connected PSTN, note there are 3 options available
Webex Contact Center PSTN: This option is available when you order the Cisco PSTN for Contact Center add-on.
Voice POP Bridge: This option allows you to use the PSTN services with Webex Contact Center. The PSTN services can be either from your own PBX or procured from a carrier partner.
Webex Calling: This option allows you to use the Cloud Connected PSTN or Local Gateway option provided by your Webex Calling subscription for voice capabilities in Webex Contact Center.
Please note For trials, only the Voice POP Bridge or Webex Calling voice options are available; the Webex Contact Center PSTN option isn’t available. When you convert the trial to a subscription, Webex Contact Center retains the voice option, however you can use PSTN Switch option to change the PSTN connection.
Create an Entry point
- In the Control hub –>contact Center –>Settings
- click on Go to Webex Contact Center Management Portal under Advanced configuration to cross launch to Webex Contact Center Portal.
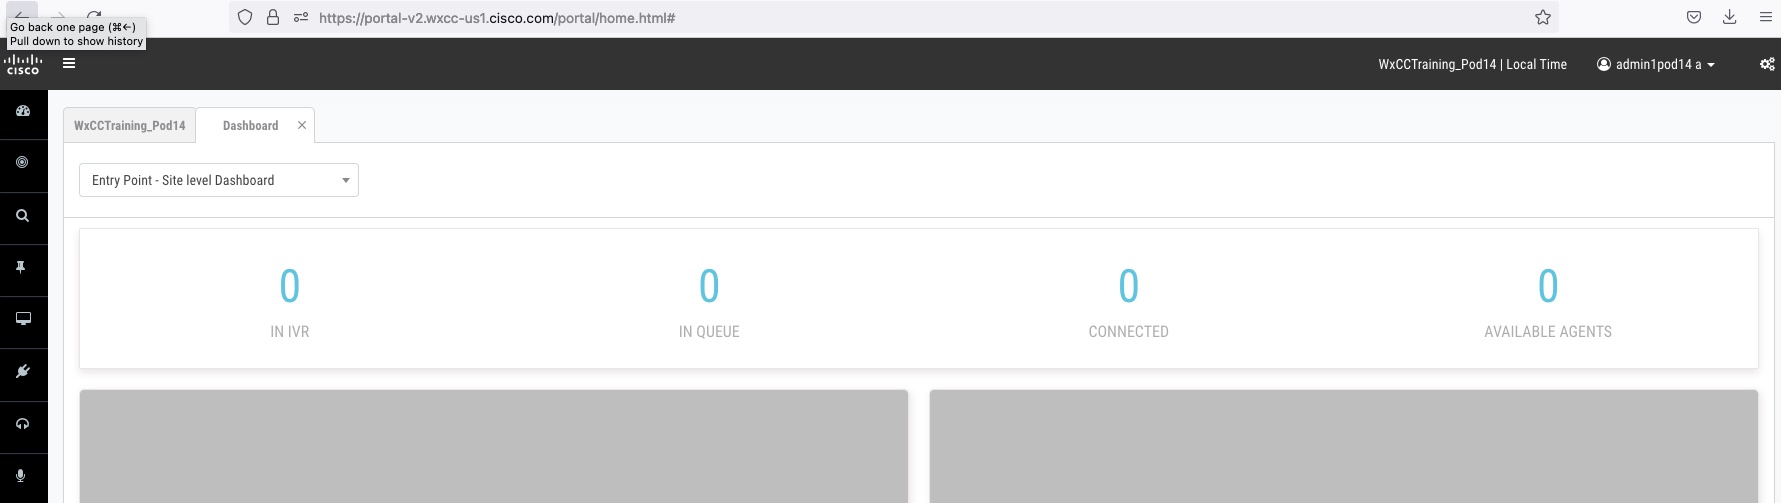
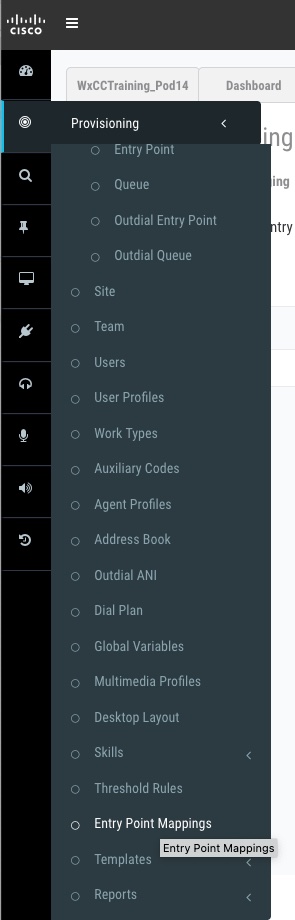
3.From the Portal Click Provisioning–>Entrypoint/Queues–>Entrypoint
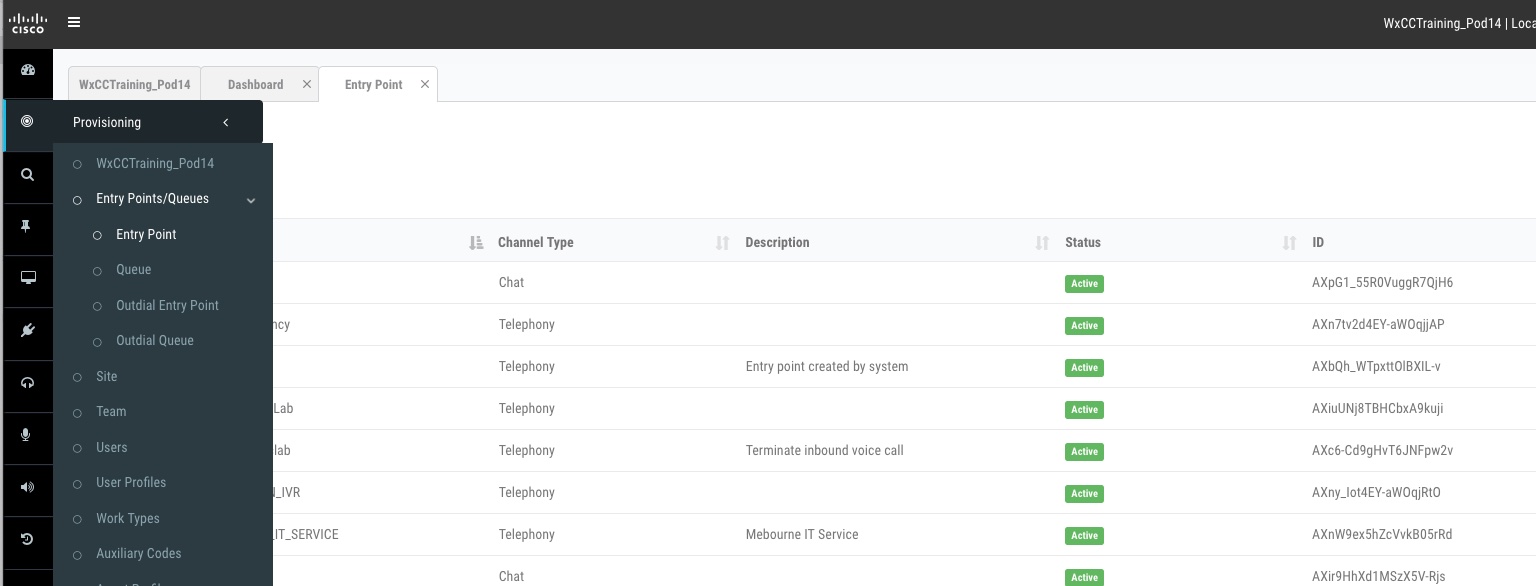
- Click on New Entry Point to create a new Entry point
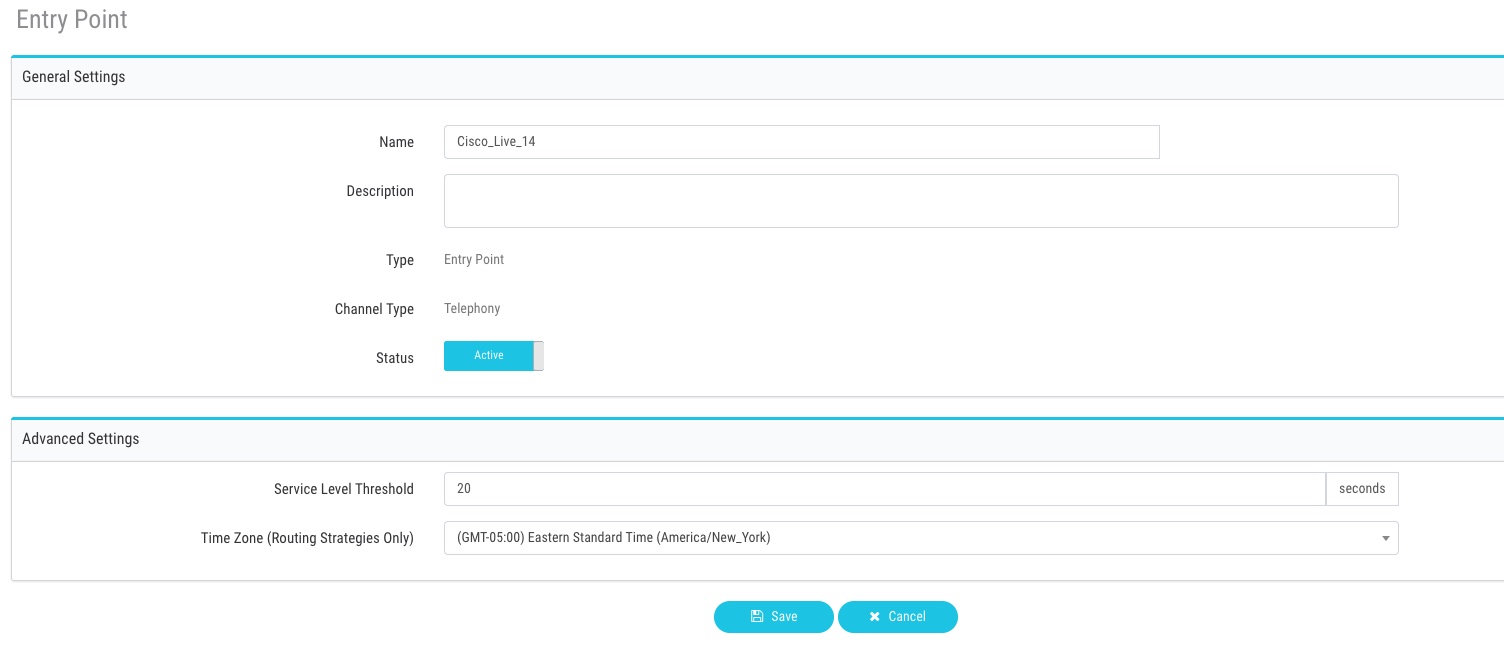
Name –> The name of the entry point.
Channel Type Choose a channel type, such as Telephony, Email, and Chat. The default channel type is Telephony.
Service Level Threshold –>Enter the duration for which a customer request can be in a queue before the system flags it as outside the service level. If the agent completes a customer service request within this time interval, the system considers it within the service level.
Time Zone (Routing Strategies Only)
(Optional) Enter the time zone that routing strategies use for this entry point.
The default time zone is the Tenant’s time zone.
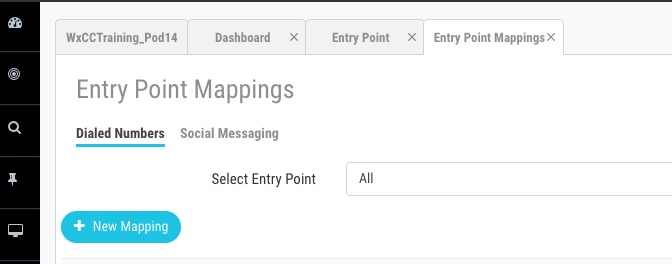
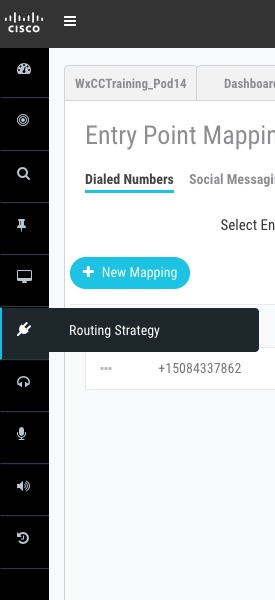
- To Map an Entry point created with a Dial Number, Click Provisioning–>EntryPoint Mapping
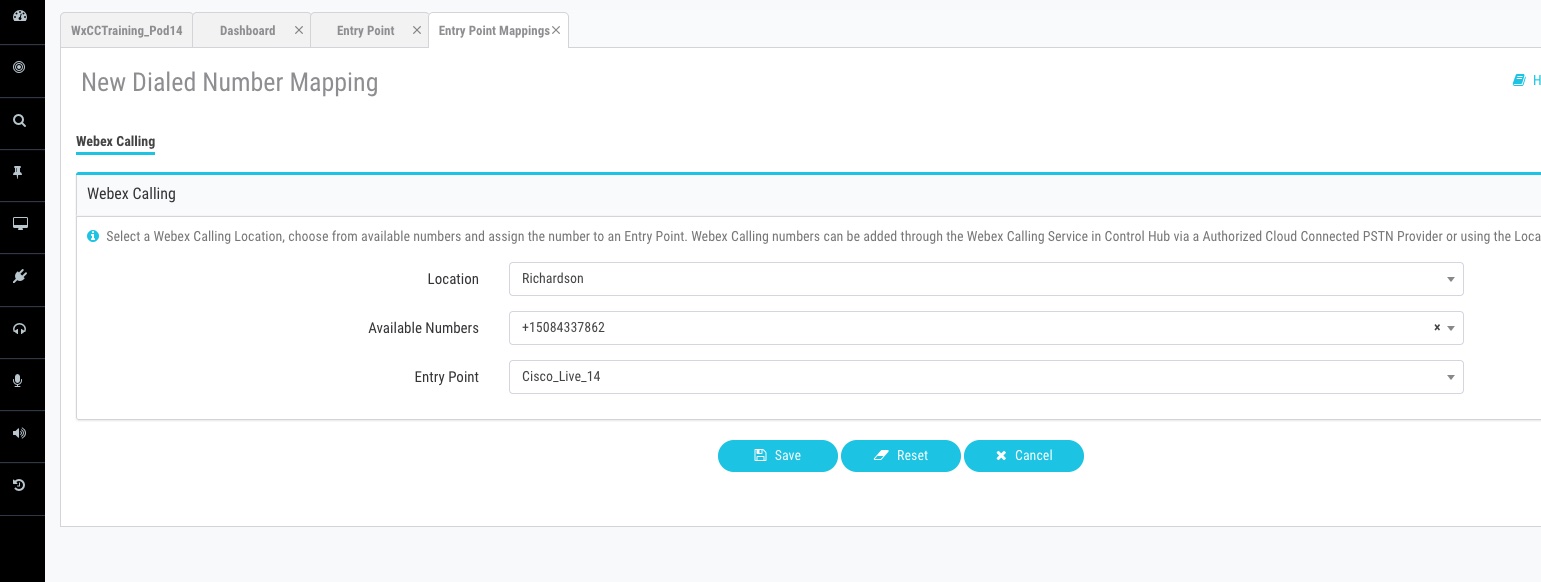
- Click on New Mapping
- upon selecting Location all number associate to that location will be available for mapping, choose available Number and map it with the Entry point created at step 4
- Next step is creating a flow, to create first flow click on Routing Strategies from the portal and click on Flows and click New
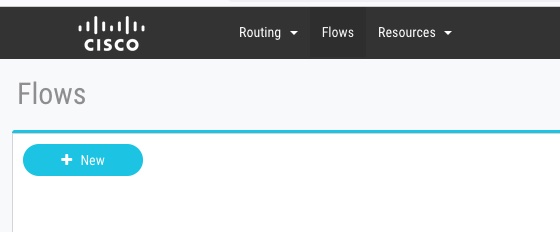
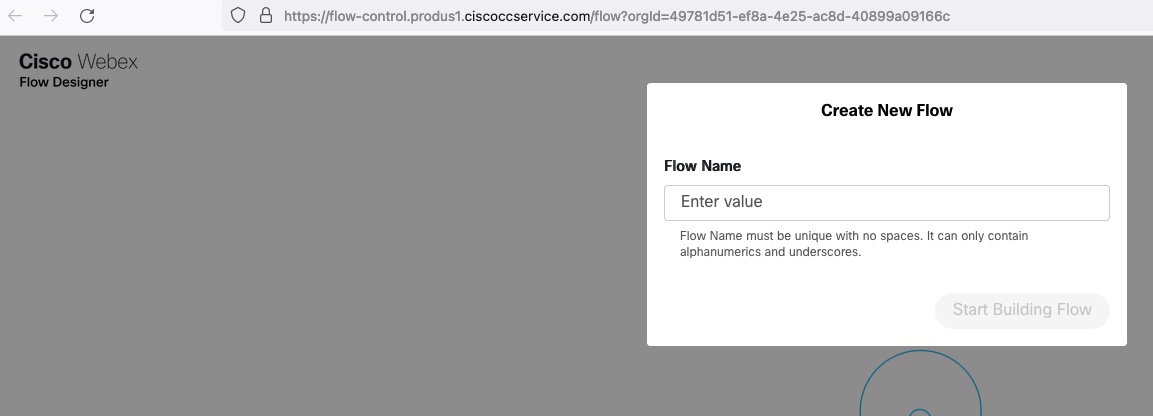
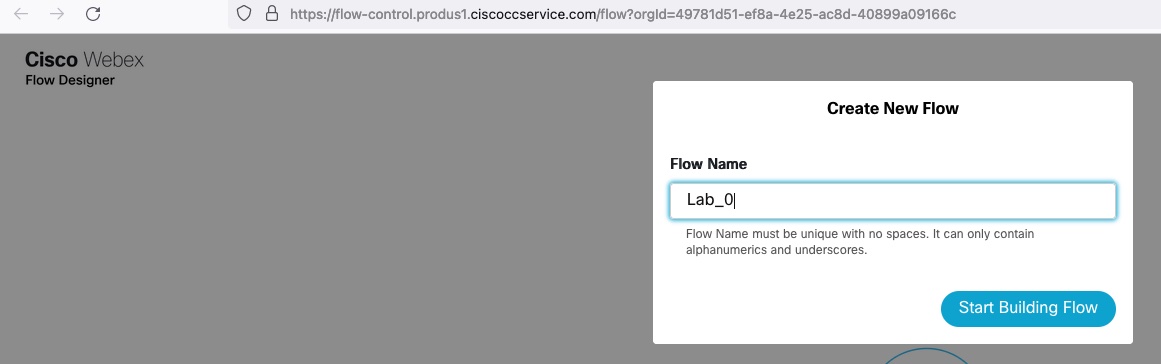
- Give any name and click on Start Building Flow
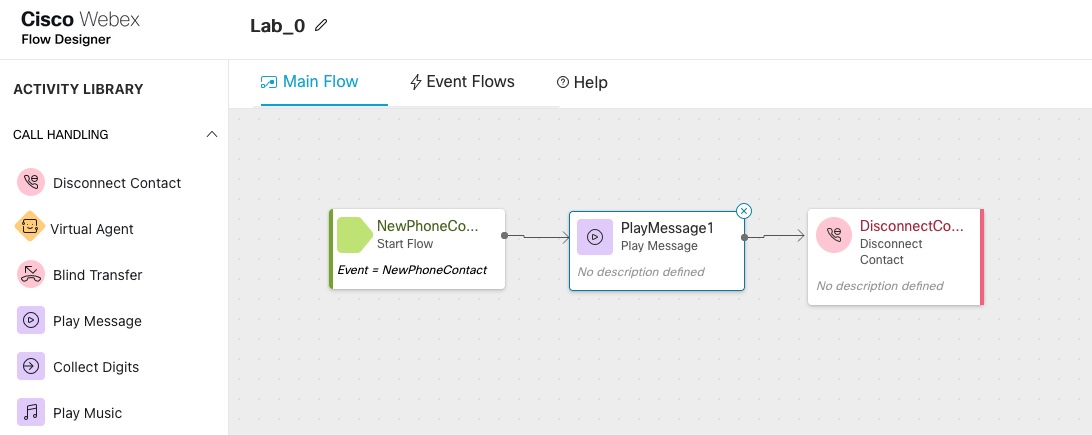
- From the Flow Pallete, drag and drop Play Message Node and Disconnect Node and connect all nodes
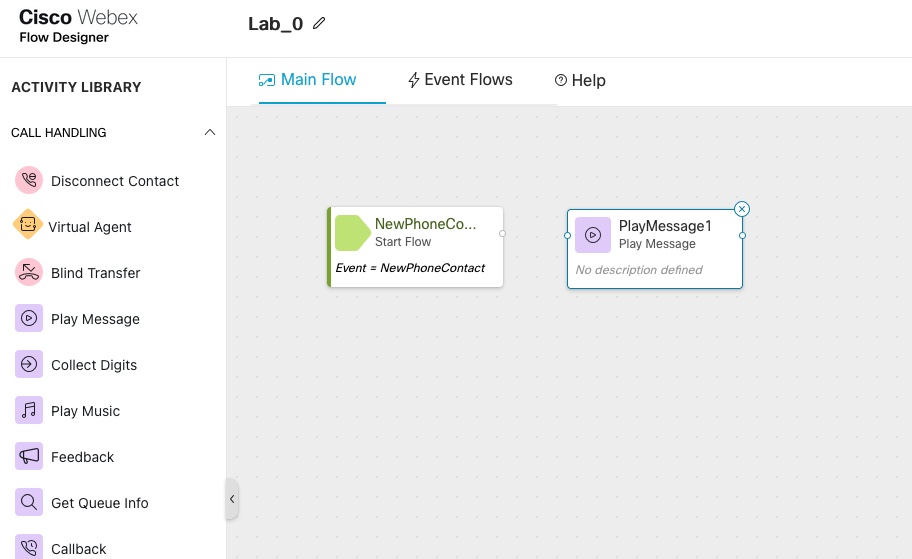
- Click on Play Message node to select the voice prompt
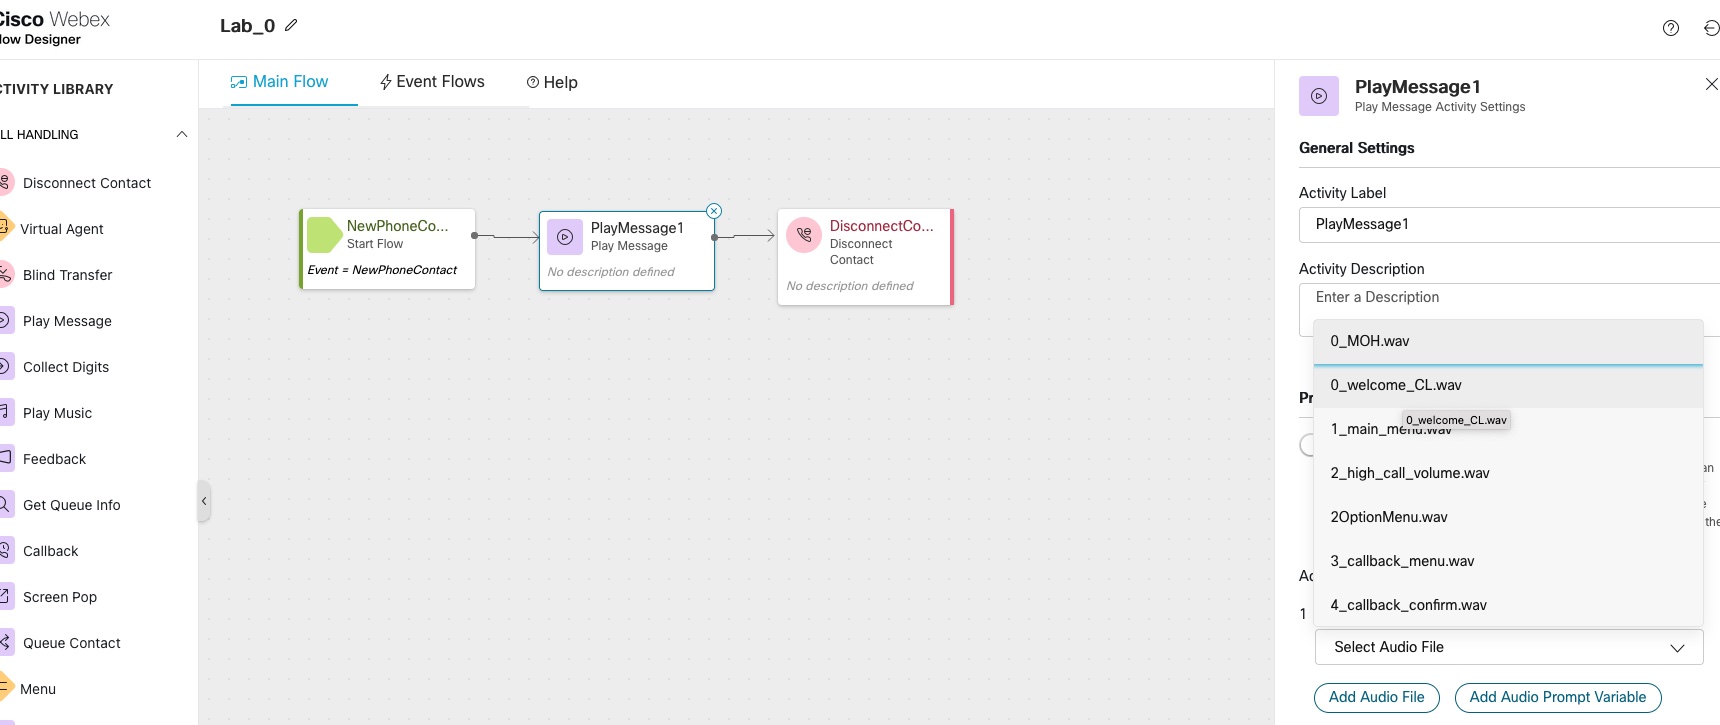
Note all the prompts are pre loaded in the lab under Routing Strategies–>Resources
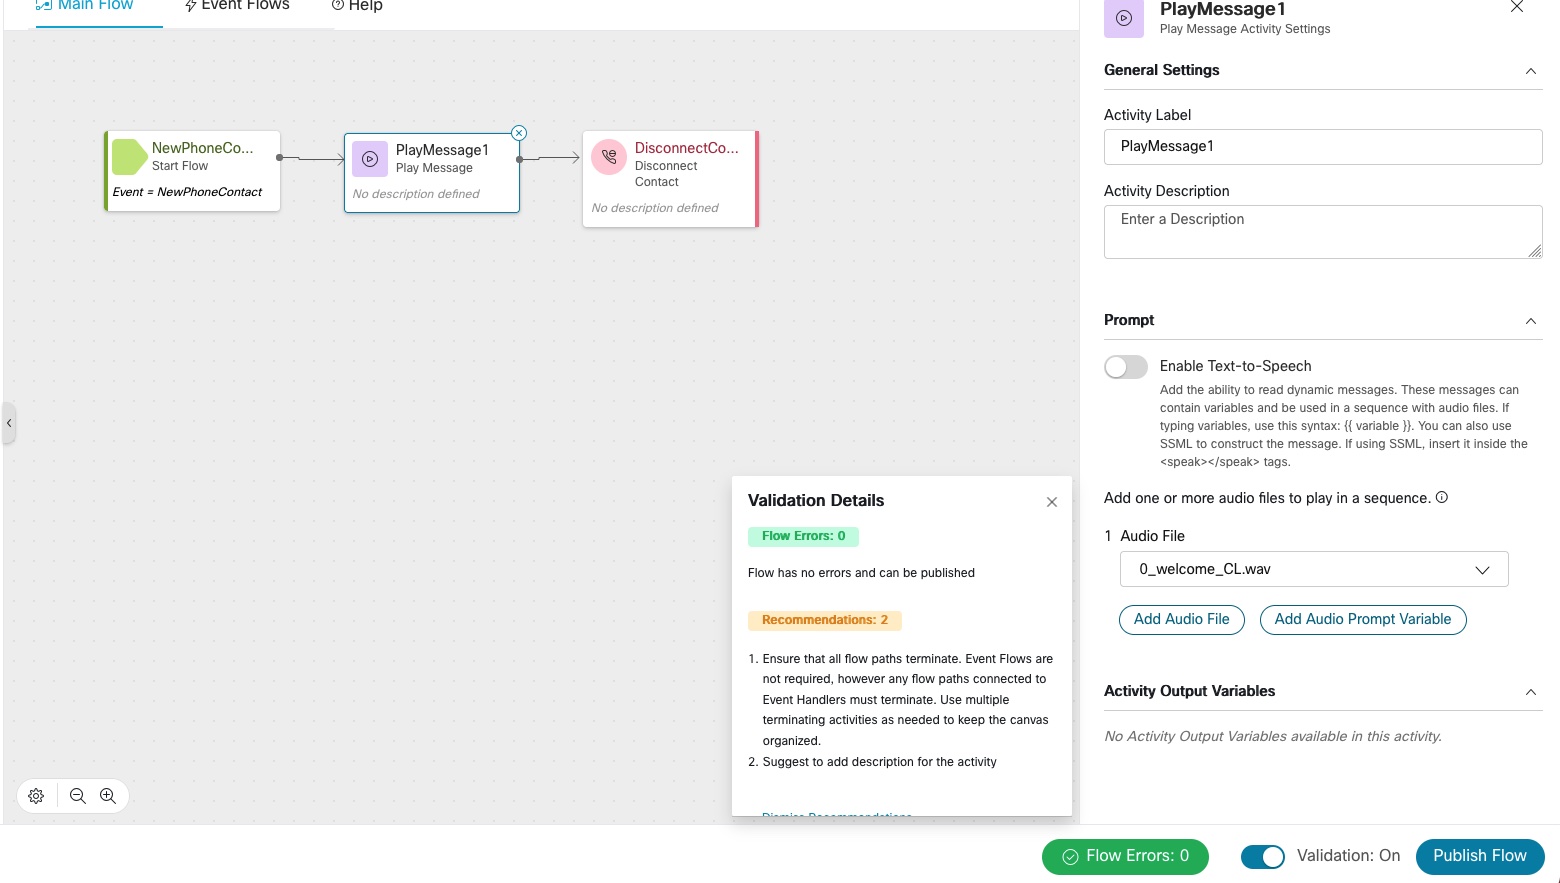
- Enable Validation and Publish the flow
- Routing Strategies tags the flow created with an Entry point, to create routing strategies click on Routing Strategies–>New Strategy
- Create a Routing strategy which act as a Bridge between an EntryPoint and Flow
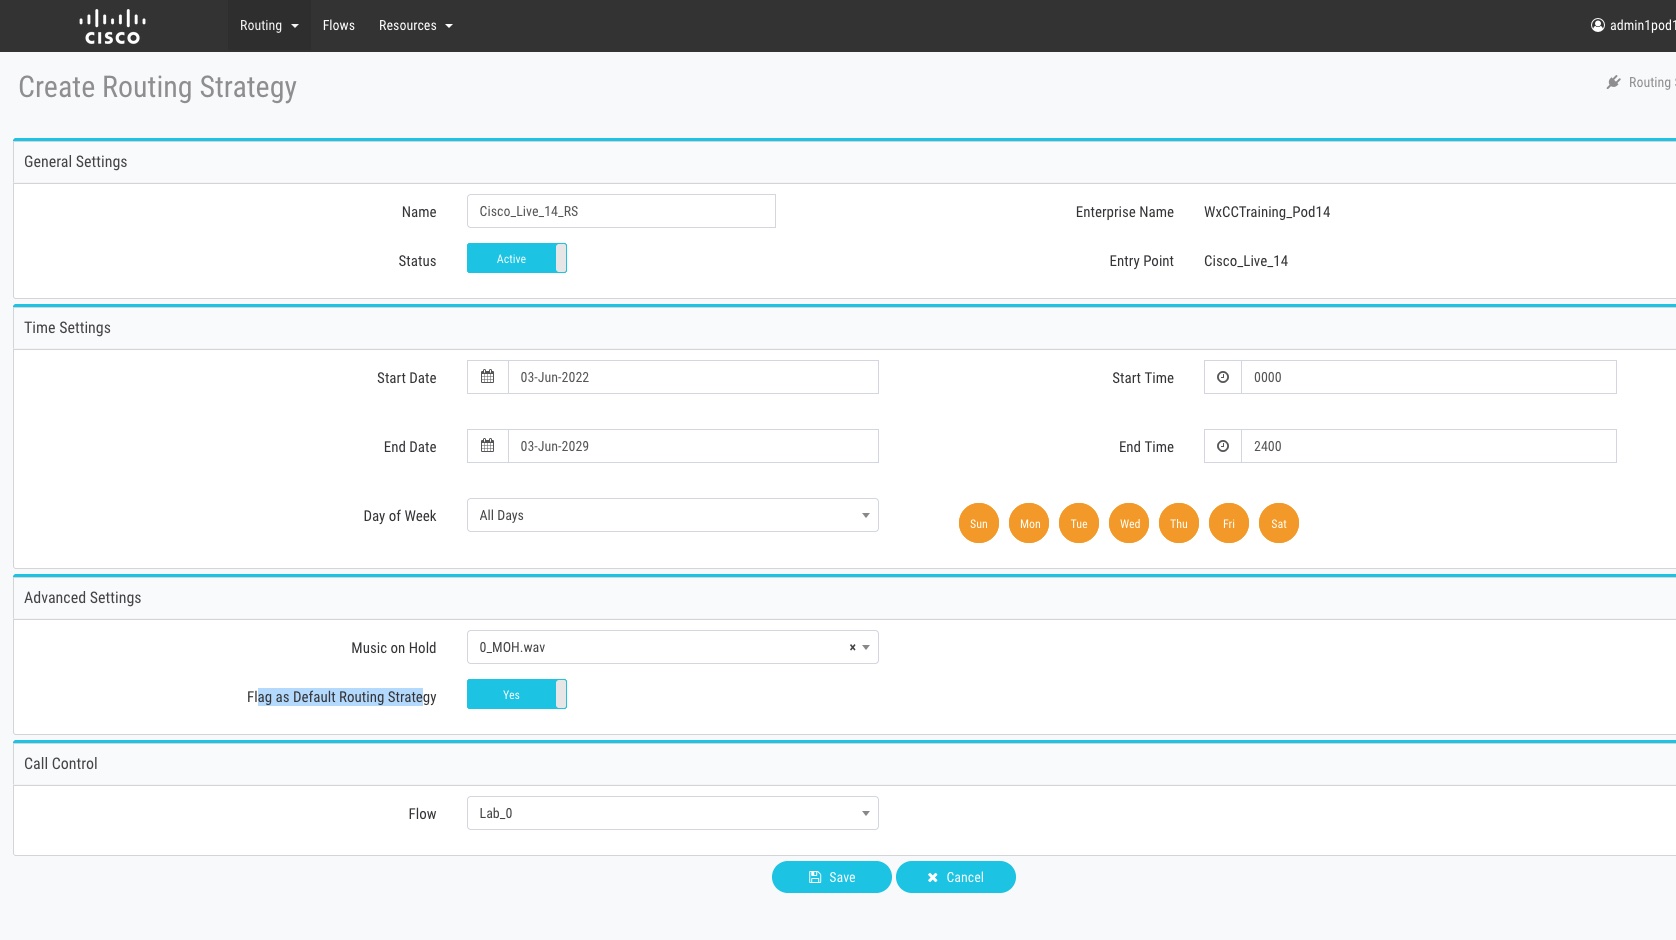
For each entry point, you should create a set of default routing strategies that cover all time intervals. In addition, you can schedule an alternate strategy beyond the default strategy for any time interval. For example, EP 1 could have a BusyHourStrategy for the normal day shift and an OffHoursStrategy for non-business hours.
Flag the normal daily schedule as the default strategy. You can create a non-default strategy, such as a holiday schedule for a time interval that overlaps the default strategy. A strategy that is not flagged as default overrides a default strategy and is used as an exception to the default schedule. This means that the system first checks for a strategy that is not flagged as default, and if none exists, the system uses the default strategy.
- As a last step make sure the routing strategy becomes Current
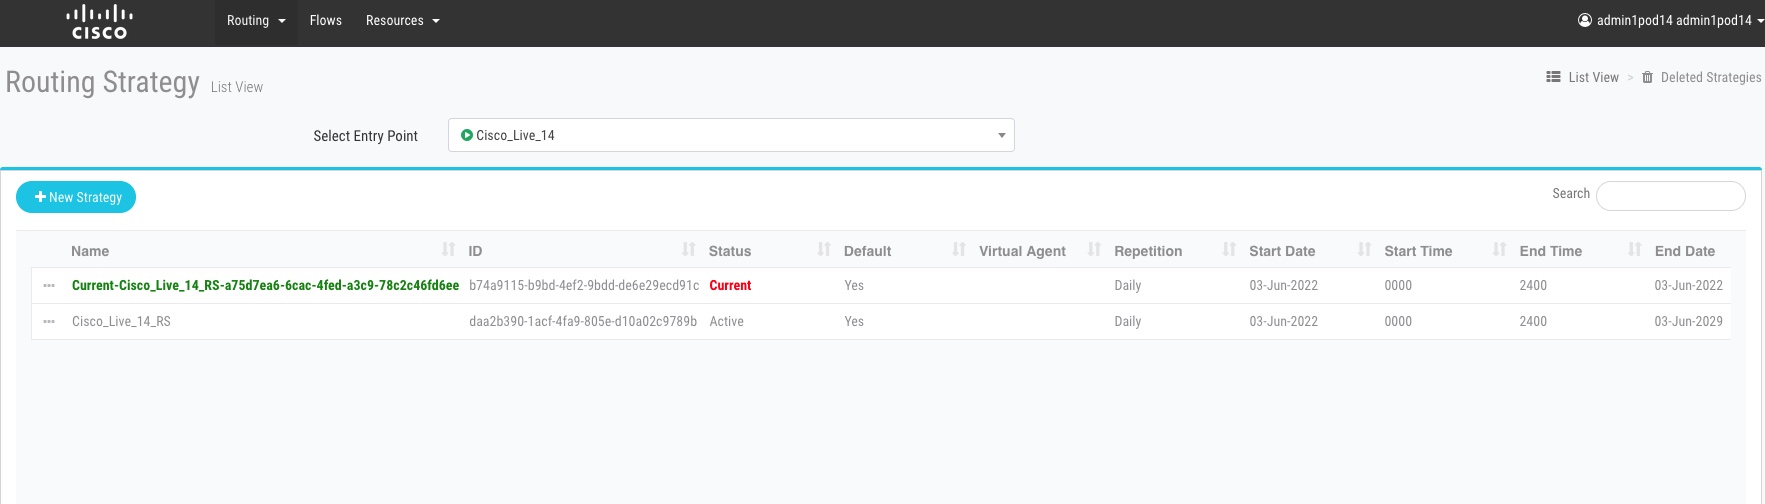
Lab Validation
Dial the Number from your mobile phone and make sure you hear the welcome voice prompt
Lab Support
Proctors is your number 1 contact. If you need assistance just raise your hand.
All registered participants are also added to the support room where the engineering and Product Management team is added. As an alternative way, you can use that space for any questions related to the Flow Control.