Table of Contents
Table of Contents
Introduction
Recap
In the first Lab, we Learned
- Bring the contact into Webex Contact Center and hear welcome message
Lab Objective
In this section, we will go over the steps that are required to Login an Agent and Queue contact to an Agent . In this Lab you will learn the following
- Creating Site, Queue, Team
- Agent Desktop Login
- Enhance the Flow created in Lab 0 to add steps to queue contact to Agent
Pre-requisites
- Basic IVR flow worked, caller can connect to WXCC and hear welcome music
Quick Links
Control Hub: https://admin.webex.com
Portal: https://portal.wxcc-us1.cisco.com/portal
Agent Desktop: https://desktop.wxcc-us1.cisco.com\
Lab Section
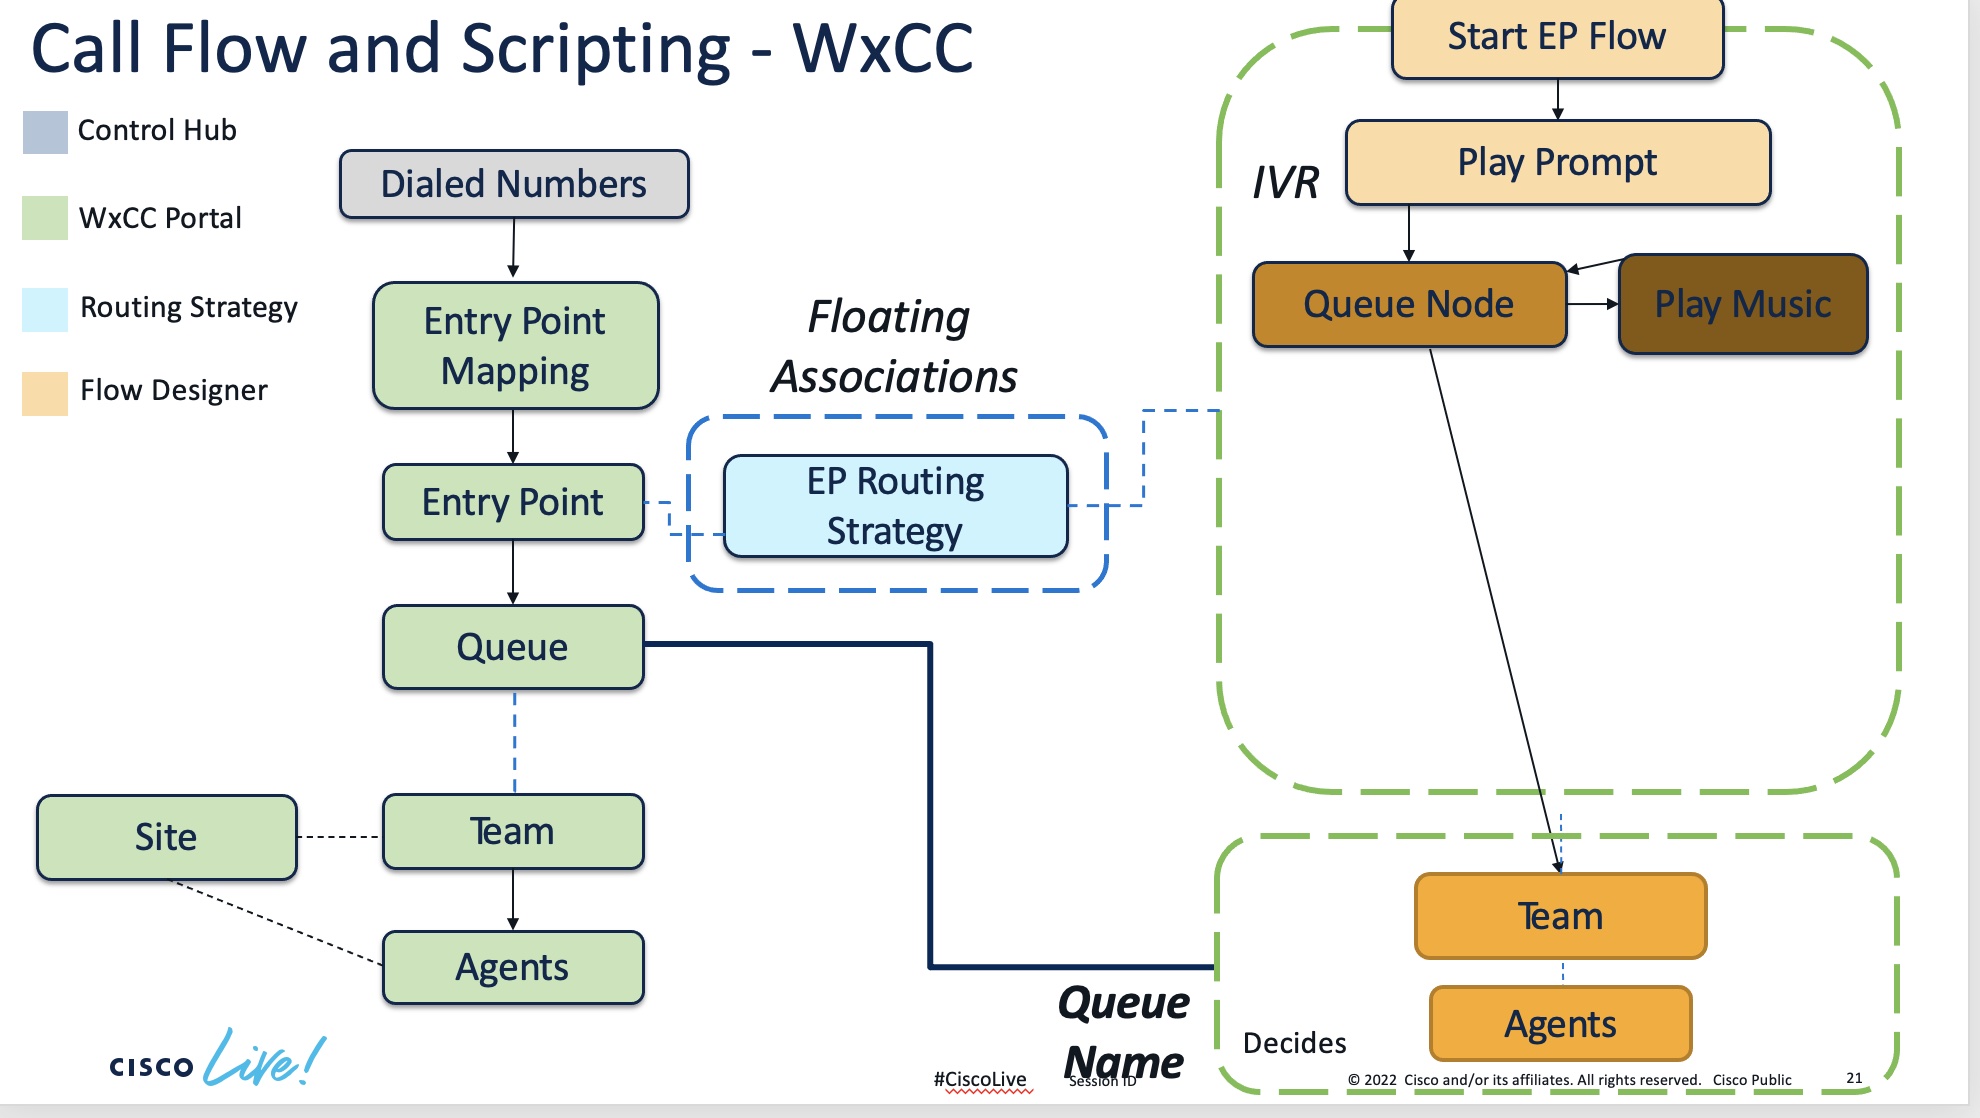
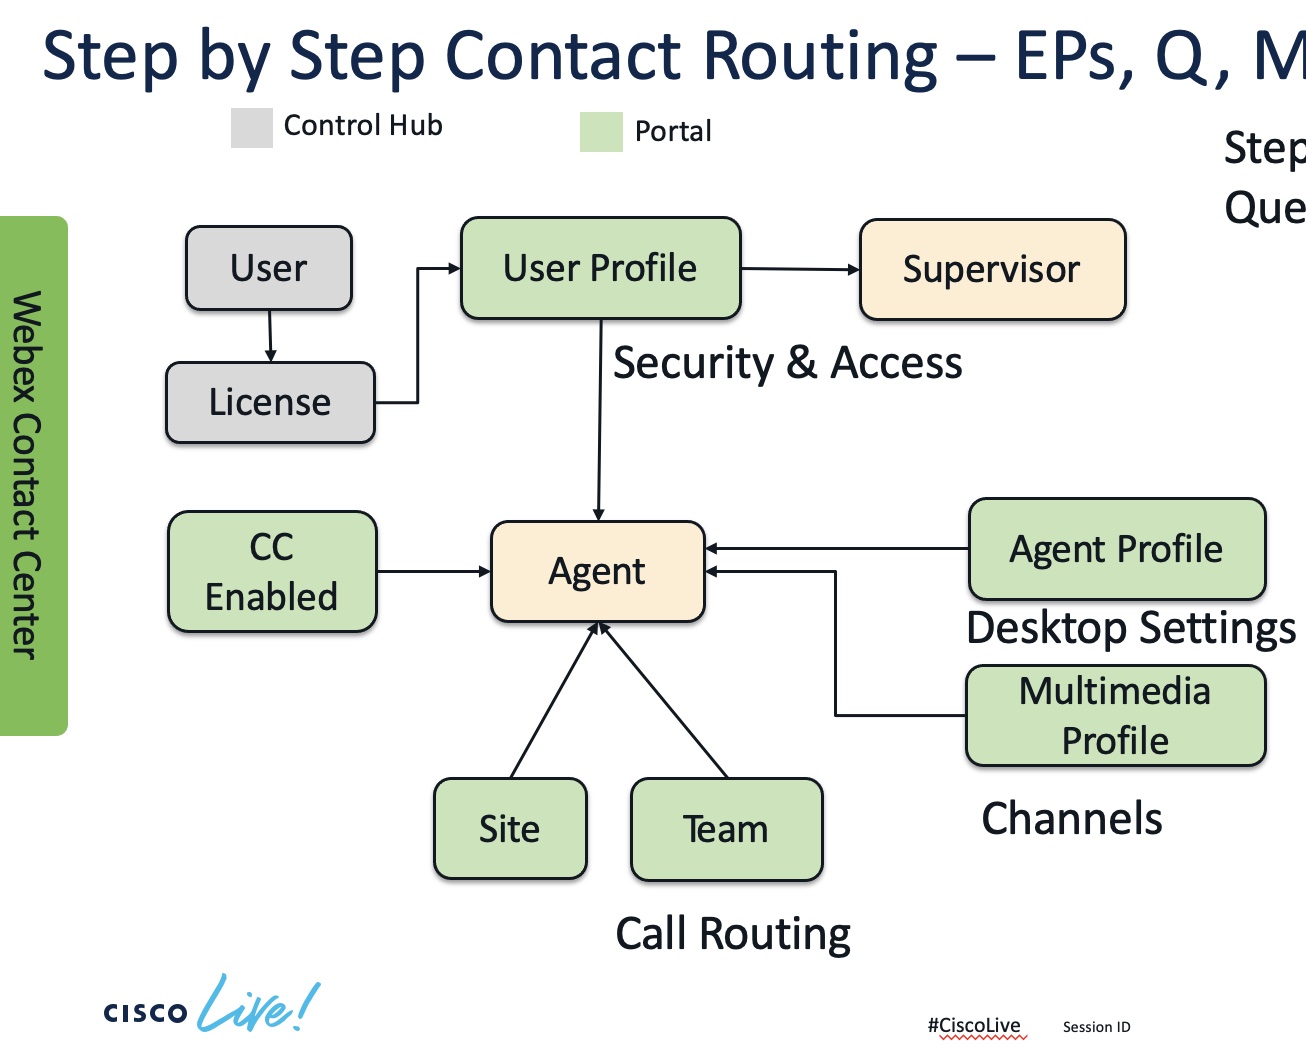
Site Team Agent
Site – A site is a physical contact center location under the control of your enterprise. For example, enterprise Acme can have sites in Chicago, Manila, and Bangalore with agents to handle customer contacts.
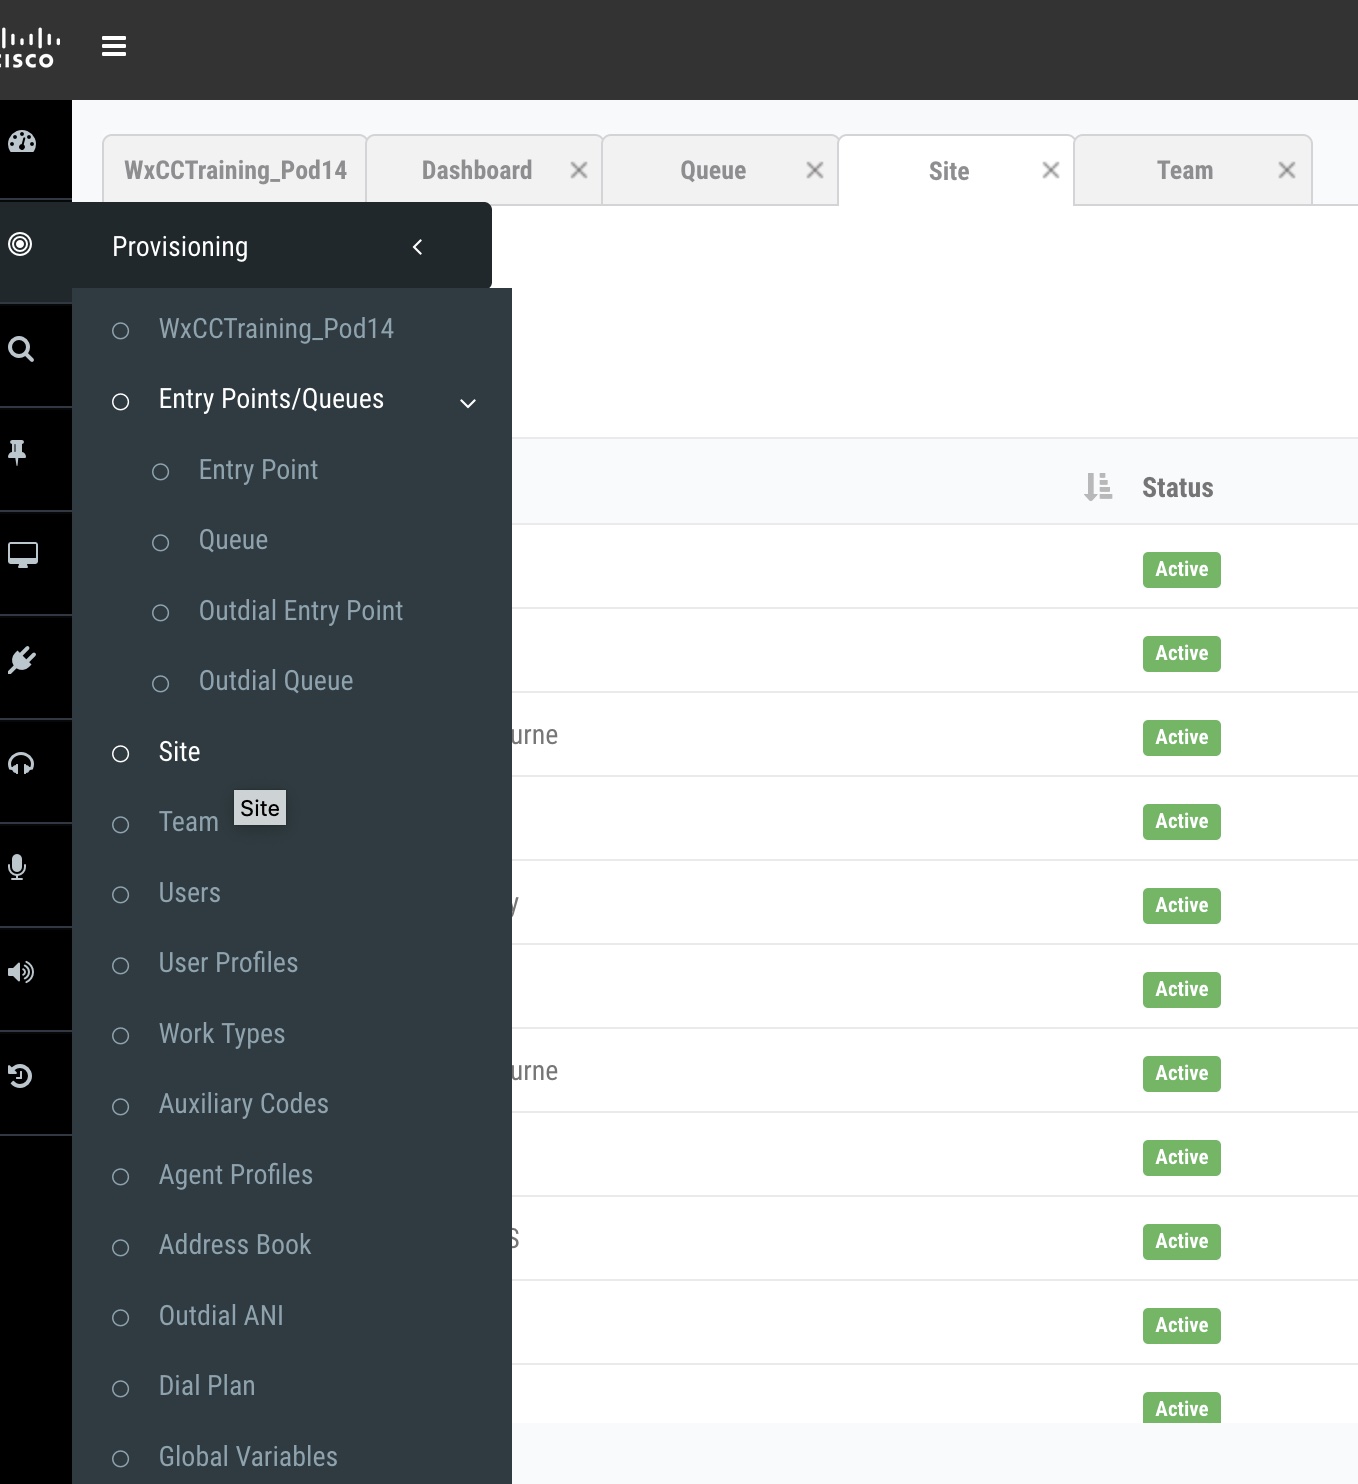
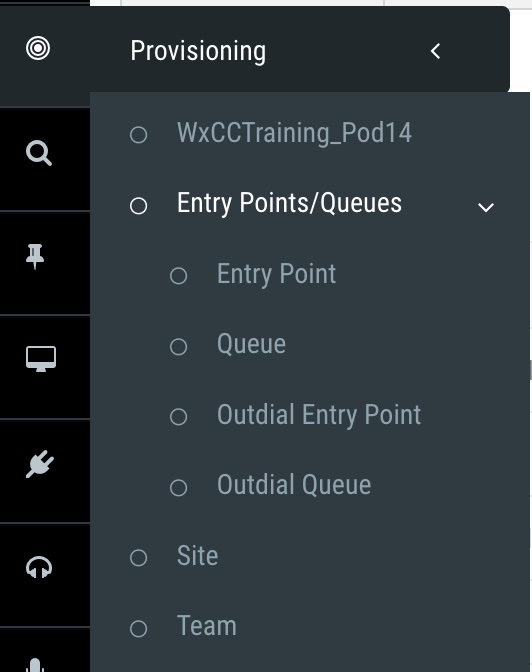
To create a Site, Login to portal–>Provisioning–>Sites
.
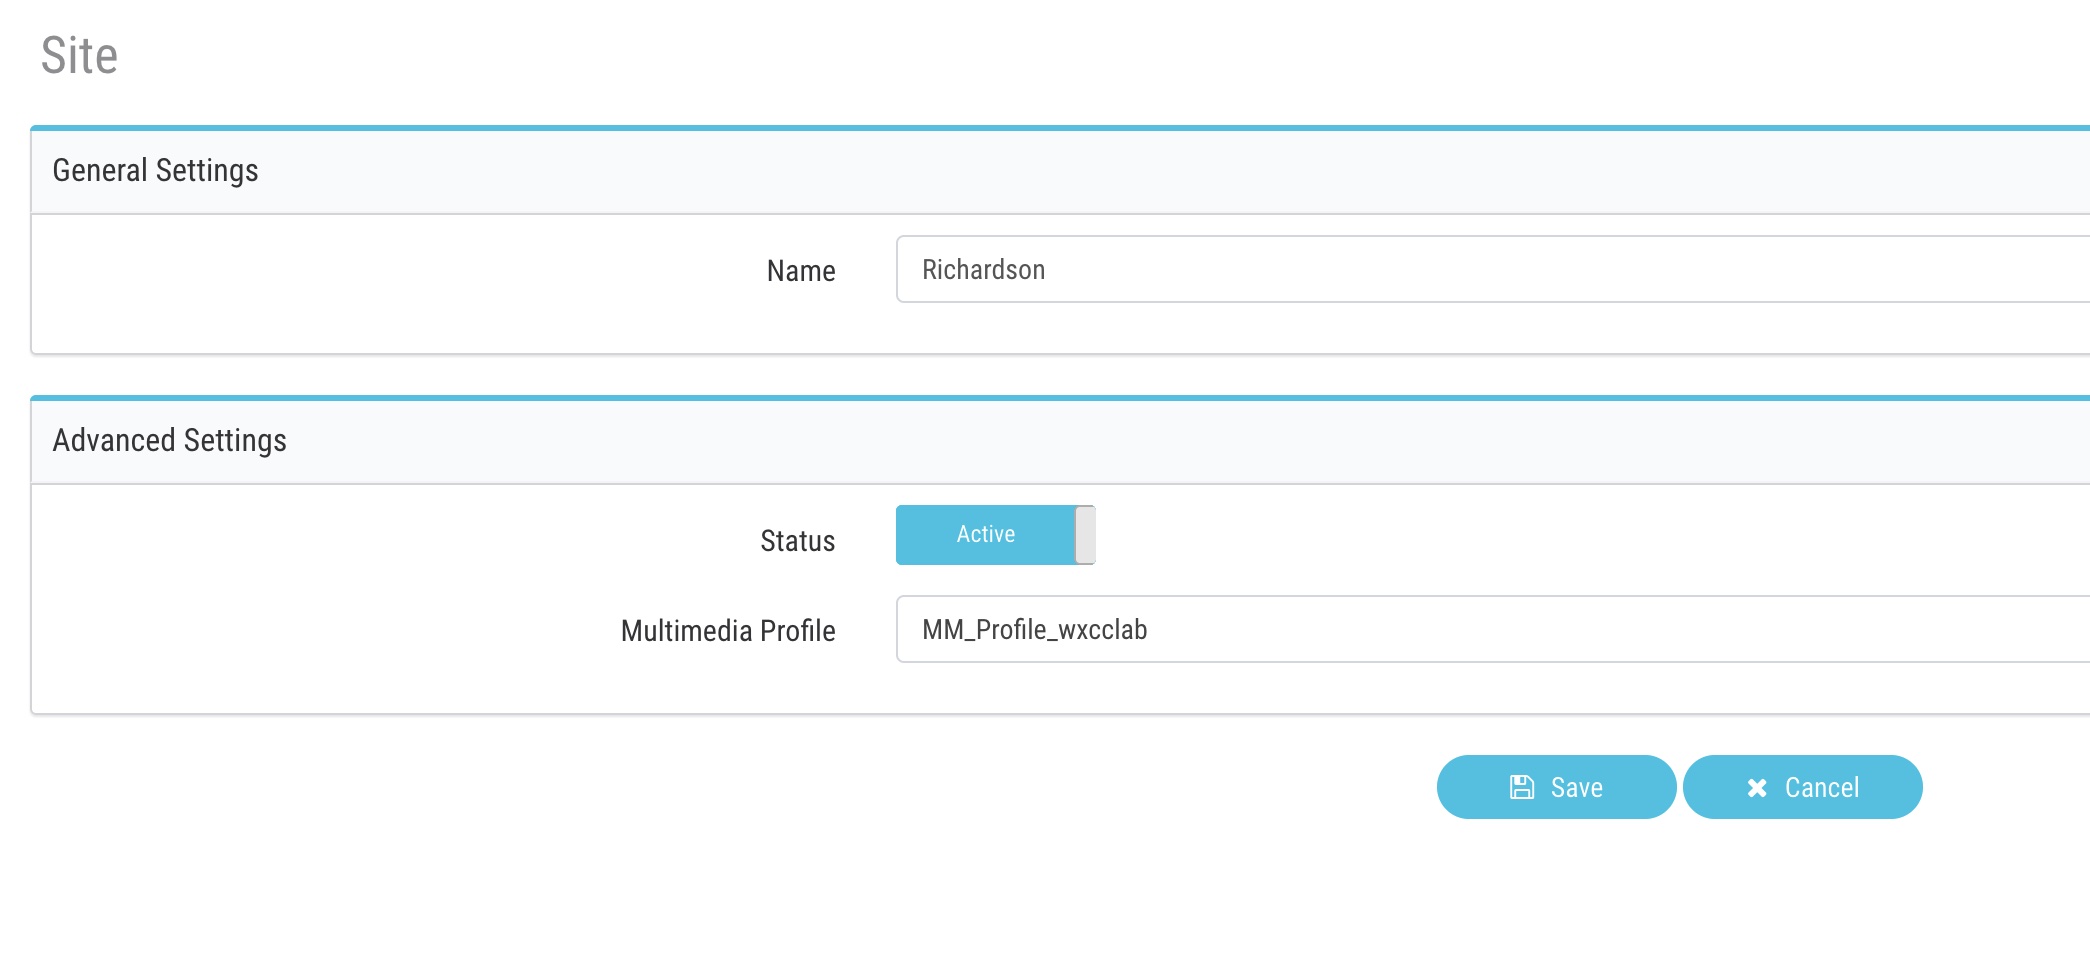
- IMPORTANT NODE For this lab, we use the site tagged to admin user, check your admin user and create team part of the same site
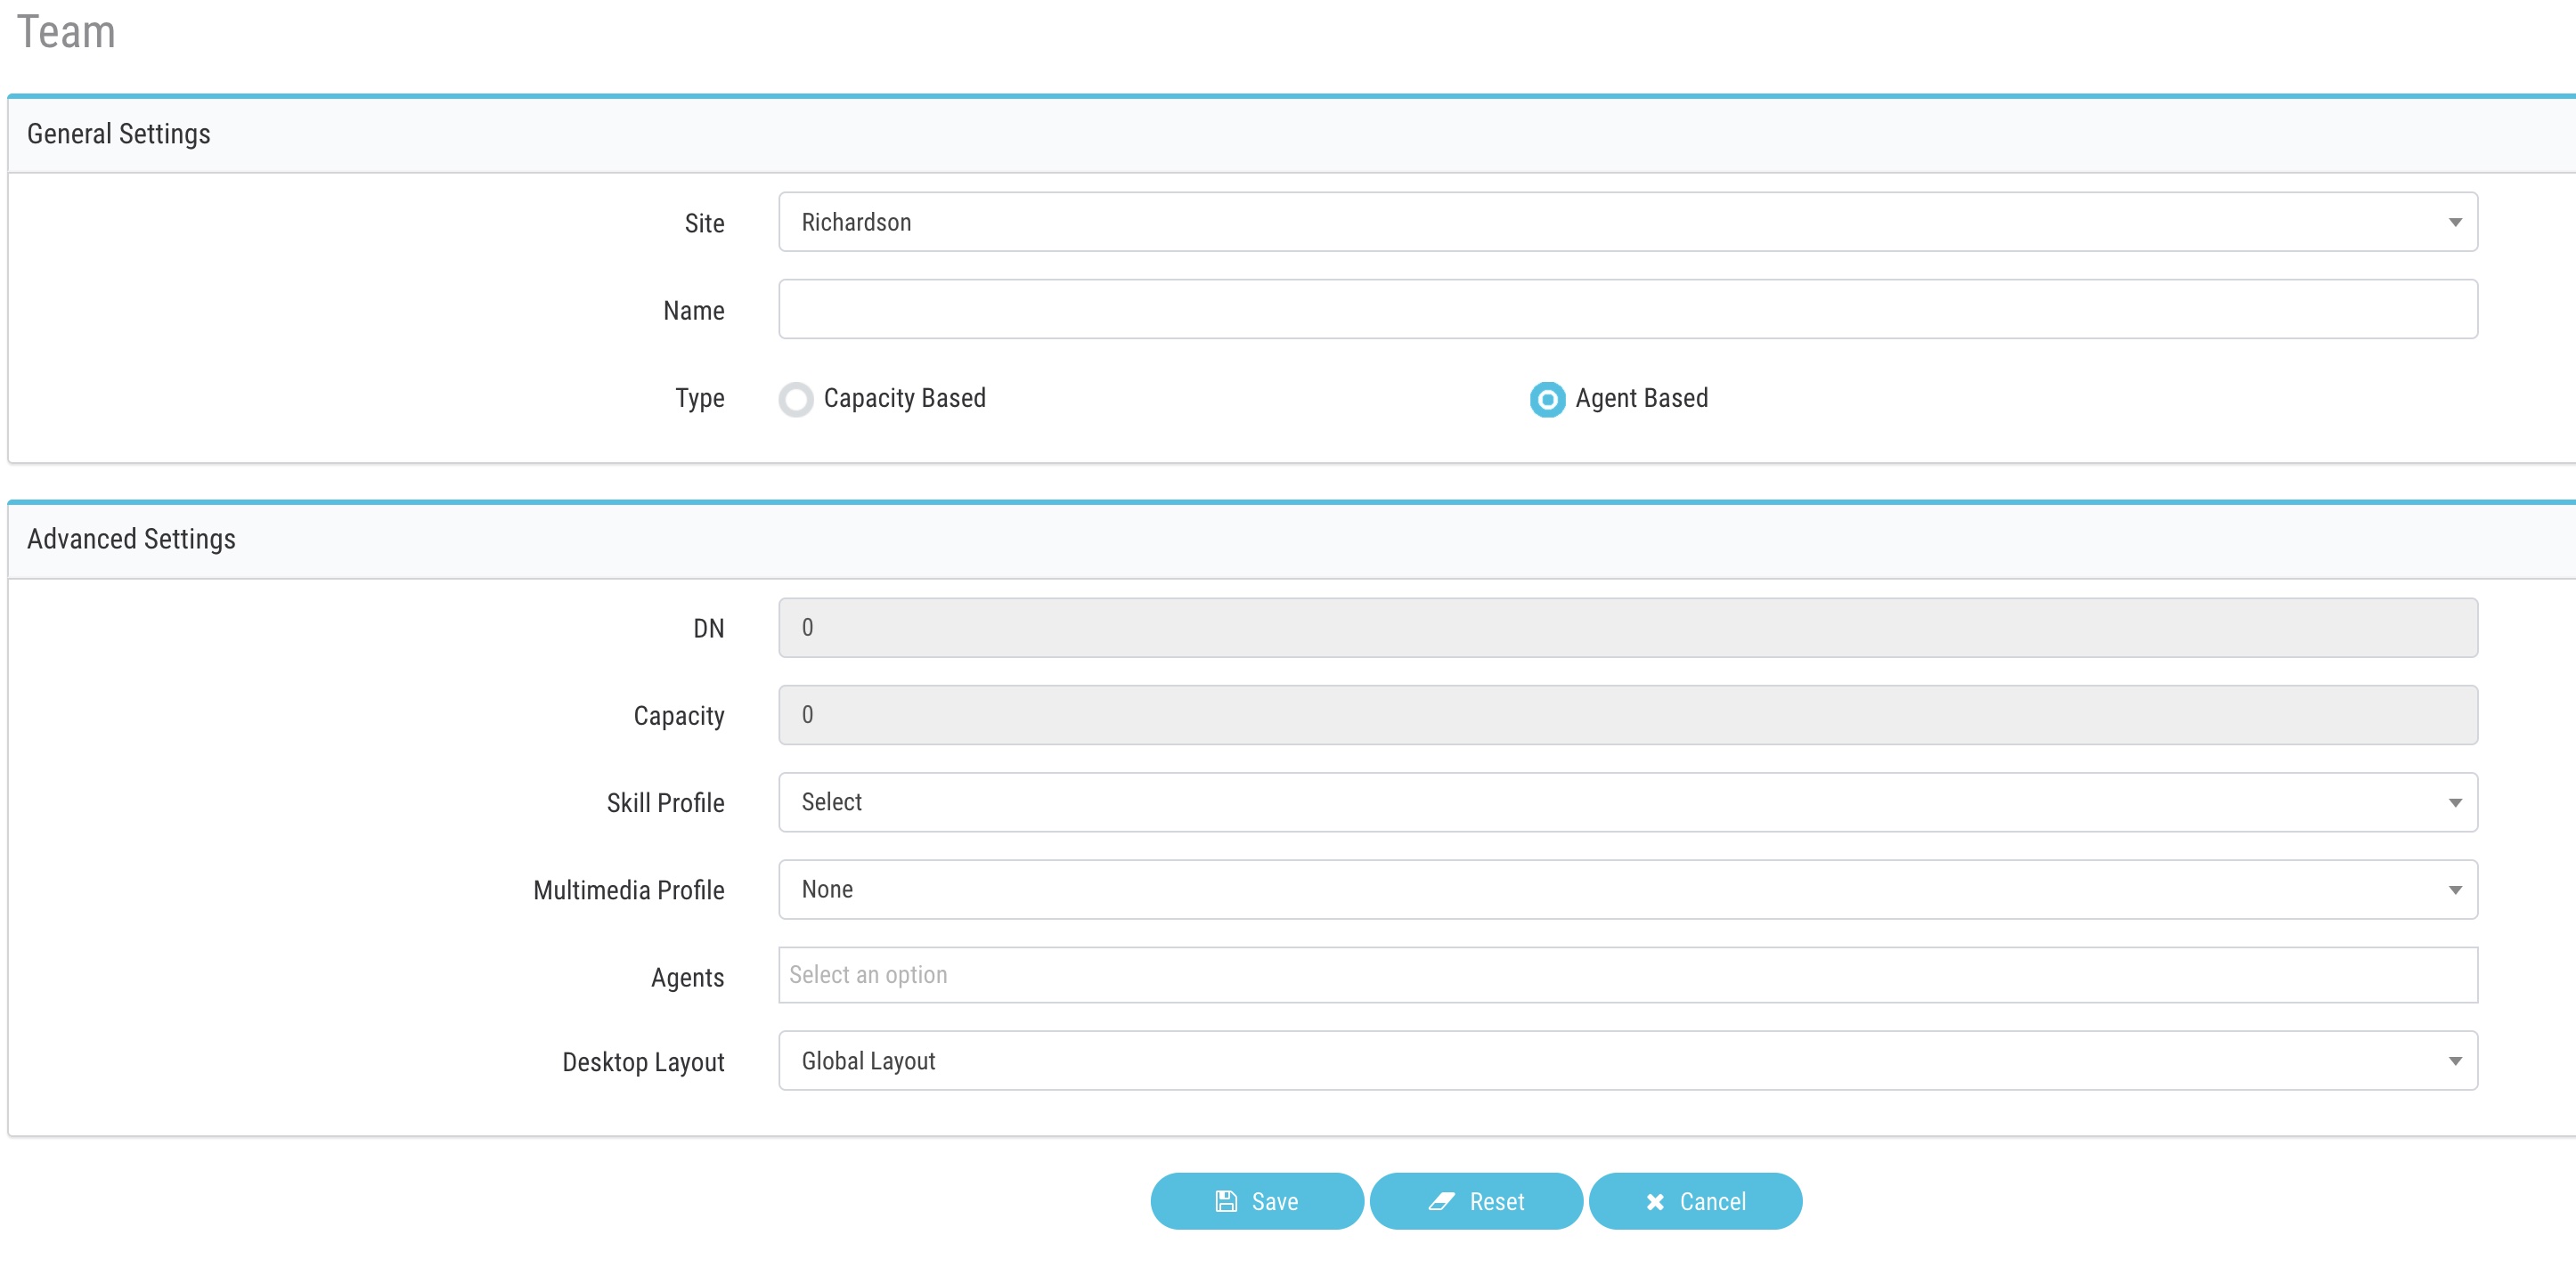
Team
TEAM – A team is a group of people who support a specific group of functions. For example, supporting the Gold customers or managing billing, and so on. A team consists of agents.
To create a Site, Login to portal–>Provisioning–>Teams
Team is tagged to the site, and agents will login into team. Agent can have Skill and multimedia profile at the team level.If agents has skill and multimedia profile configured under Users that supersedes the one configured at team level
Agent aka Users
All the users added at control hub are by default synched to WxCC portal under Provisioning–>Users Based on the user profile, a User take different role(Agent, Supervisor, Administrator)
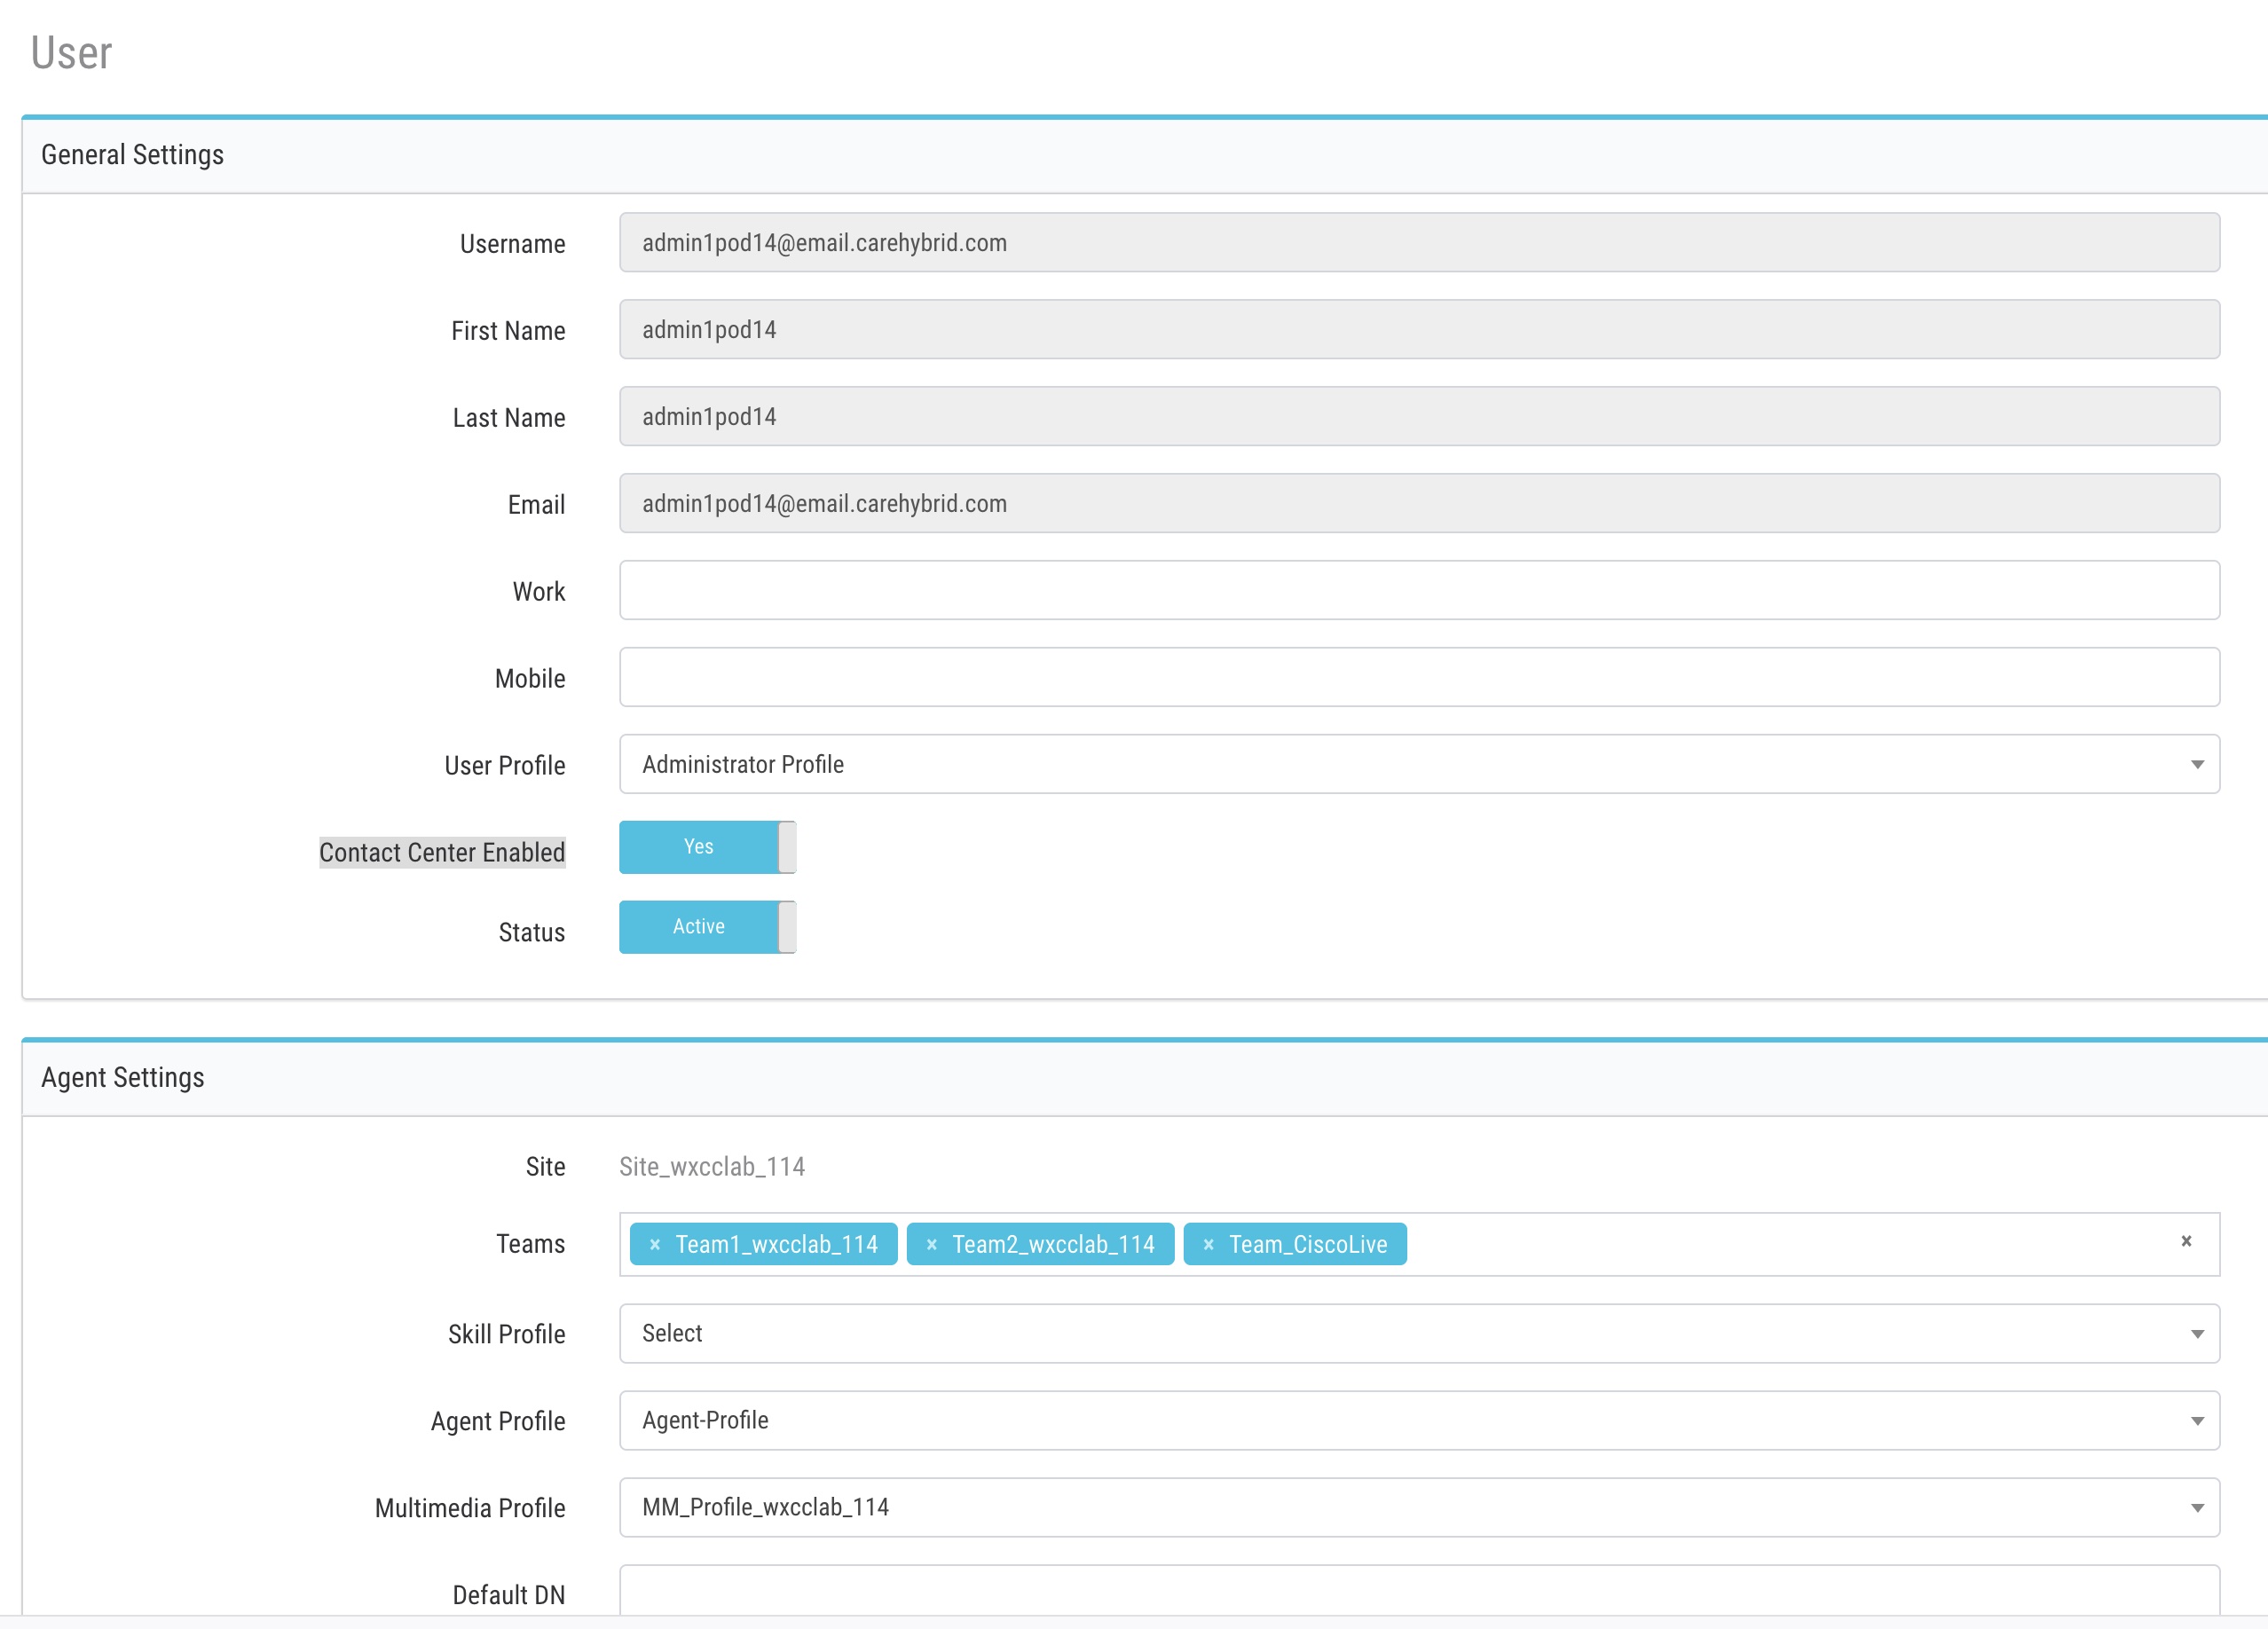
User with premium Agent license can log in as Agent as well as perform Admin tasks
Note In this Lab, we will using Admin user as Agent as well.
- IMPORTANT NODE For this lab, use Default Agent and Multimedia profile
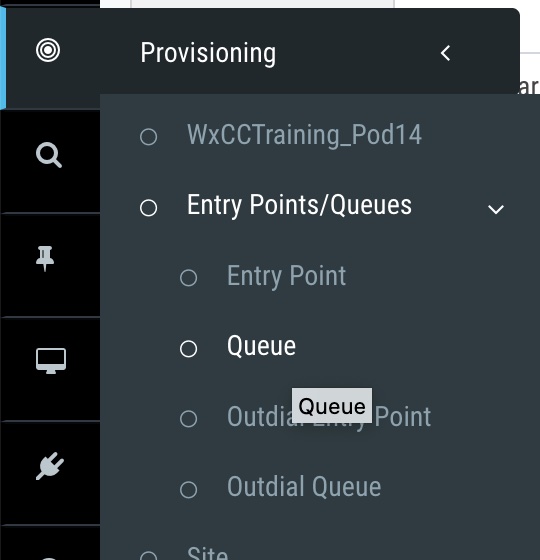
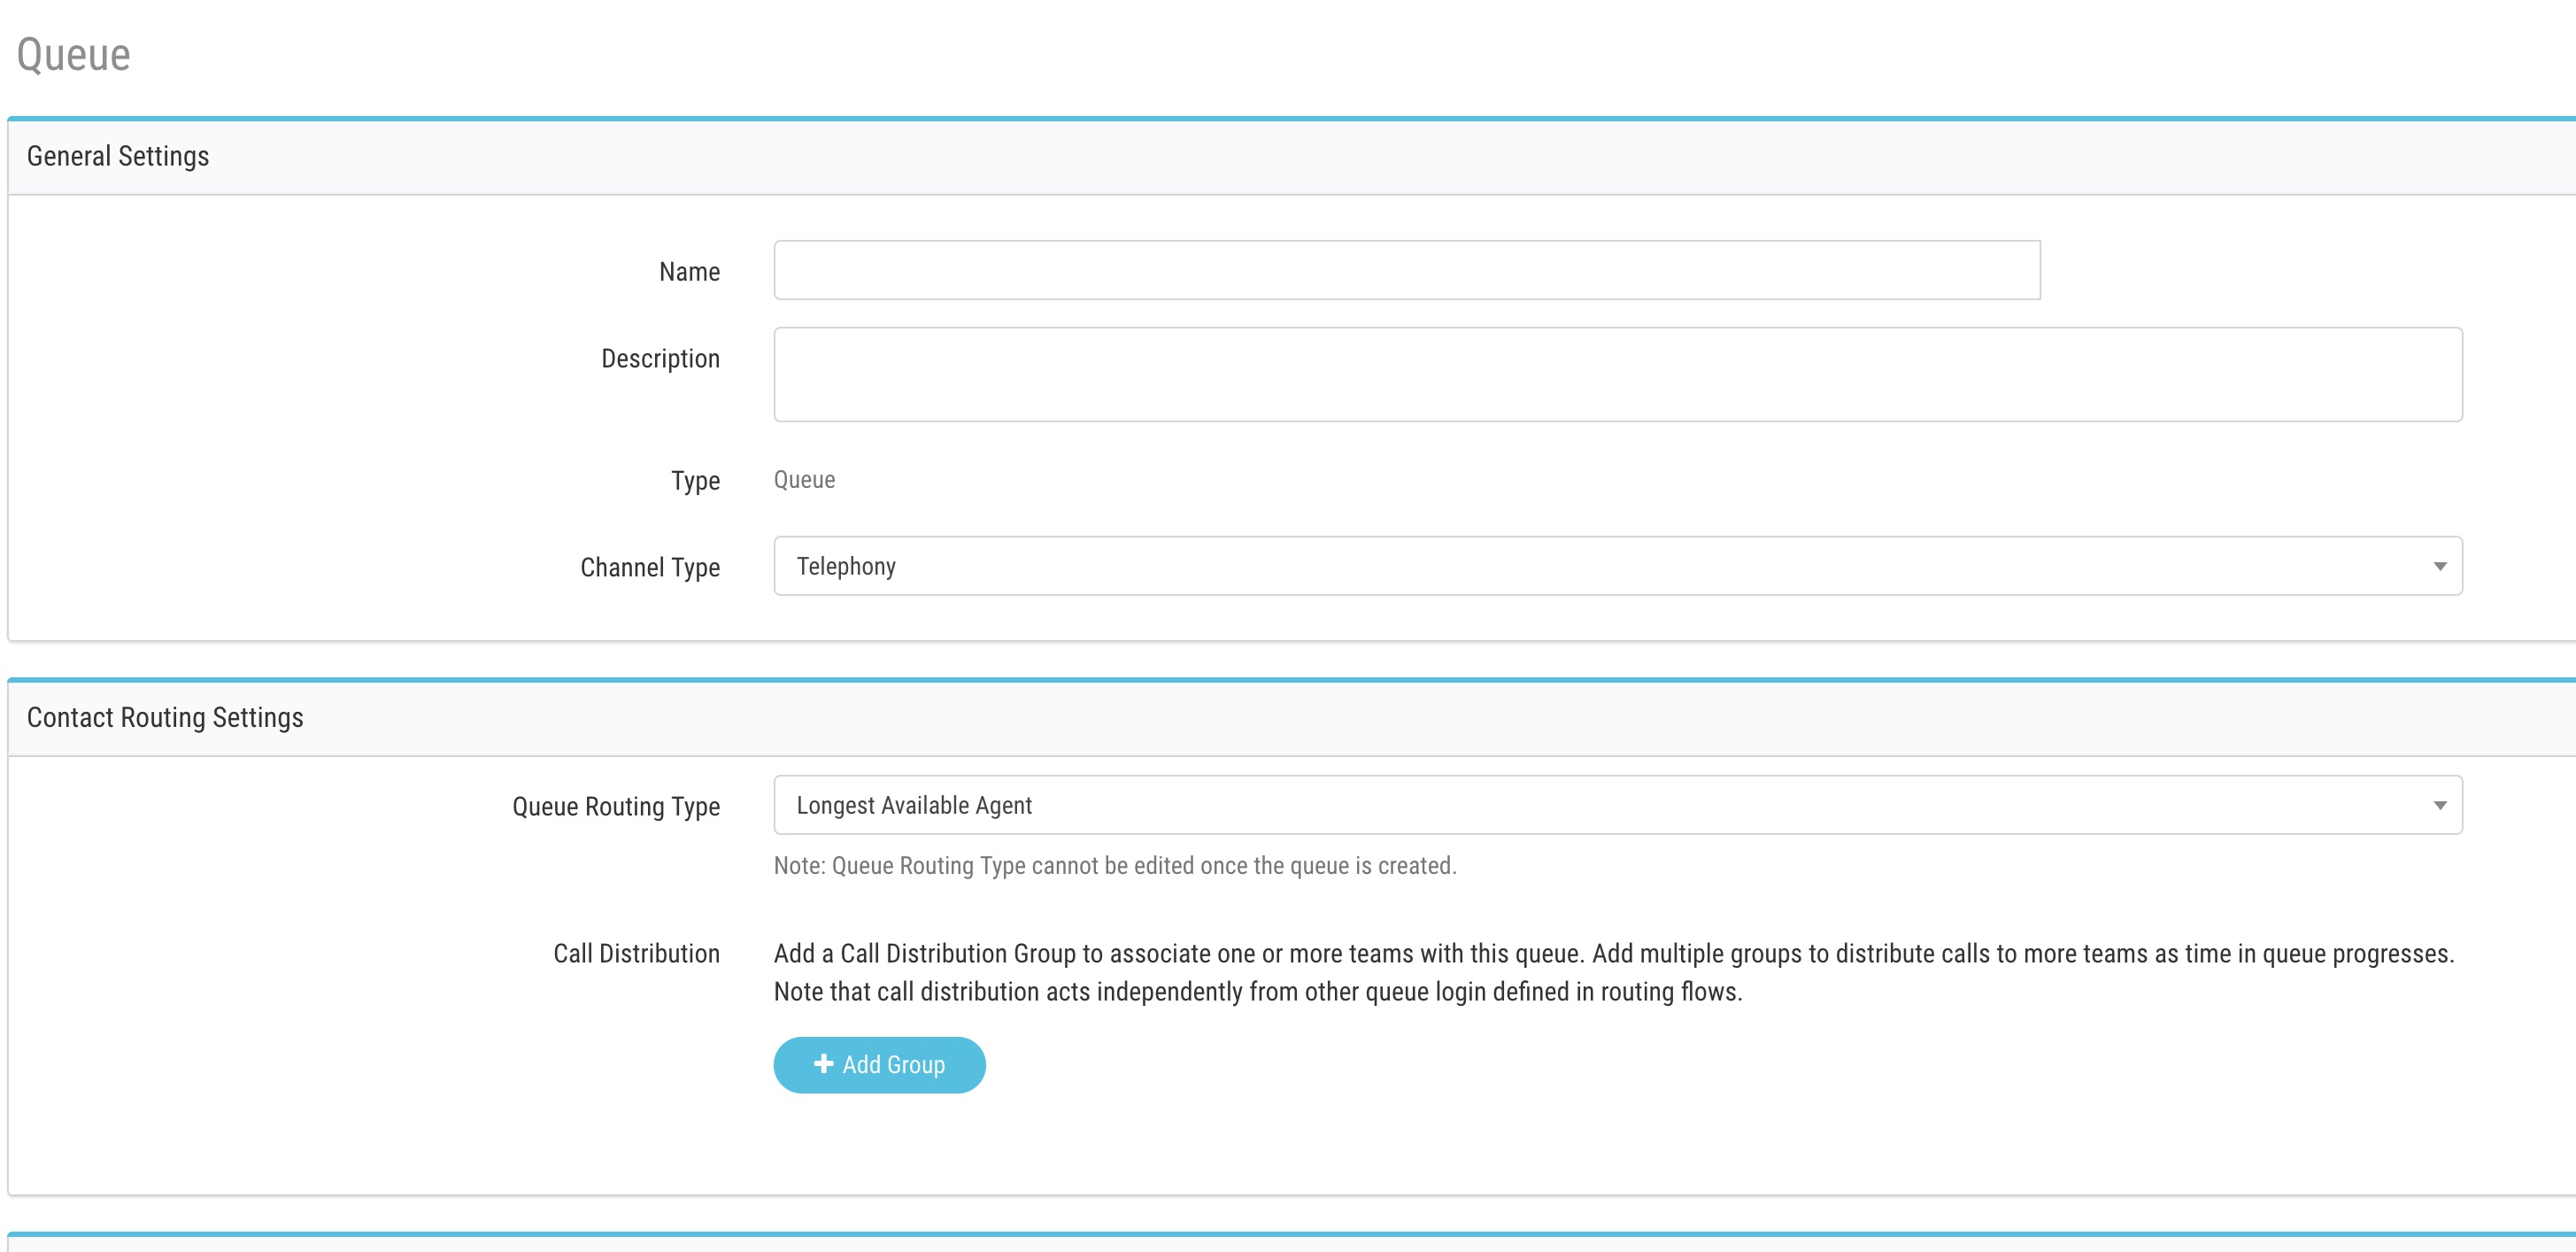
Create Queue
- From portal –>provisioning –>Create new queue
- add call distribution group aka Teams
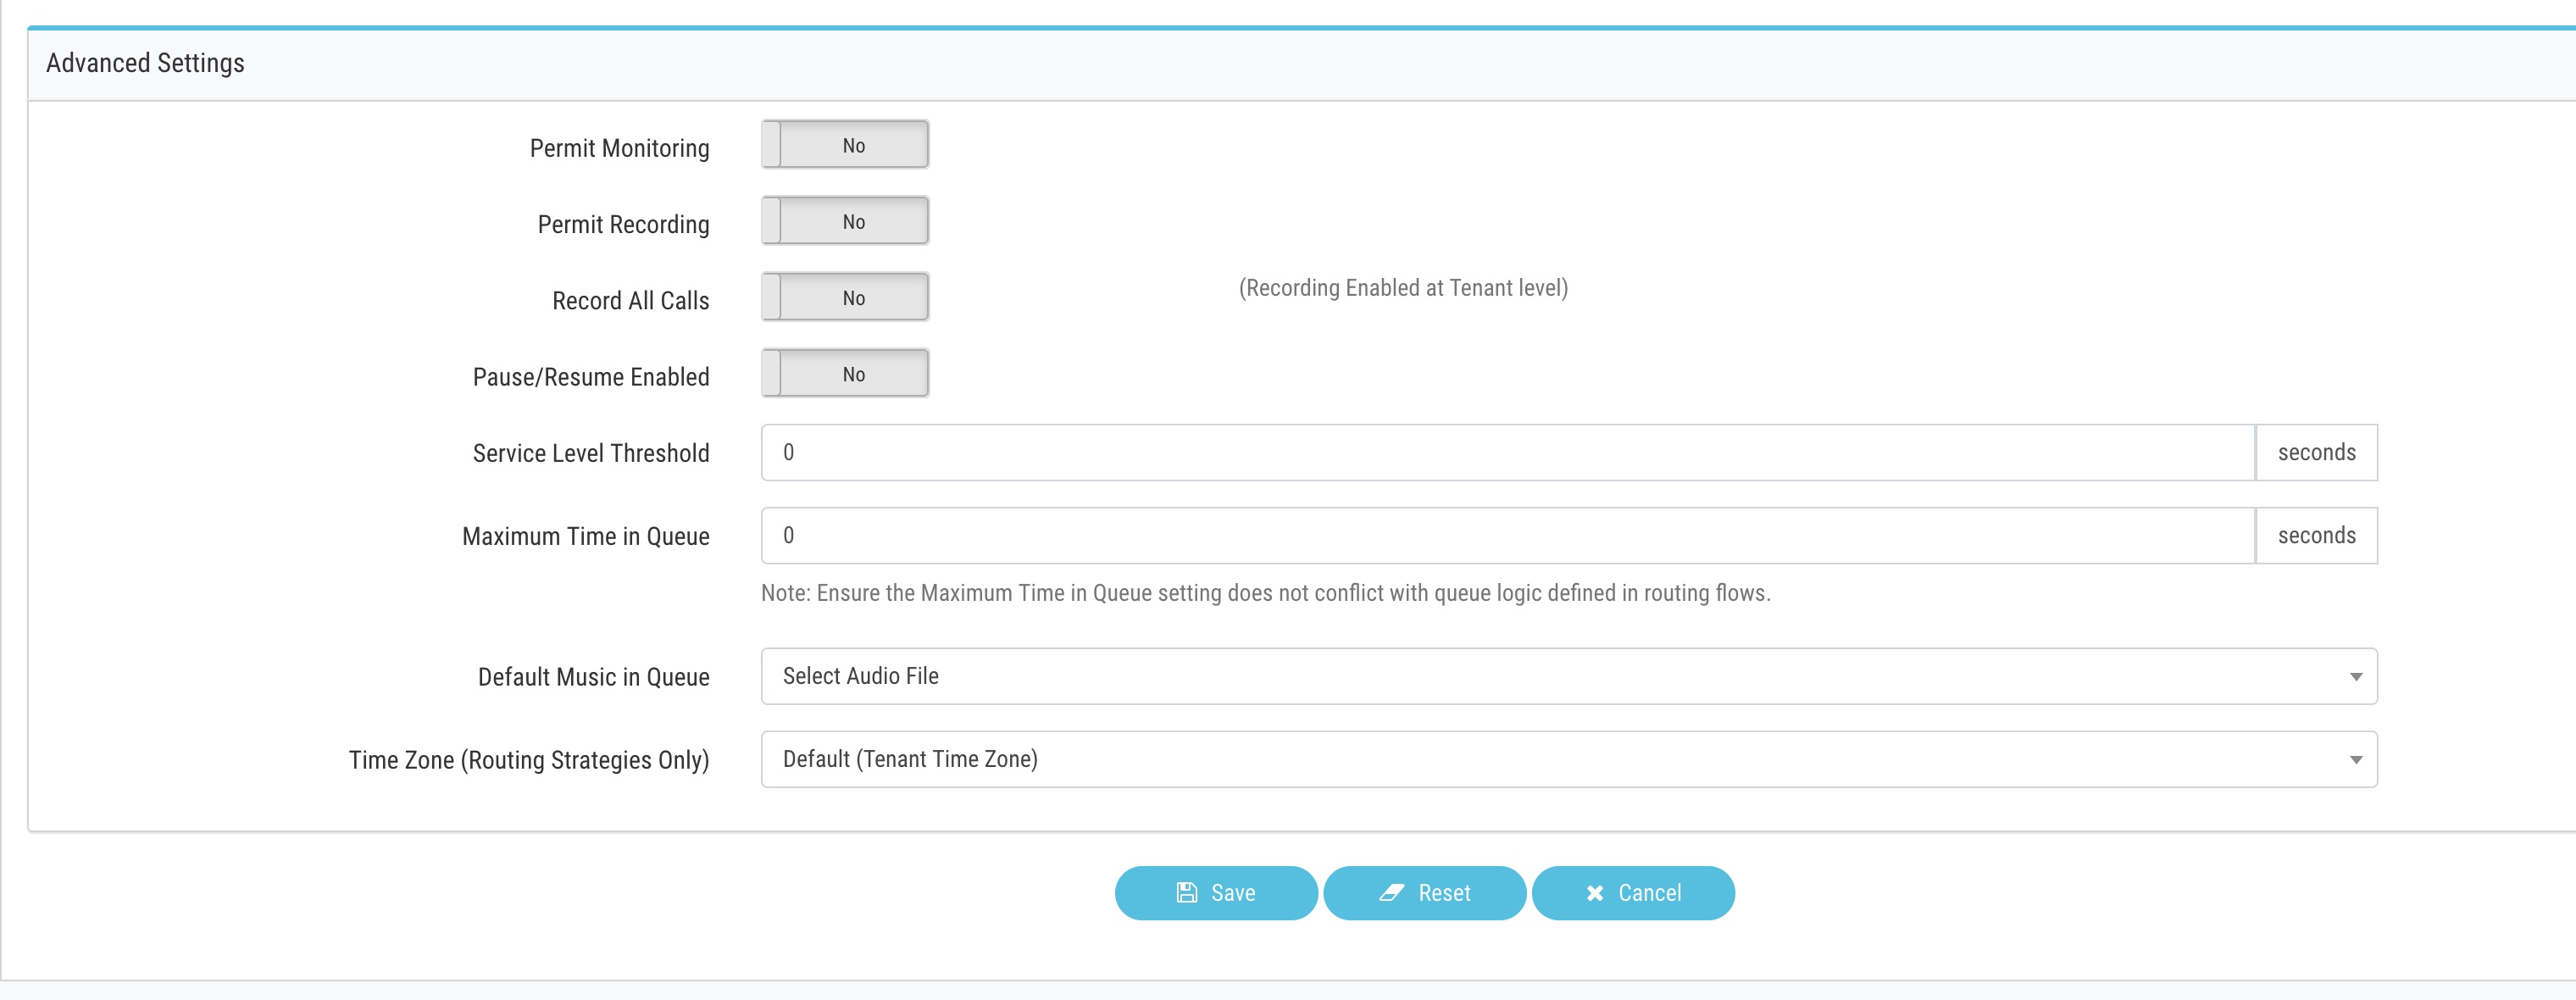
- make sure give service level threshold time (preferably 3600) and service level threshold
AgentLogin
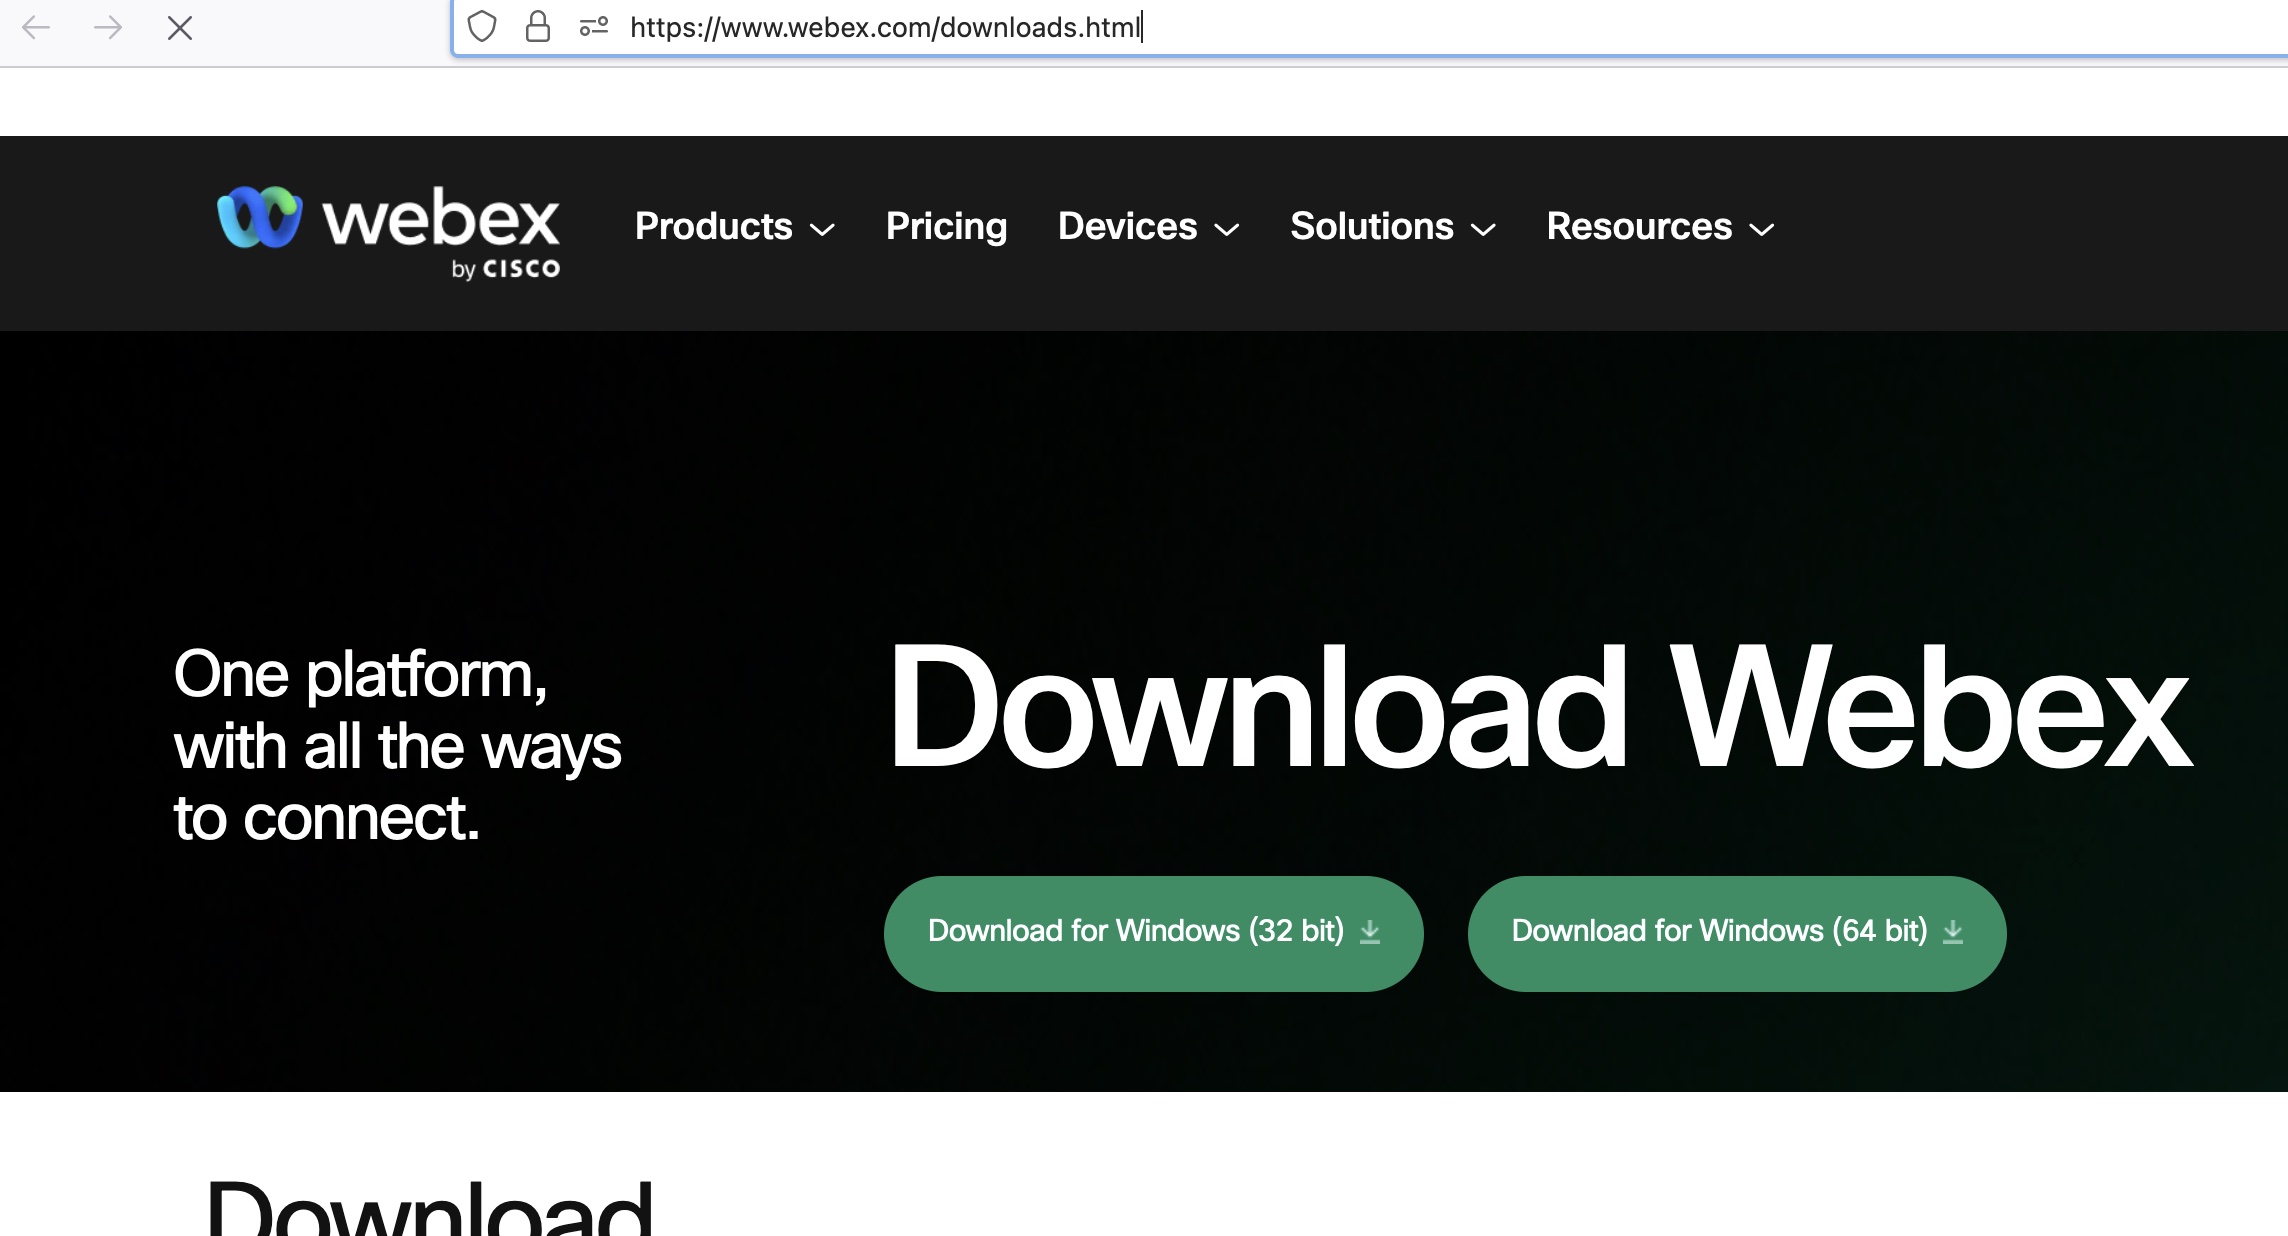
- Download Webex Client from this link
- Login with Admin Credentials
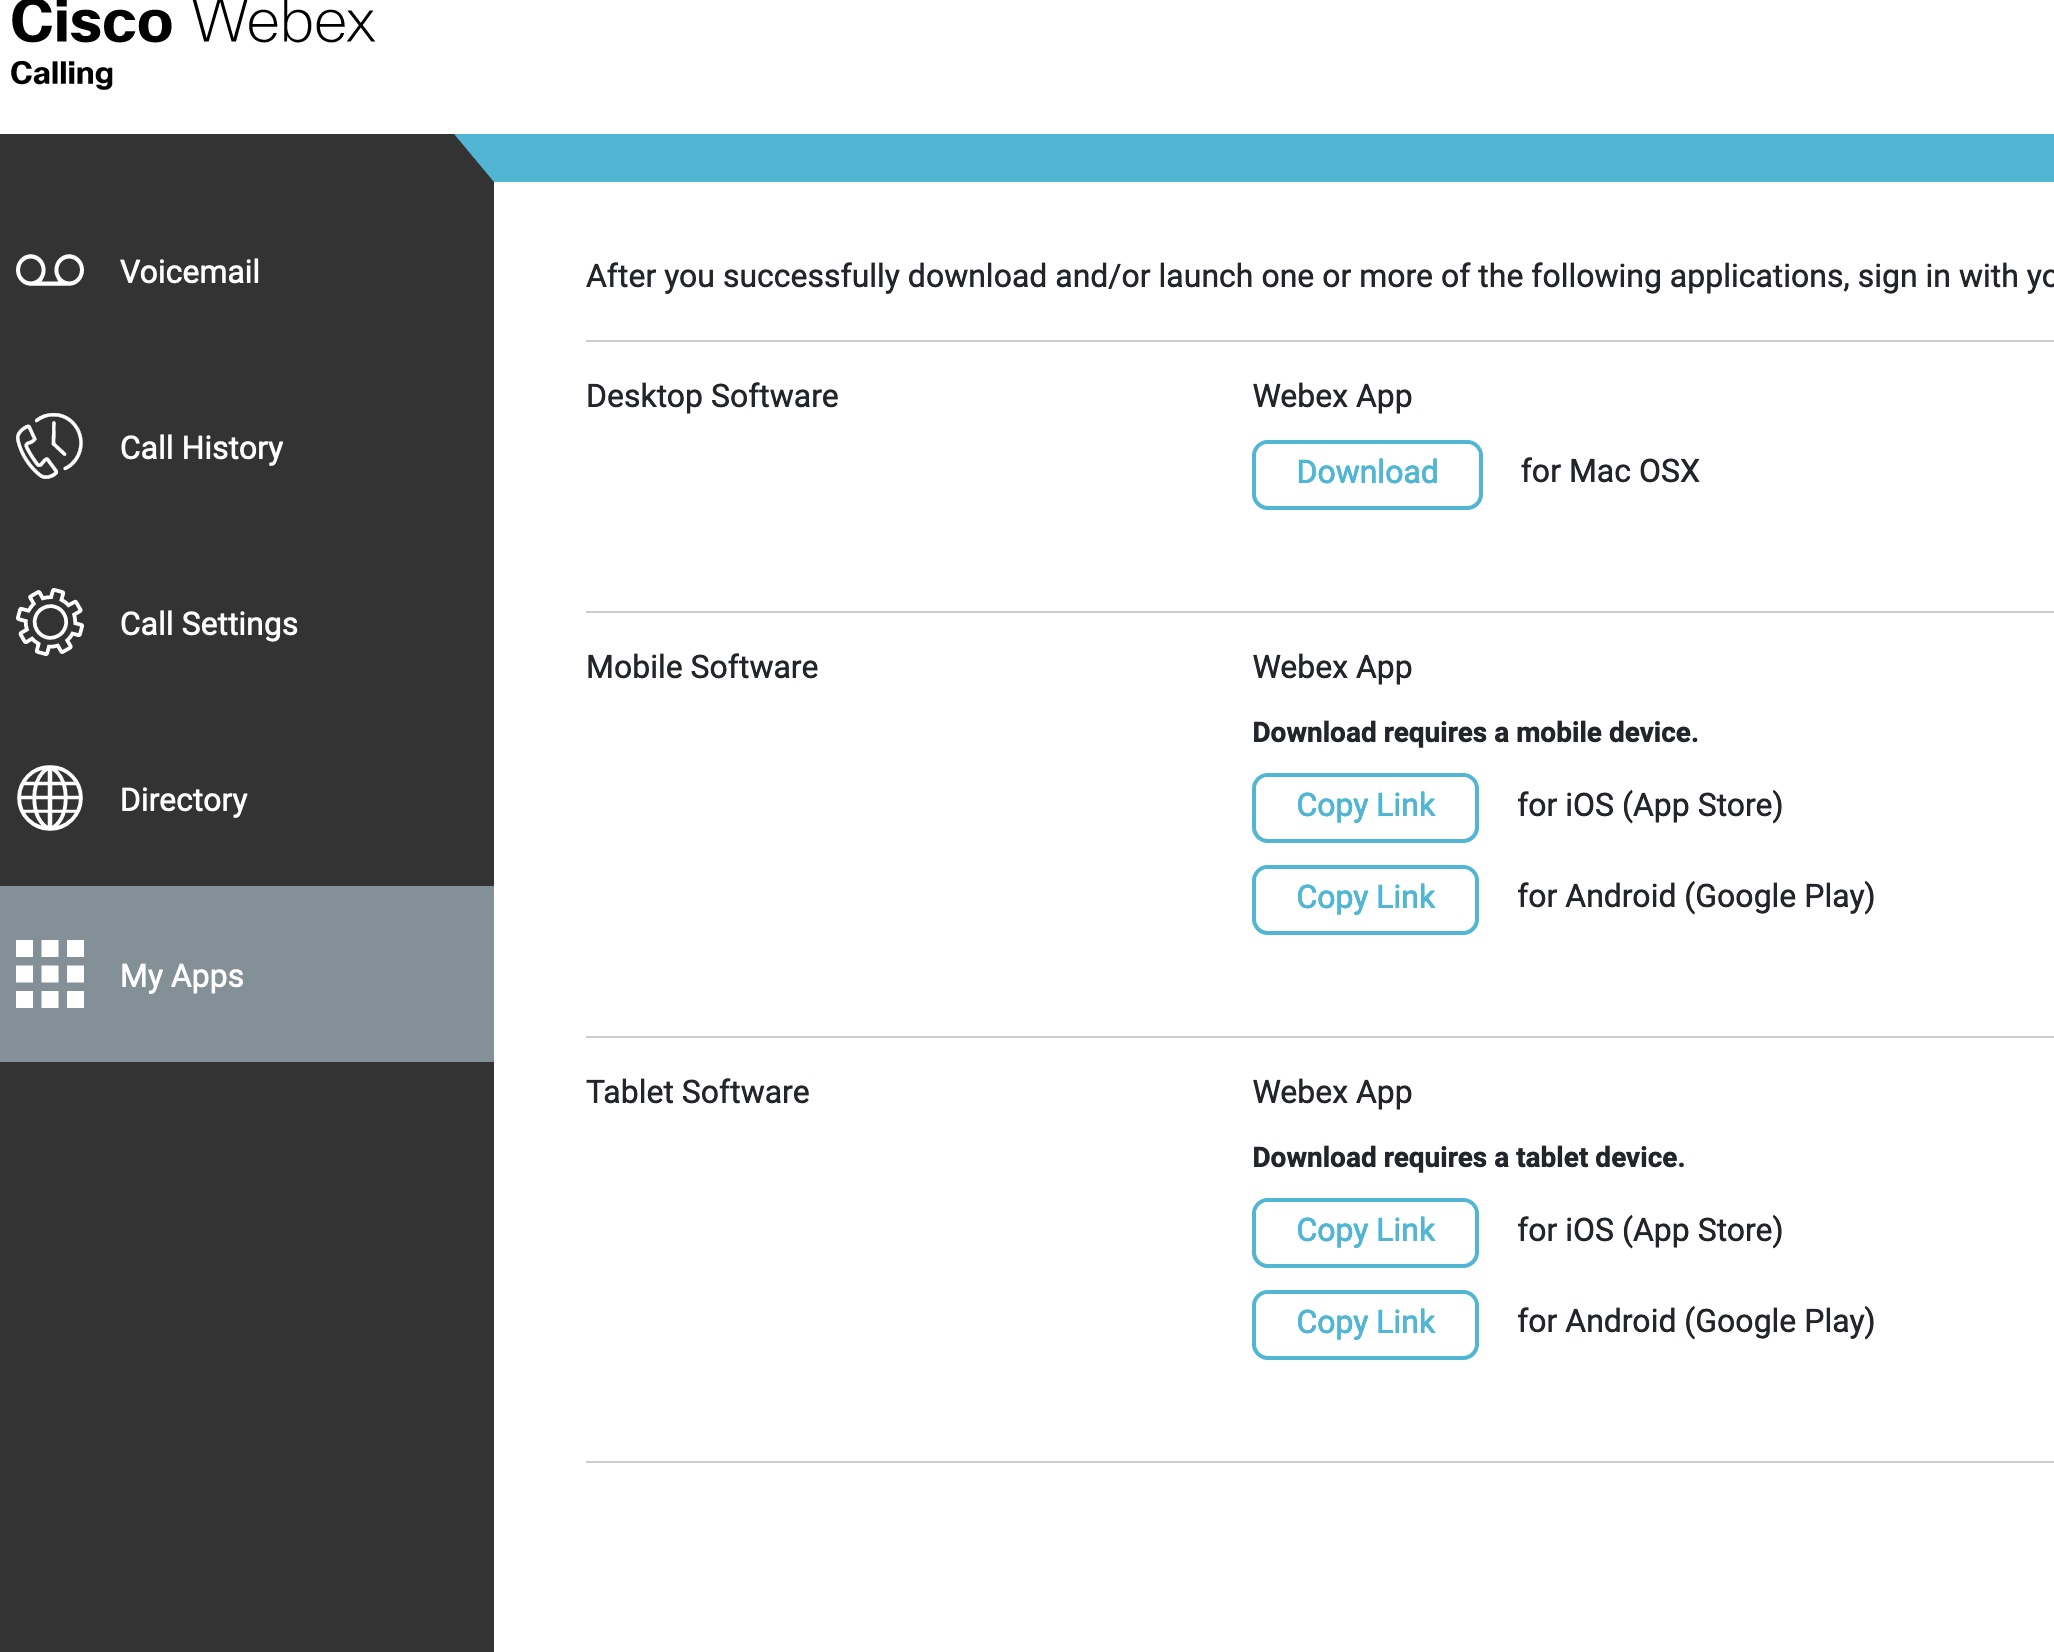
- click on Webex Calling –>My Apps and Download Webex apps – https://www.webex.com/downloads.html
- Login to Webex apps using same admin credentials
If the webex app is already in the system, you can skip first 2 steps
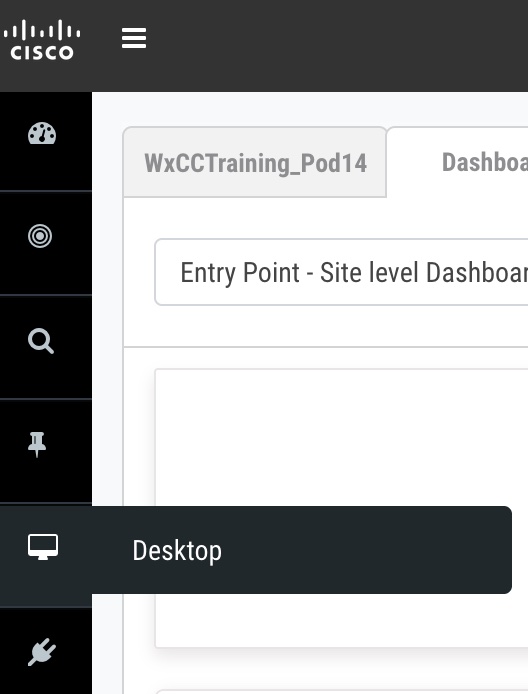
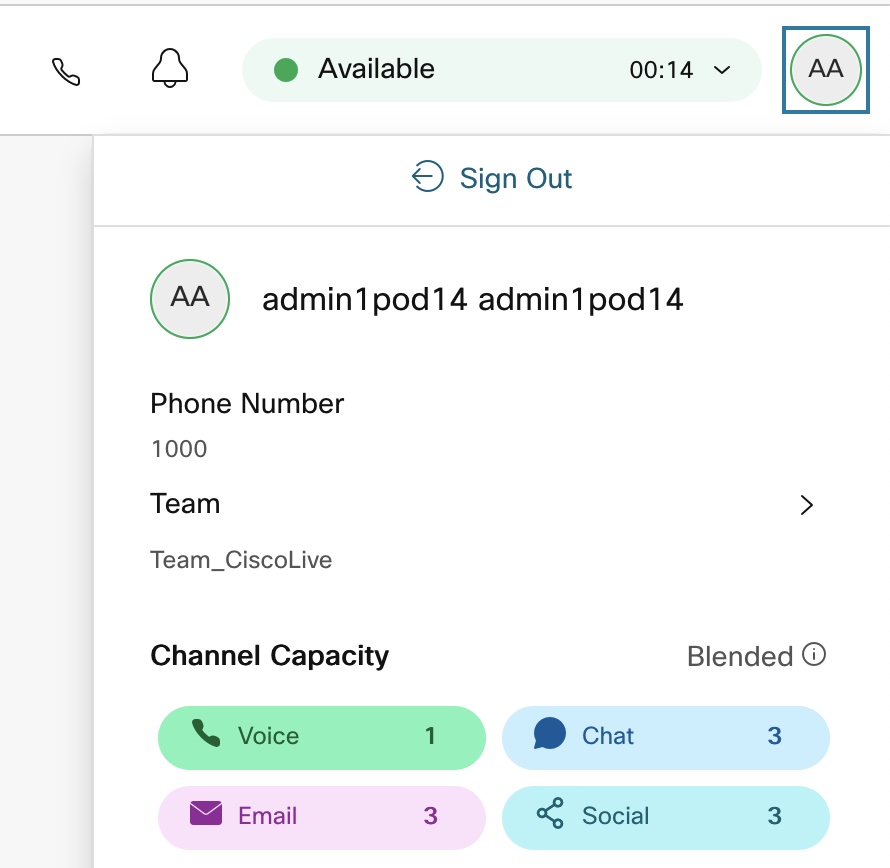
Using below link to login to agent desktop alternatively you can cross launch from portal also
Agent Desktop: **https://desktop.wxcc-us1.cisco.com
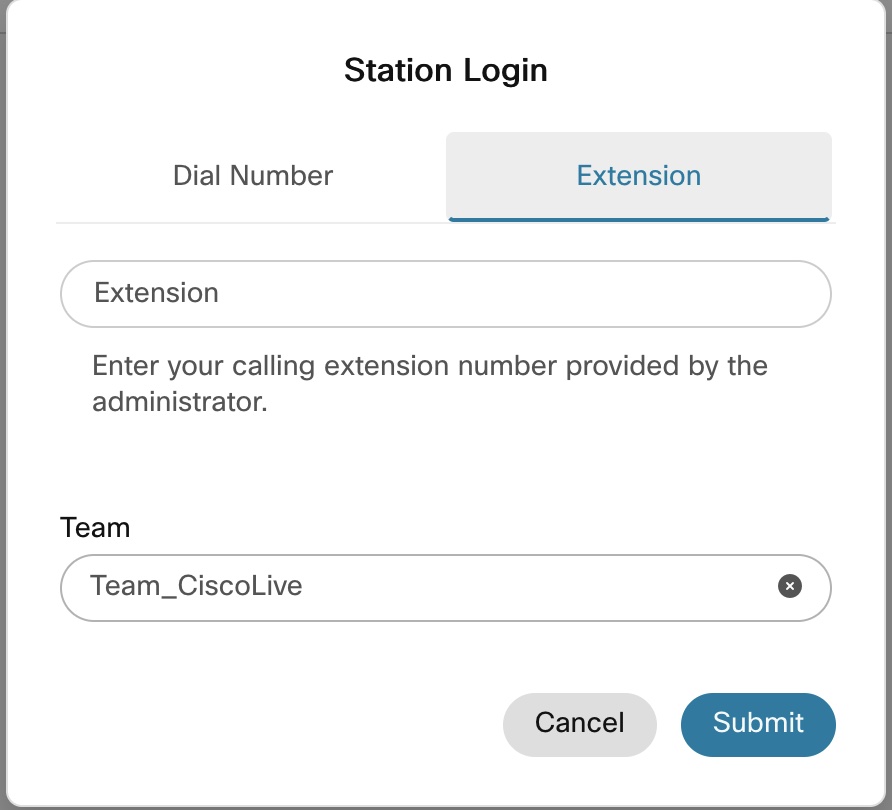
While login into agent desktop make sure to choose Extension and correct Team
Flow configuration
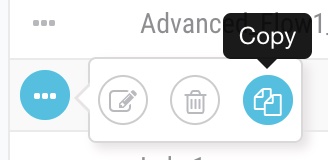
- Copy the Lab0 flow by clicking on 3 dot
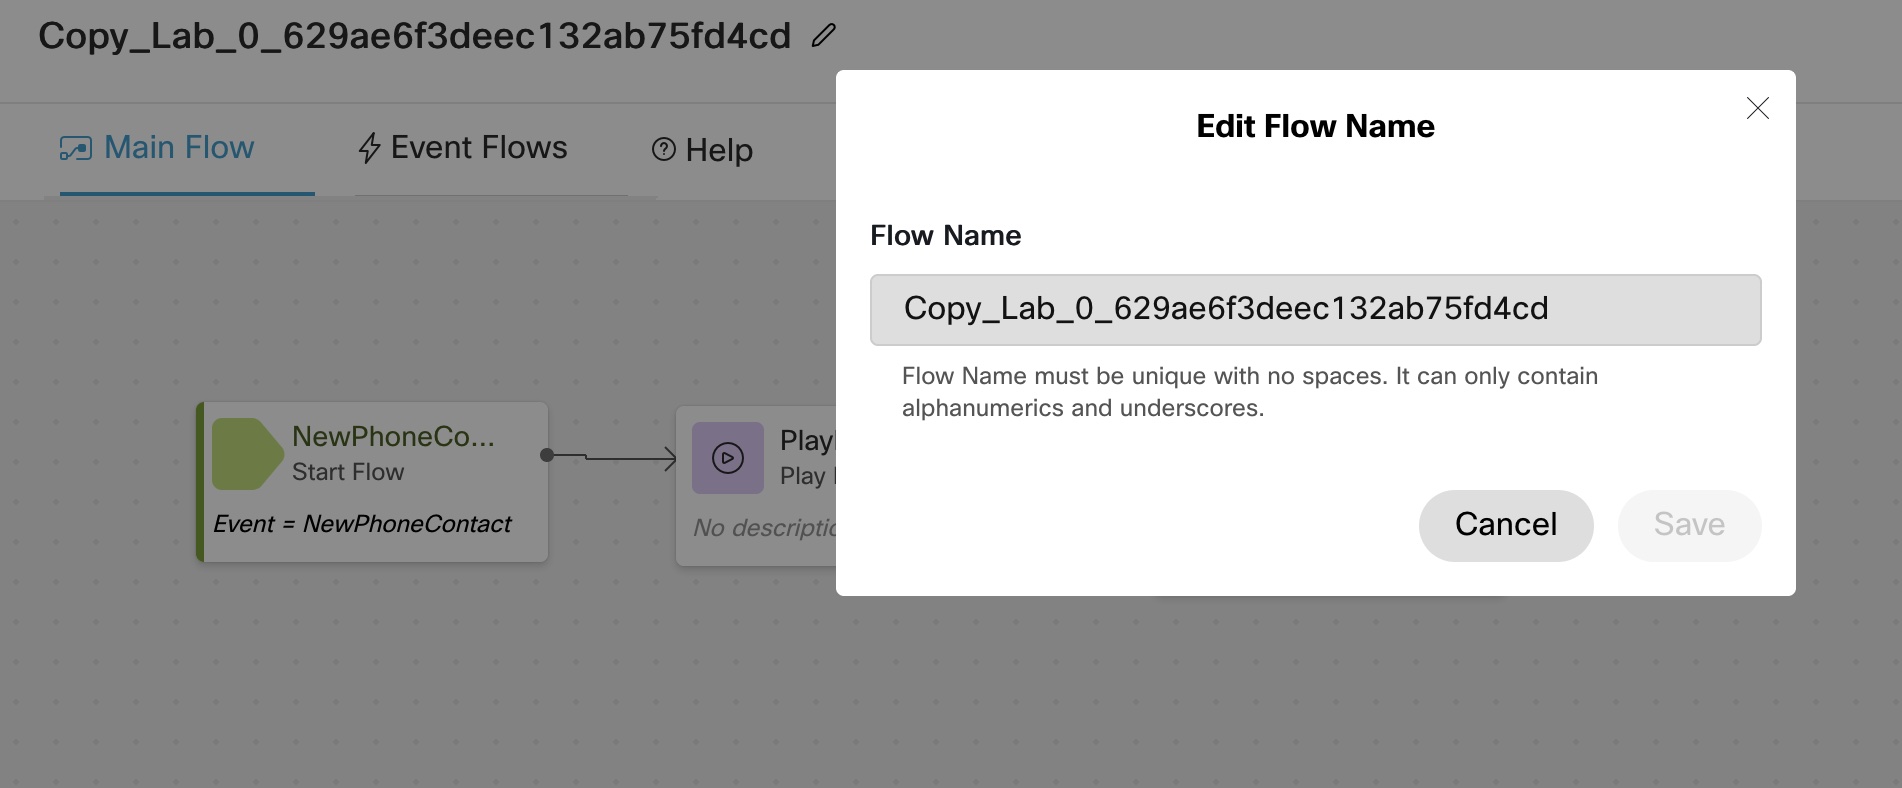
- open the copy of Lab 0 and rename it to Lab1
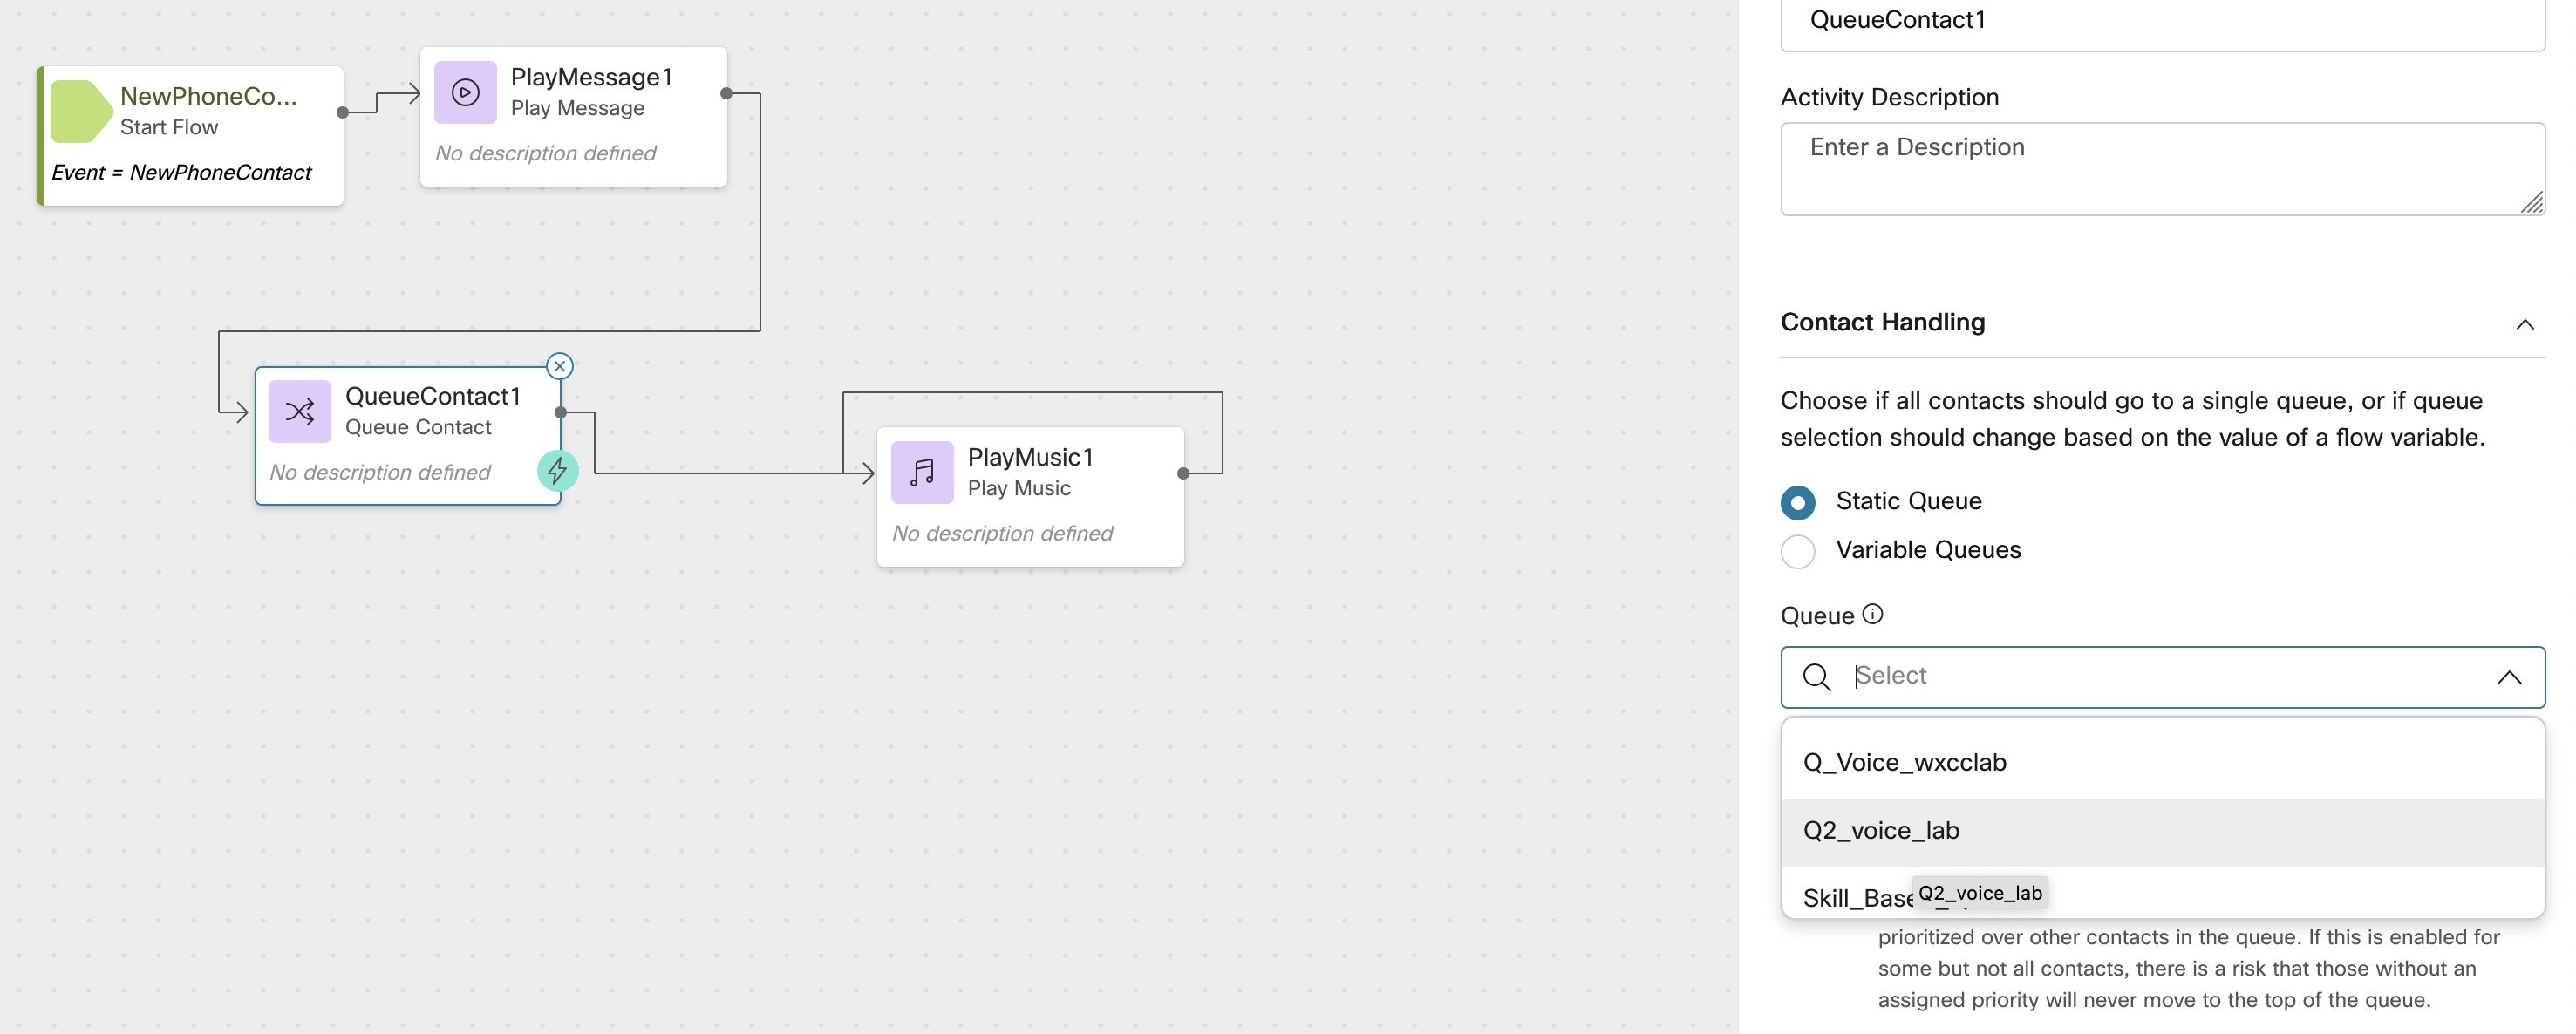
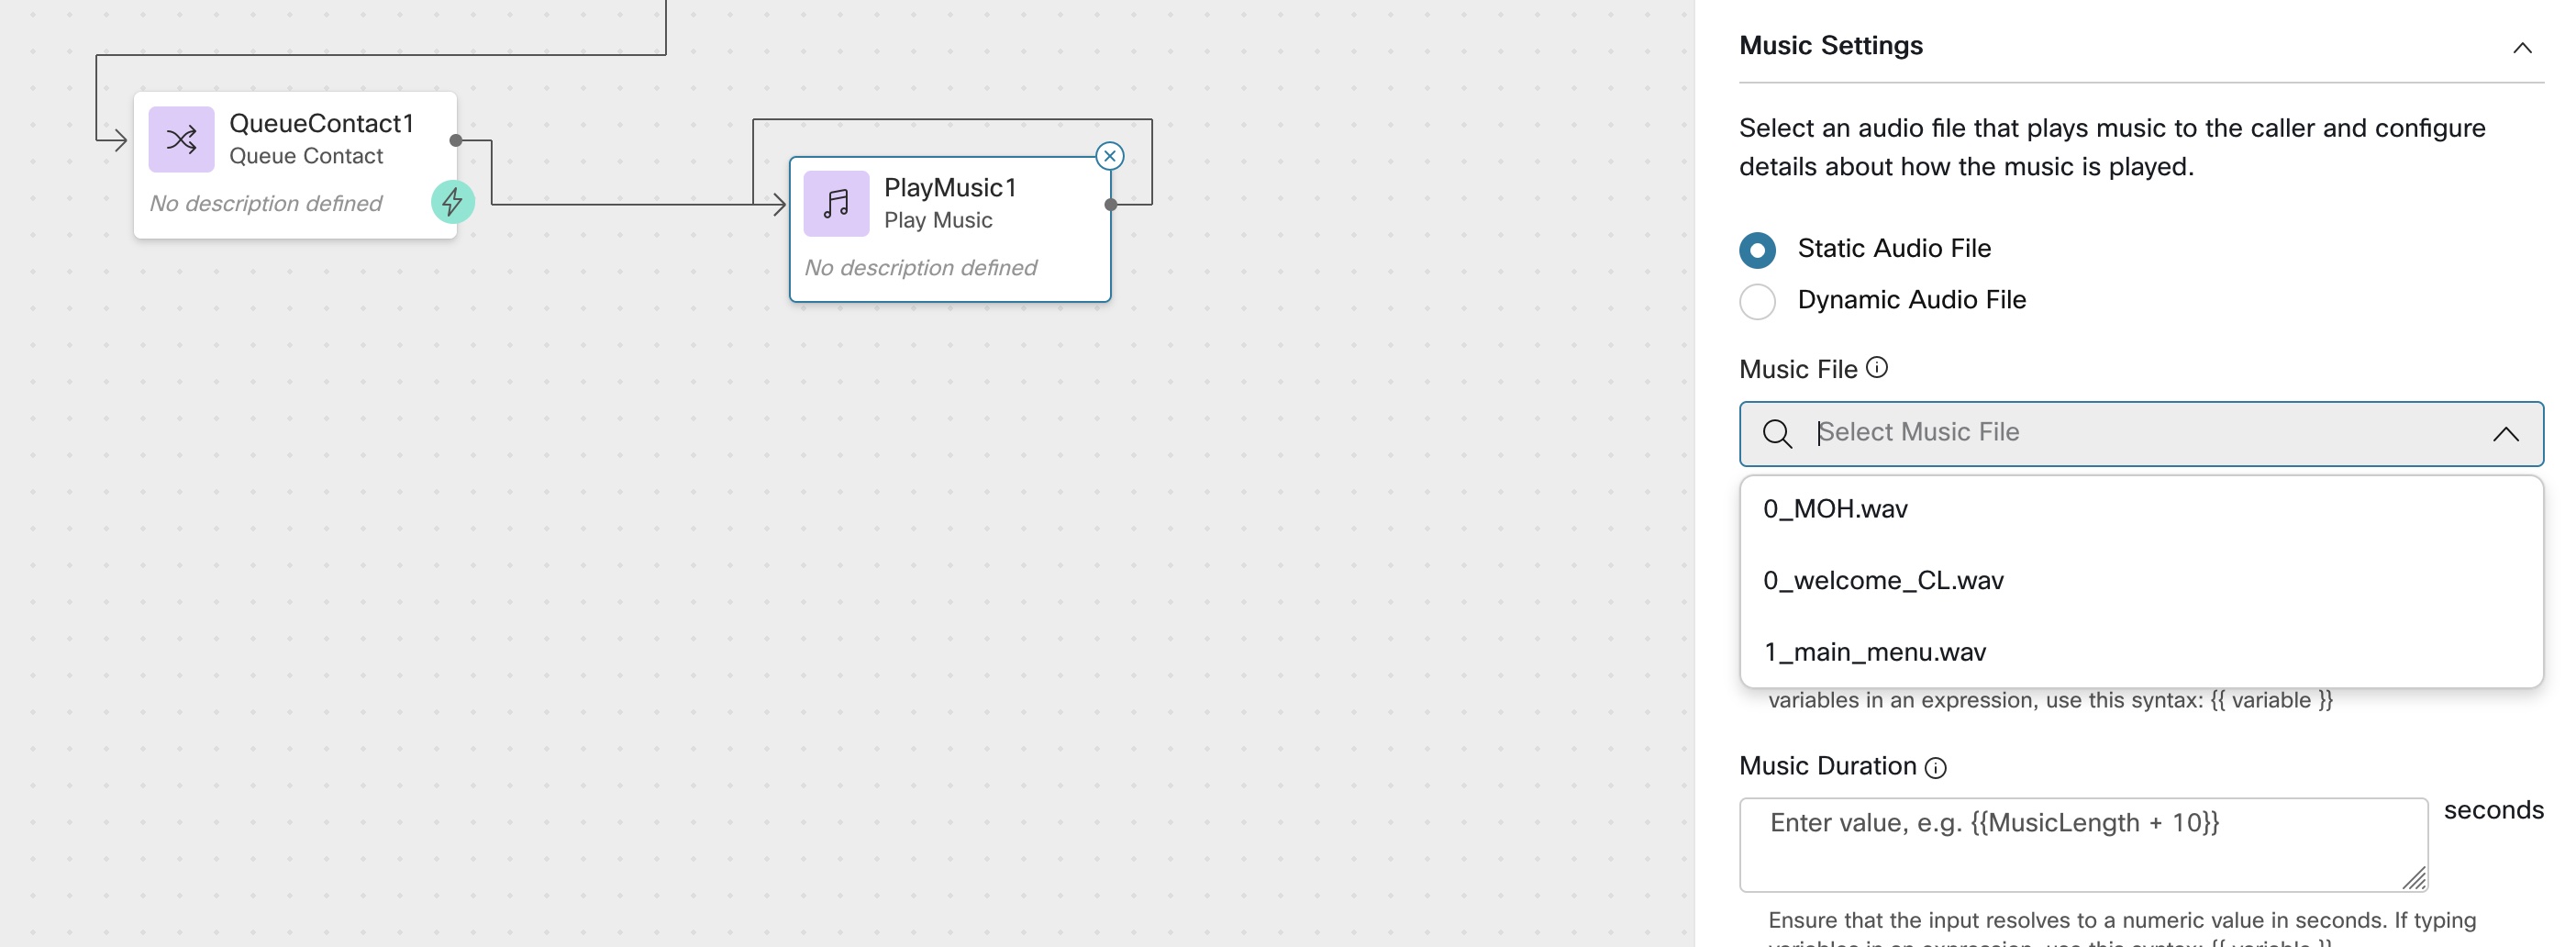
- Delete Disconnect node and add Queue node and play music node, loop back play music as shown below
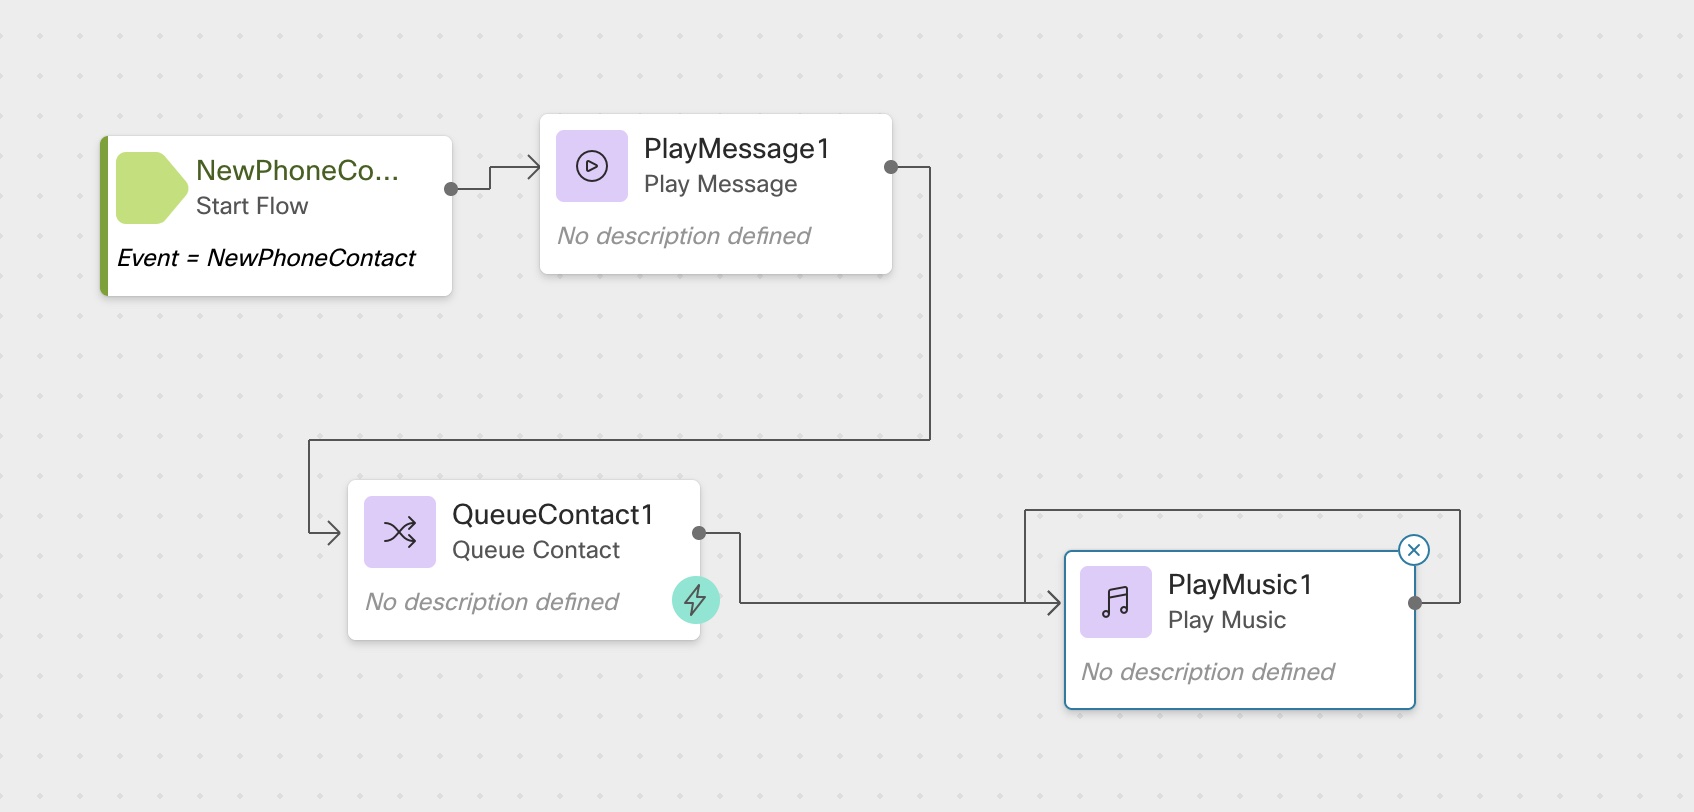
- select queue created above and the 0_MOH for music
-
Validate the flow and publish the flow
-
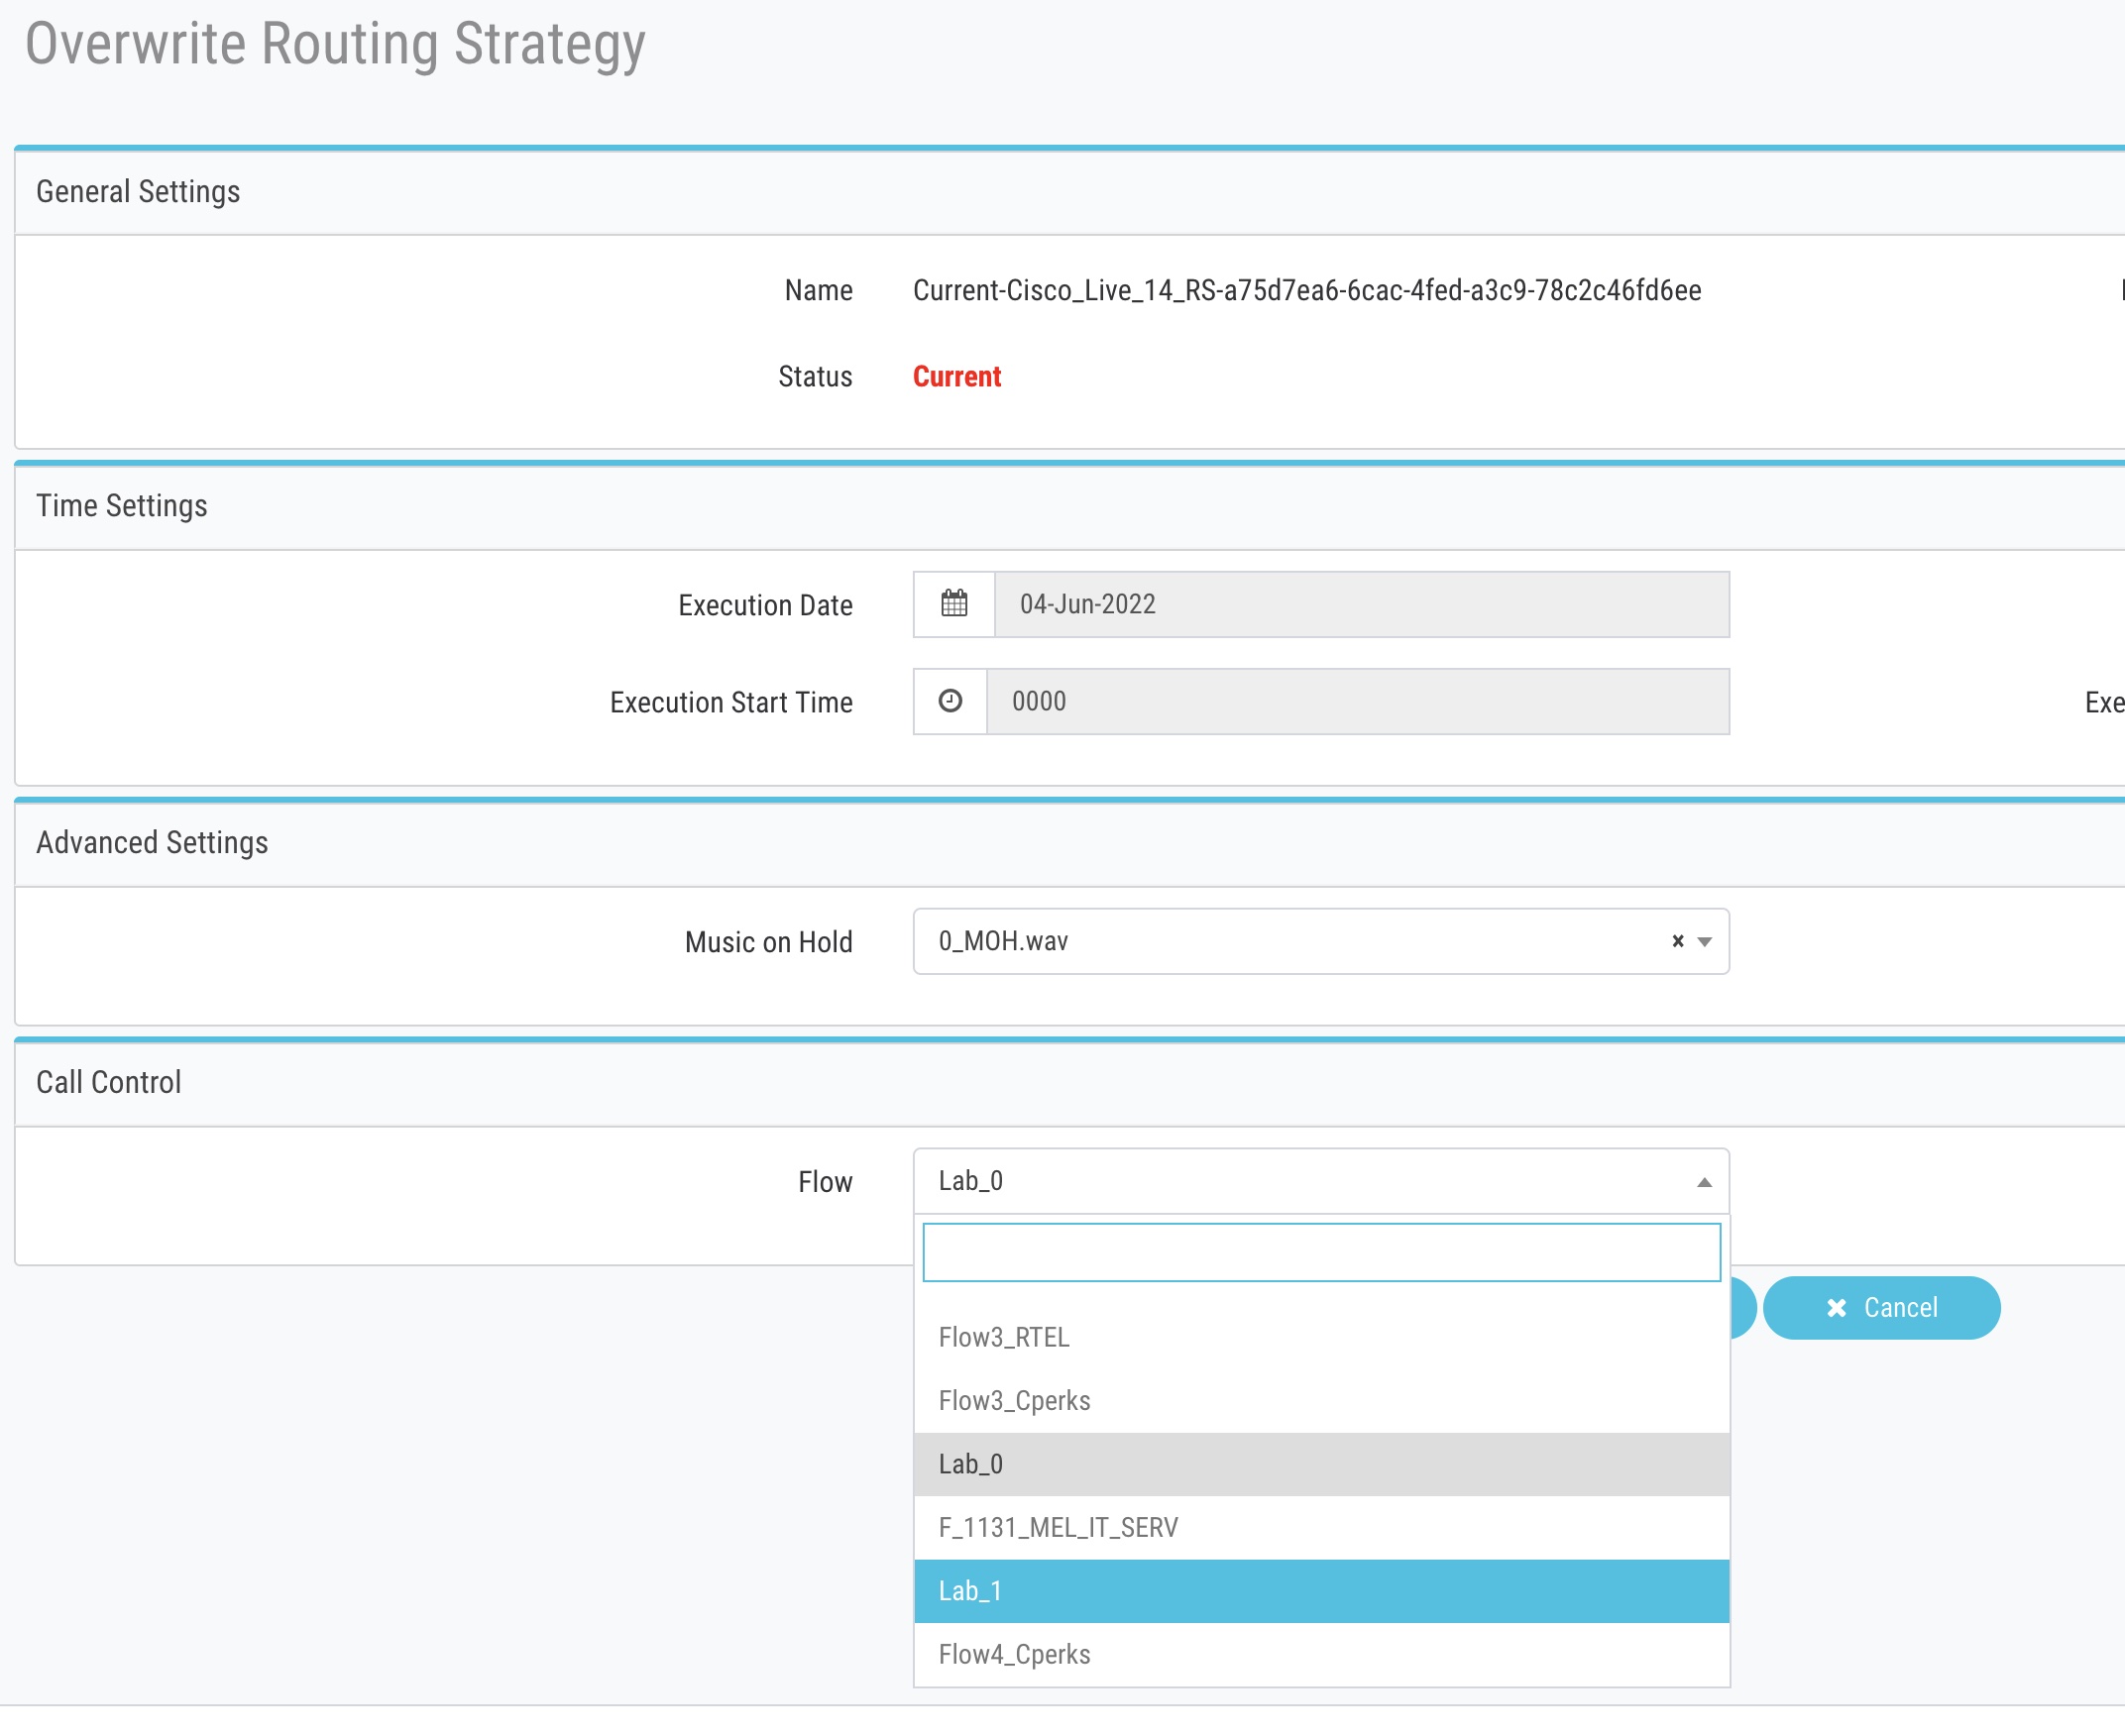
change current routing strategy and change the flow from Lab0 to Lab1
Lab Validation
-
i) Dial the Number
-
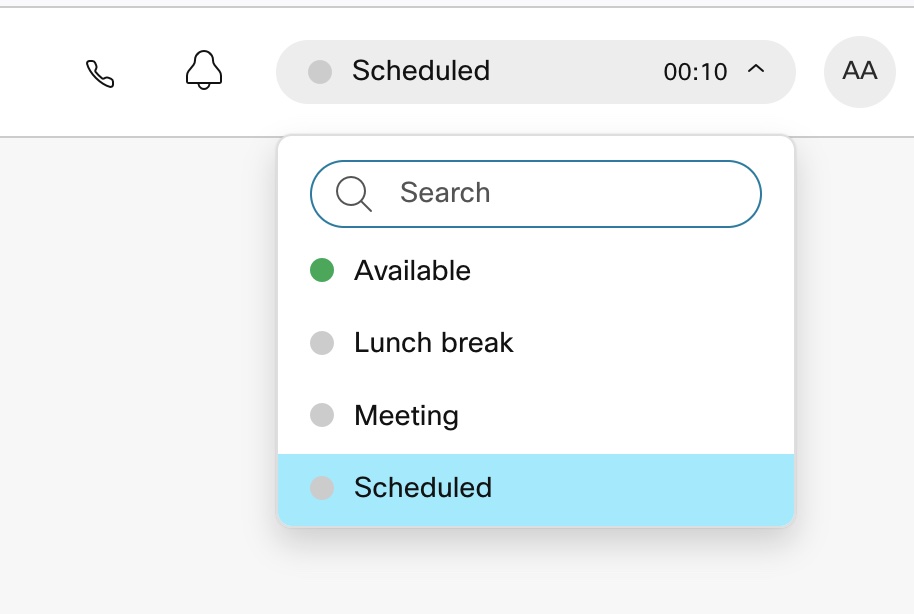
ii) Login into Agent Desktop and Keep the Agent in Not Ready State
-
Expected Result
i) Caller should hear welcome voice prompt
ii) Call Should get queued to agent
iii) Make Agent Available, call should be routed to agent desktop and there is 2 way voice between agent and customer
Lab Support
Proctors is your number 1 contact. If you need assistance just raise your hand.
All registered participants are also added to the support room where the engineering and Product Management team is added. As an alternative way, you can use that space for any questions related to the Flow Control.