Lab 1: Control Hub And Admin Portal
Overview of the lab:
In this Lab, we will go through the tasks that are required to complete the general pre-configuration of a tenant. These tasks are to be undertaken by a customer administrator. By following each of the steps, you would have prepared your tenant to begin configuring different services offered by the platform. At the end of the lab, you should be able to log in to an agent interface with the configured user extension.
Table of Contents
- Part 1: Control Hub User Management Admin Task
- Part 2: Admin Portal Multimedia Profile, Site and Team Configuration
- Part 3: Admin Portal User Configuration
- Part 4: Access to the Agent Desktop
Introduction
Lab Objective
- This lab is designed to help you do the initial setup and configuration for your GOLD tenant and to be familiar with the control hub and admin portal UI.
- The lab contains multiple exercises on Control Hub and Admin Portal to make you comfortable with the Webex Contact Center application.
Pre-requisites
-
You have recived the admin login credentials with a full admin access.
-
You have 2 calling numbers assigned to your POD.
-
You need 2 devices where you can install webex calling (example: PC or Mac and Mobile).
Quick Links
Control Hub: https://admin.webex.com
Portal: https://portal.wxcc-us1.cisco.com/portal
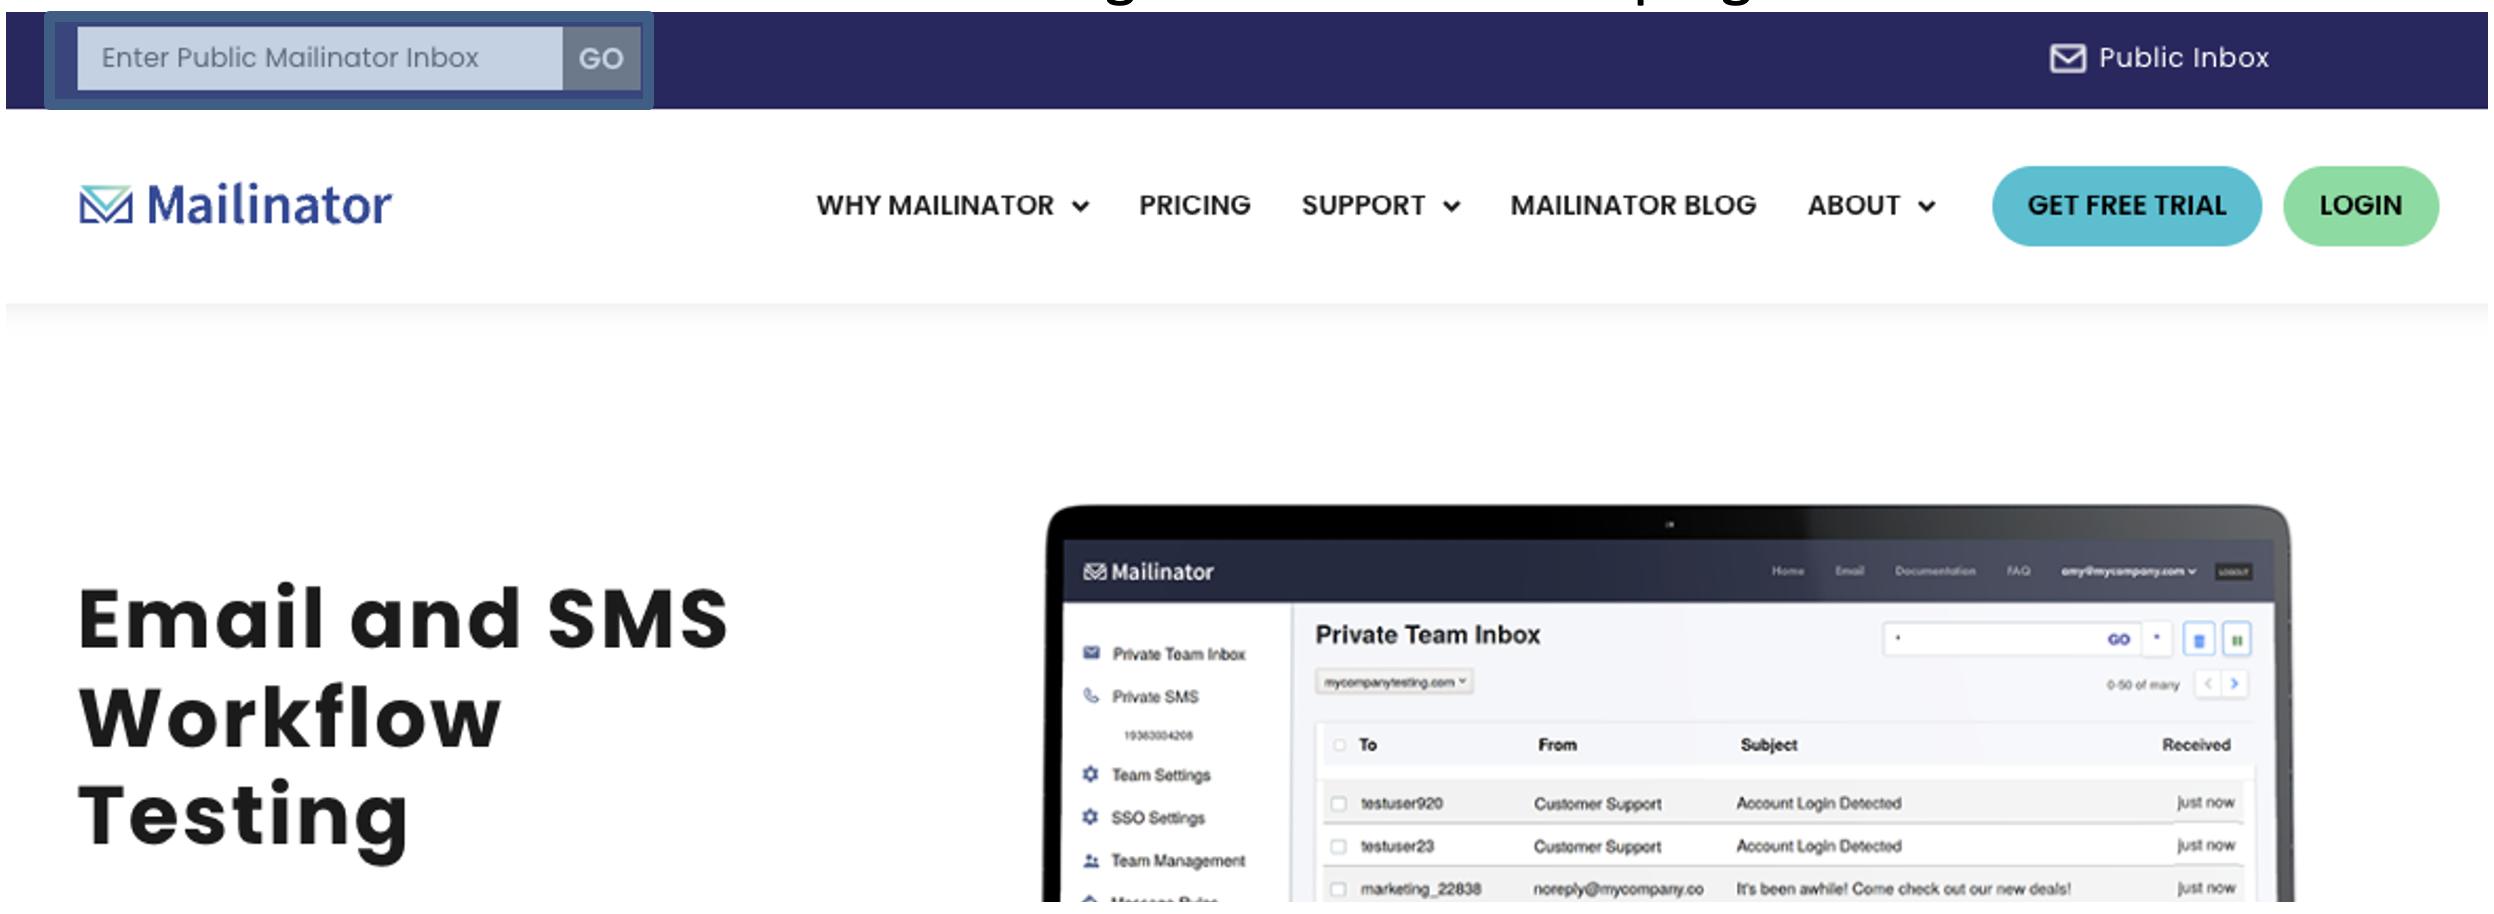
Mailinator: https://www.mailinator.com/
Agent Desktop: https://desktop.wxcc-us1.cisco.com
Webex Calling app https://settings.webex.com/
Lab Section
Part 1: Control Hub User Management Admin Task
The following video outlines the process to manage different types of users to the Customer tenant. Following the steps, you will add new users and set the Calling extension. While adding the user, we will see how to select user roles.
| User Role | User email | User Extension |
|---|---|---|
| Agent | agent1_<ID>@mailinator.com | 1XXX |
| Supervisor | supervisor1_<ID>@mailinator.com | 2XXX |
NOTE: Your <IDs> was provided to you “Attendee ID”. It’s based on the first letter of your name plus your surname. You can share your tenant with multiple administrators in your organization, in that case, the ID and the User Ext should be unique for each user.
1. Add an agent and a supervisor users and configure the calling extension
-
Login to the Control Hub with the admin account.
-
Navigate to Users.
-
Click on Manage Users button.
-
Click on Manually Add or Modify User.
-
Select Next in Manage Users pane.
-
Input the Email addresses of the agent and supervisor users and click Next.
-
Verify that the Email addresses are same as in the table above and click Next.
-
Check Messaging , Webex Calling (Professional) & Contact Center.
-
Ensure that the License Type is Premium Agent and Role is Agent and click Next.
-
On the next page, make sure that the Location is selected under Assign Numbers. The correct value should be already selected by default.
-
The Phone Number left as None.
-
On the same page, Enter the correct
Extensionunder Assign Numbers. You can find this in the table above. -
Click Finish.
-
On the next page, you should get confirmation “2 Total records processed”. Confirm the same by pressing Finish.
-
Select the supervisor user and modify his role to Supervisor by clicking the top Edit button in front of Services. Click Save to confirm the changes.
-
Validate the users by going to https://www.mailinator.com/ and putting agent/supervisor email in to Enter Public Mailinator Inbox
Note: You do not need a password to open the inbox on mailinator. You can read any emails without mailbox credentials. Just insert agent name in the top right form and click GO.
-
Check the email inboxes and follow the Cisco Webex email instructions to activate the user accounts. For the user activation, you have to set the password twice for both users.
-
Refresh the Users page in the Control Hub, make sure that all users are in Active status.
2. Optionally, add the rest of the users
- Follow the same steps as above to add any extra users that you want to add to the Contact Center.
Part 2: Admin Portal Multimedia Profile, Site and Team Configuration
The following video outlines how to access the admin portal and navigate the different configuration menus to create a Site, Team, and Multimedia Profile that will be assigned to the Contact Center user. We will also see how to navigate to the Webex Contact Center Management Portal from Control Hub UI.
| Entity | Name |
|---|---|
| Multimedia Profiles | MMP_<ID>_CL |
| Site | Site_<ID>_CL |
| Team1 | Team1_<ID>_CL |
| Team2 | Team2_<ID>_CL |
NOTE: Multiple <ID> were provided in the email in the “Attendee ID” line. You can share your tenant with the multiple administrators in your organization, in that case the ID should be unique for each user.
1. Create new MultiMedia Profile
-
Login to Control Hub by accessing https://admin.webex.com.
-
Enter the admin email id and the password.
-
Navigate to Contact Center Card.
-
Click Settings in the upper right corner.
-
Scroll down to the Advanced Configuration section.
-
Click on Go to Webex Contact Center Management Portal.
-
Ensure that browser pop up blockers are not blocking the Admin Portal pop up.
-
Click on Provisioning and select Multimedia Profiles.
-
Click on
+ New Multimedia Profileto open Multimedia Profile configuration page. -
Input Name as
MMP_<ID>_CL. -
In the Media Details section, select the blended multimedia profile and input
1for Voice,3for Chat,3for Email, and click Save.
2. Create new Site
-
Navigate to Provisioning and select Site.
-
Click on
+ New Sitebutton and provide the Name asSite_<ID>_CL. -
Select
MMP_<ID>_CLin the Multimedia Profile drop down and hit Save.
3. Create new Team 1
-
Navigate to Provisioning and select Team.
-
Click on
+ New Team. -
Select
Site_<ID>_CLfrom the Site drop-down. -
Input Name as
Team1_<ID>_CL. -
Use the default Type
Agent Based. -
Select
MMP_<ID>_CLin the Multimedia Profile drop-down. -
Left as a default value Global Layout in the Desktop Layout drop-down and hit Save.
4. Create new Team 2
- Please follow the same steps as above to add an extra Team as
Team2_<ID>_CL. Later we will use this team to assign a custom Desktop Layout.
Part 3: Admin Portal User Configuration
The following video outlines how to configure the users in Admin Portal that were added first in Control Hub. This is a very critical task from the Contact Center perspective. We also would take a look at how to associate customer-created Site, Team, and Multi-Media Profile with those users. After this, we should be able to login as an agent.
1. Synchronize Webex Contact Center Users
-
Login to Control Hub by accessing https://admin.webex.com.
-
Enter the admin email id and the password.
-
Navigate to Contact Center card.
-
Click on Settings and then
Synchronize Users.
2. Manage settings for existing user
-
Go back to the Webex Contact Center Management Portal.
-
Click on Provisioning and select Users.
-
Click on
...for the first user, to launch the Edit view for a particular User configuration. -
Click on Contact Center Enabled toggle to move it to On.
-
In the Agent Settings section, select
Site_<ID>_CLin the Site drop-down. -
Click the Teams area and select
Team1_<ID>_CLandTeam2_<ID>_CL. -
Select
MMP_<ID>_CLin the Multimedia Profile drop-down and hit Save. -
Make sure that the user are now shown with the Contact Center Enabled flag as
Yesand Status asActive.
Part 4: Access to the Agent Desktop
The following video explains the process to access the Agent Desktop. Following the steps, you will log in with your credentials and indicate the number where you want to receive the calls.
1. Activate Webex Calling
-
Login the Control Hub with your admin credentials.
-
Navigate to Users.
-
Select the Agent user
agent1_<ID>@mailinator.comcreated in the previus lab. - In the User settings, make sure that the following Services are listed:
- Messaging as Advanced Messaging.
- Calling as Webex Calling (Professional).
- Contact Center.
-
Scroll down to Calling Behaviour and select Webex Calling app. Click Save.
- Repeat the same steps for Supervisor user
supervisor1_<ID>@mailinator.com. Make sure that Webex Calling app has been activated.
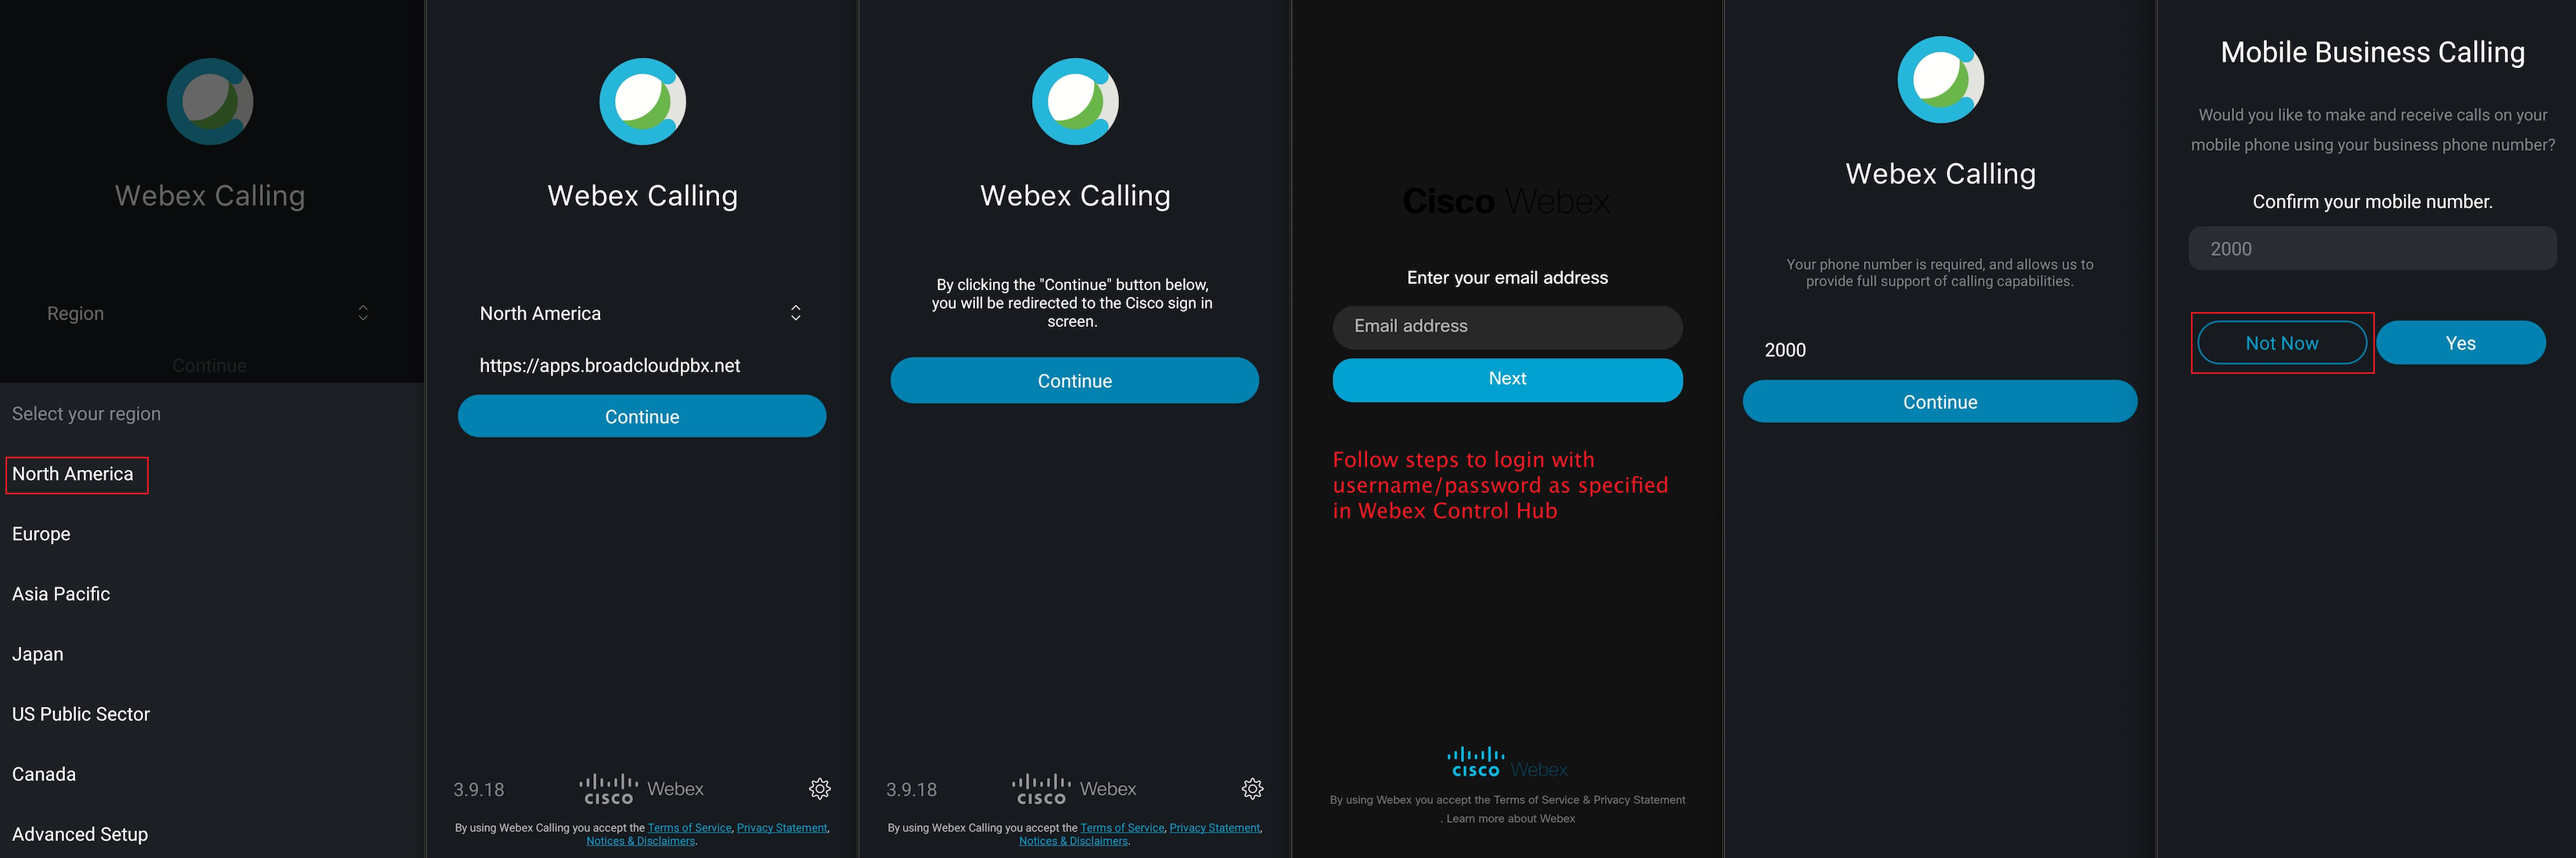
2. Download and Login in the Webex Calling app for PC or Mac
Note: You need two Webex Calling app for placing a call to Entry Point and accepting on the agent side. Alternatively, if you have a US number, you can use it as an agent’s extension. This tenant does not allow numbers outside of the United States. In this lab, we will use the Webex Calling app for PC or Mac for agent account.
-
Login to https://settings.webex.com/ by using account
agent1_<ID>@mailinator.com. -
Click on Webex Calling this will cross launch CUP in a new browser tab.
-
Go to My Apps.
-
Click
Downloadthe Webex Calling Client Desktop Software. -
Install the application on your PC/Mac.
-
Open Webex Calling and сlick Sign In. Specify the agent credentials for
agent1_<ID>@mailinator.com. -
Depending on your operation system, navigate to the Webex Callin Menu Edit Server Address and make sure you have selected North America region.
3. Download and Login in the Webex Calling app for mobile
Note: You need two Webex Calling app for placing a call to Entry Point and accepting on the agent side. In this lab, we will use the Webex Calling app for mobile for supervisor account.
-
Open the Application Manager (Play Store or App Store) on your mobile phone.
-
Search for webex calling.
-
Download and Open the app. Click
Get Started. -
Login in the app by selecting Region as North America.
-
Set Email address and Password as the supervisor account
supervisor1_<ID>@mailinator.com.
Note: Make sure that you give access to the phone’s microphone for the calling app.
4. Agent Desktop Login
Note: To log in to the agent desktop, use either a separate web browser or a new incognito web page. This will prevent any browser caching issues with admin and agent credentials.
-
Navigate to https://desktop.wxcc-us1.cisco.com/ in a new browser or in incognito mode.
-
Enter the agent’s email ID
agent1_<ID>@mailinator.comwhich you created in the previous lab. -
Enter the Password for the appropriate Username.
-
In the Station Login pane, select “Extension” and input the configured number for that user.
Note: Please use Webex Callin Extension for this lab. Optionally, if you have a US number, you can use it from the agent’s desktop. This tenant does not allow numbers outside of the United States.
-
Select the
Team1_<ID>_CL, with default desktop layout. -
Click Submit. Make sure that you are successfully logged in to the Agent Desktop. Now you can continue with the next section.